May 13, 2026
Waterfall Photography on Your Phone - iPhone & Android tips for those silky, pro waterfall shots!
Waterfalls are pure magic—the roar, the mist, the way the water seems to glow when the light hits it just right.
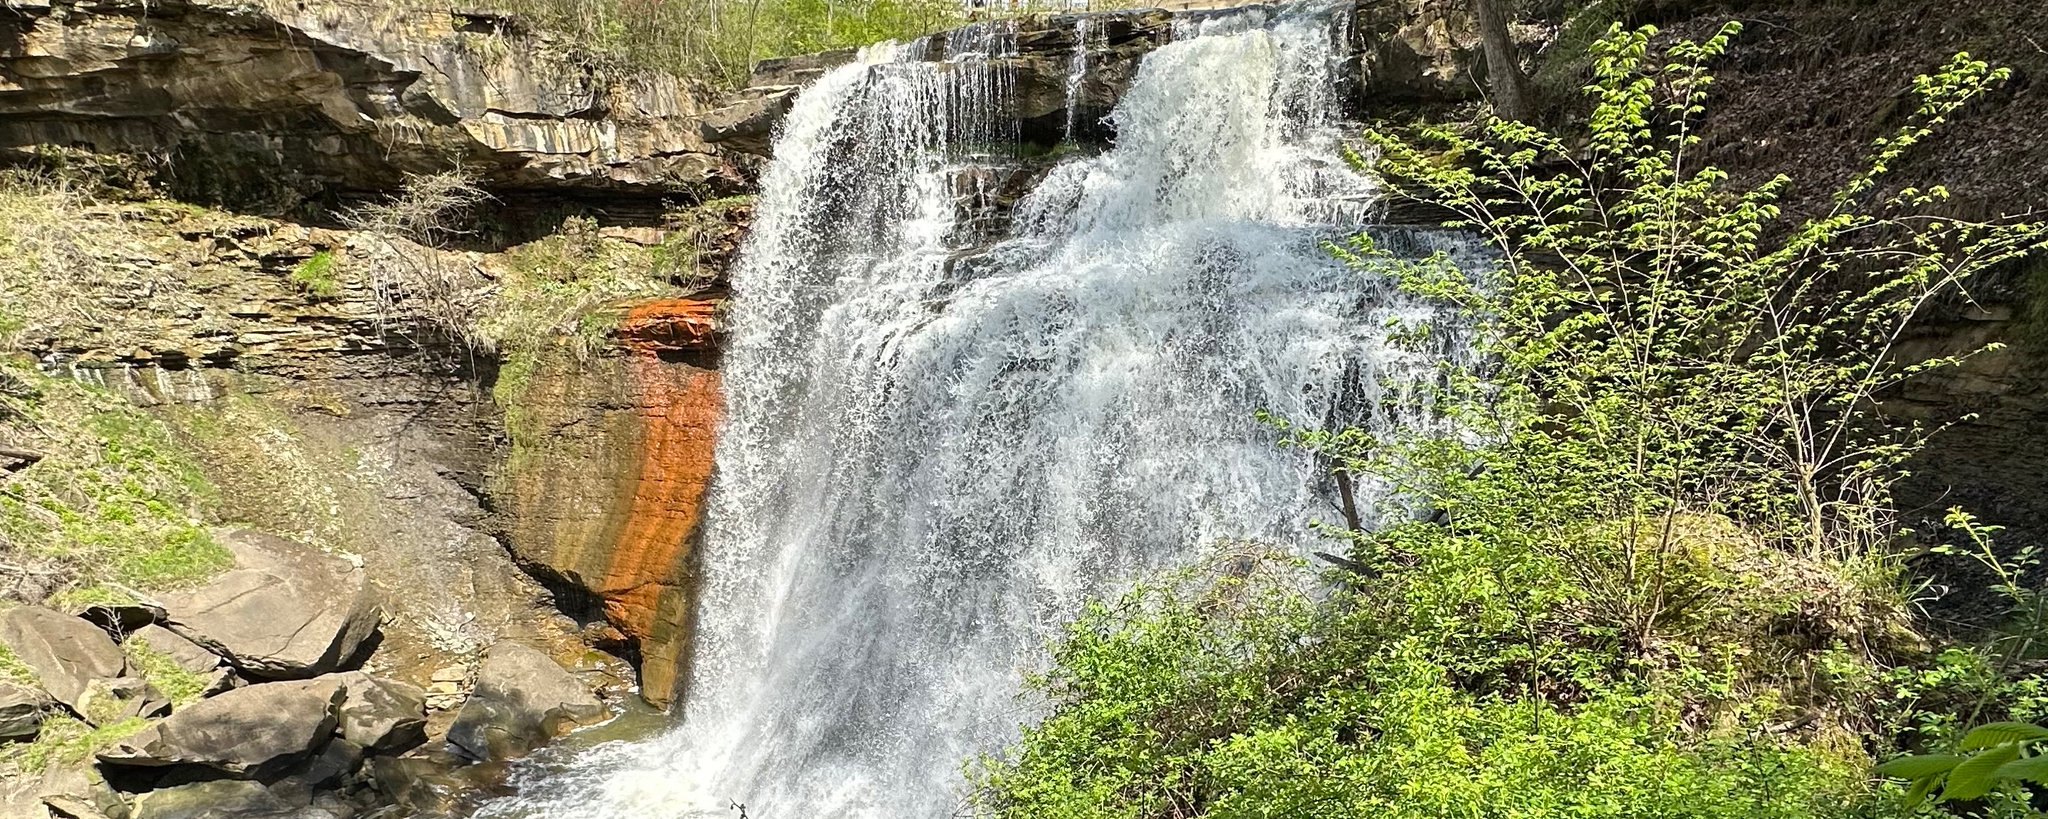
Waterfalls are pure magic—the roar, the mist, the way the water seems to glow when the light hits it just right. But whip out your phone for a quick snap and you often end up with either a blurry mess or a flat, boring snapshot that doesn’t do the scene justice. The good news? Both iPhones and modern Android phones are secretly awesome at this. With a few easy tricks you can get that dreamy, silky water flow everyone loves—no tripod (though it helps), no fancy gear, and zero pro experience required. Here’s exactly how to do it next time you’re near a cascade.
Time It Right for the Best Light
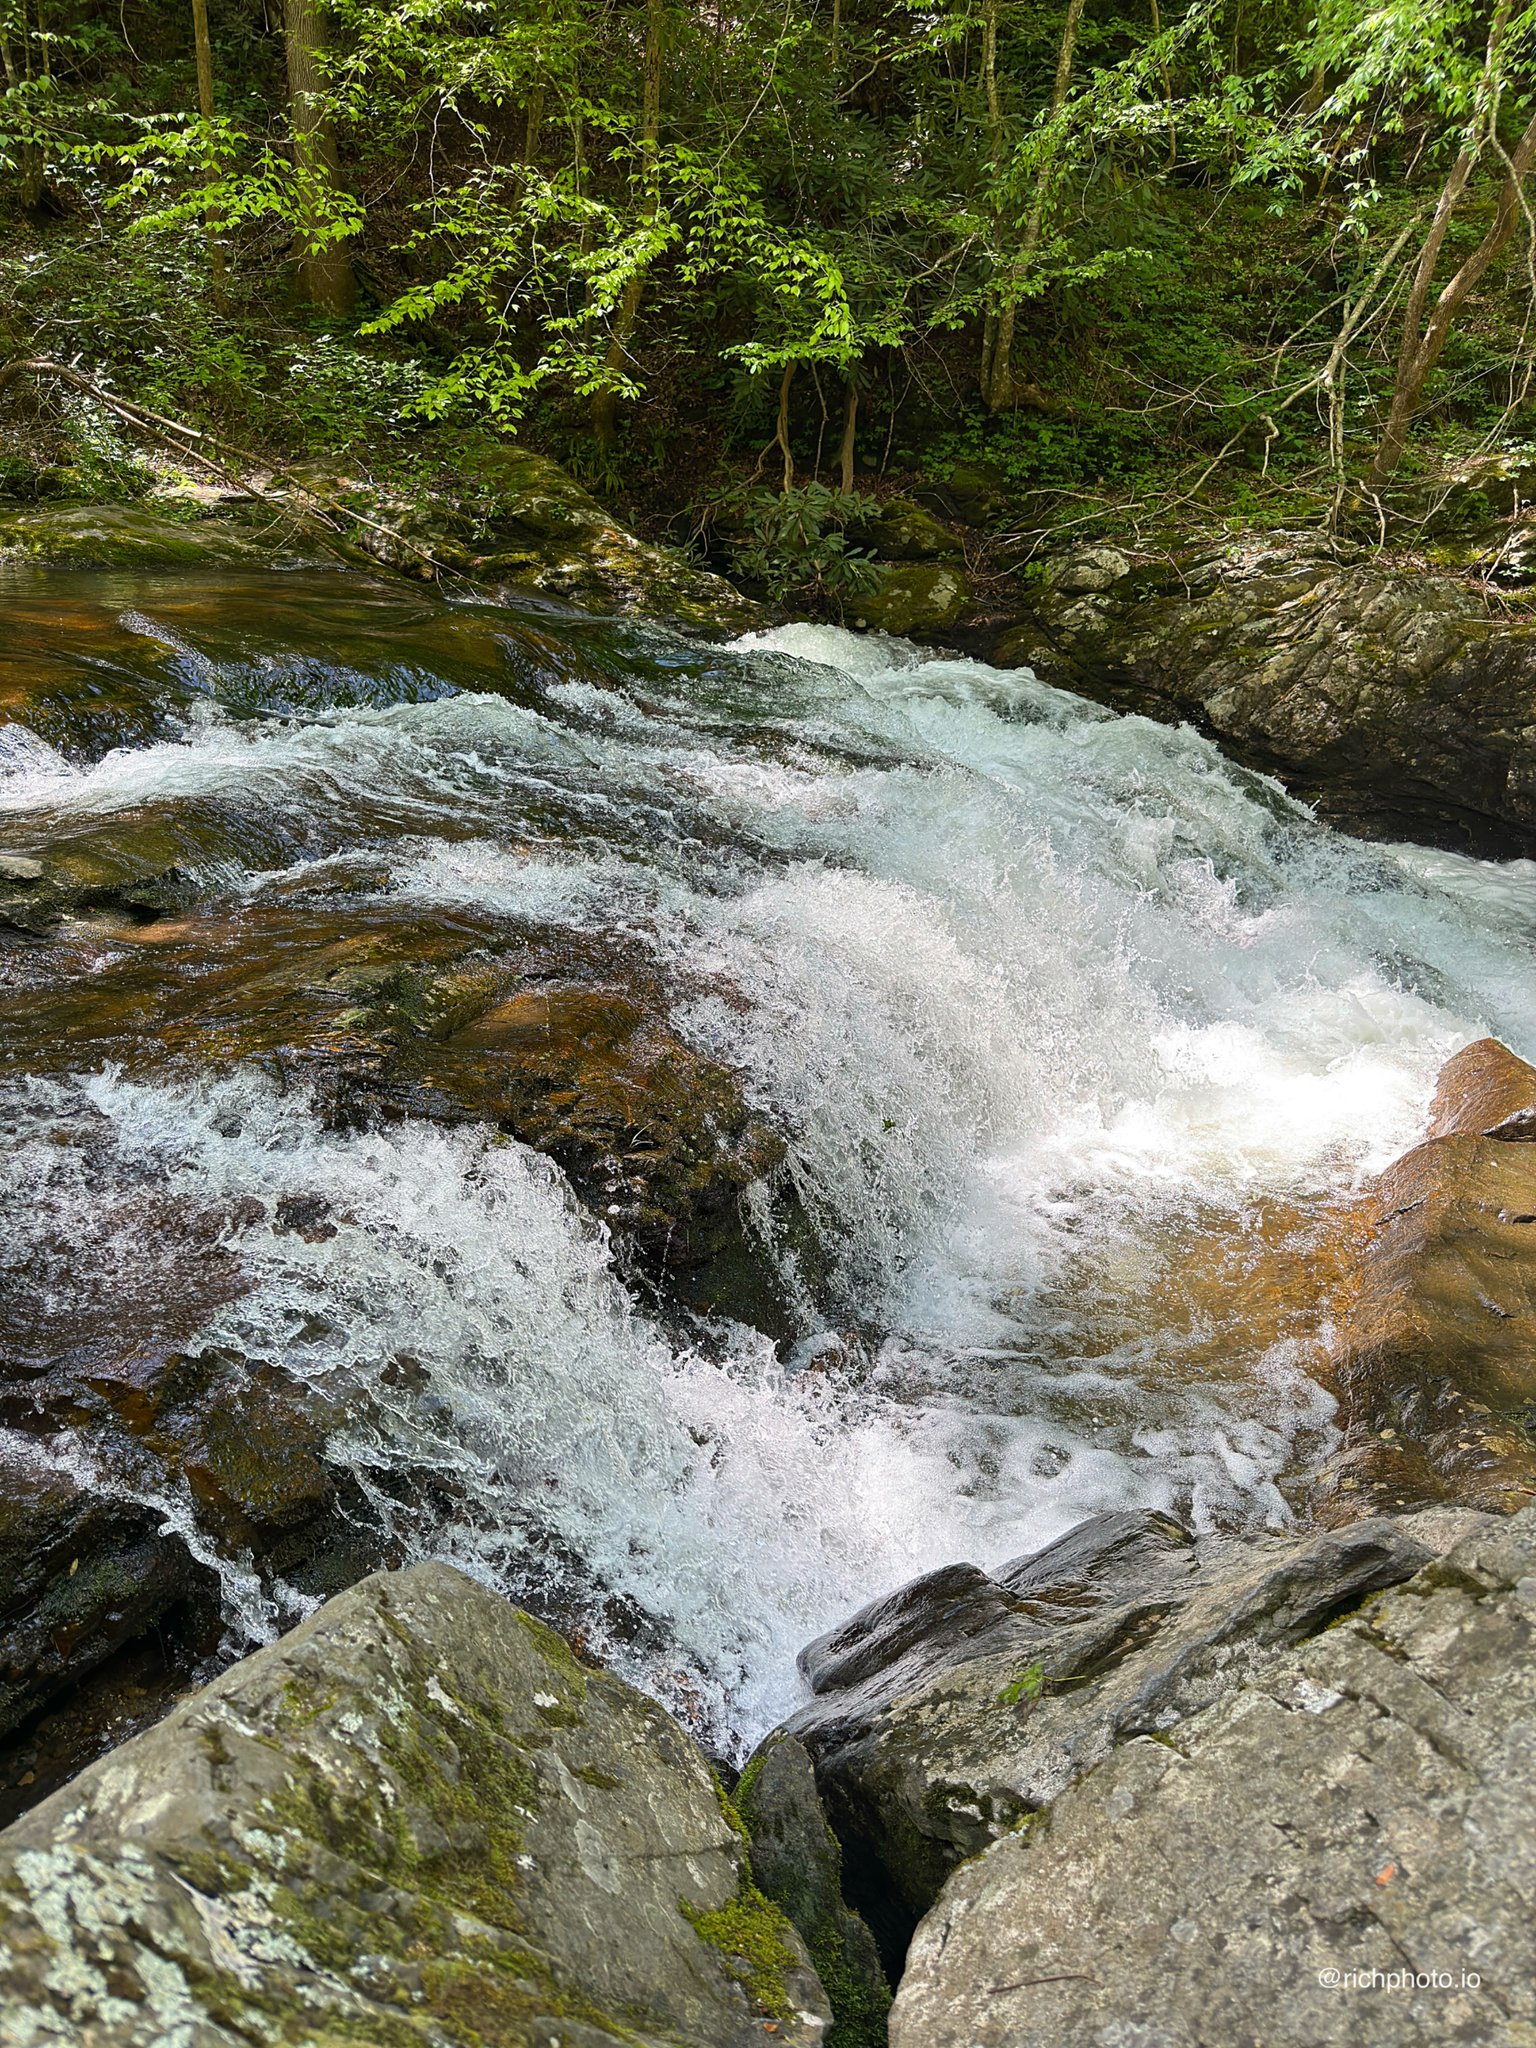
Harsh midday sun is the silent killer of waterfall shots. It creates bright glare on the water and deep shadows everywhere else, leaving your phone fighting a losing battle. Instead, go early morning or late afternoon when the light is softer and warmer. Overcast days are even better—they act like a giant softbox and make the colors pop without the drama. I’ve ruined plenty of shots by showing up at noon and wondering why everything looked like it was under fluorescent lights. Good timing makes everything else way easier.
Get Steady – Stability Is Everything
Moving water + shaky hands = instant blurry disappointment. Plant your feet, lean against a rock or railing, or rest your phone on a stable surface like a log or fence post. On both iPhone and Android, use the volume buttons on the side as your shutter instead of tapping the screen. Set the self-timer for 3 seconds so you can let go completely. It feels a little silly standing there waiting, but the sharper results are worth it.
Long Exposure Magic for Silky Water
This is the trick that turns a regular waterfall into the kind of shot people stop scrolling for—that smooth, cotton-candy flow while the rocks stay crisp.
On iPhone: Switch to Live Photos, take the shot, then open it in the Photos app, swipe up, and tap “Long Exposure.” Your phone blends the frames together automatically.
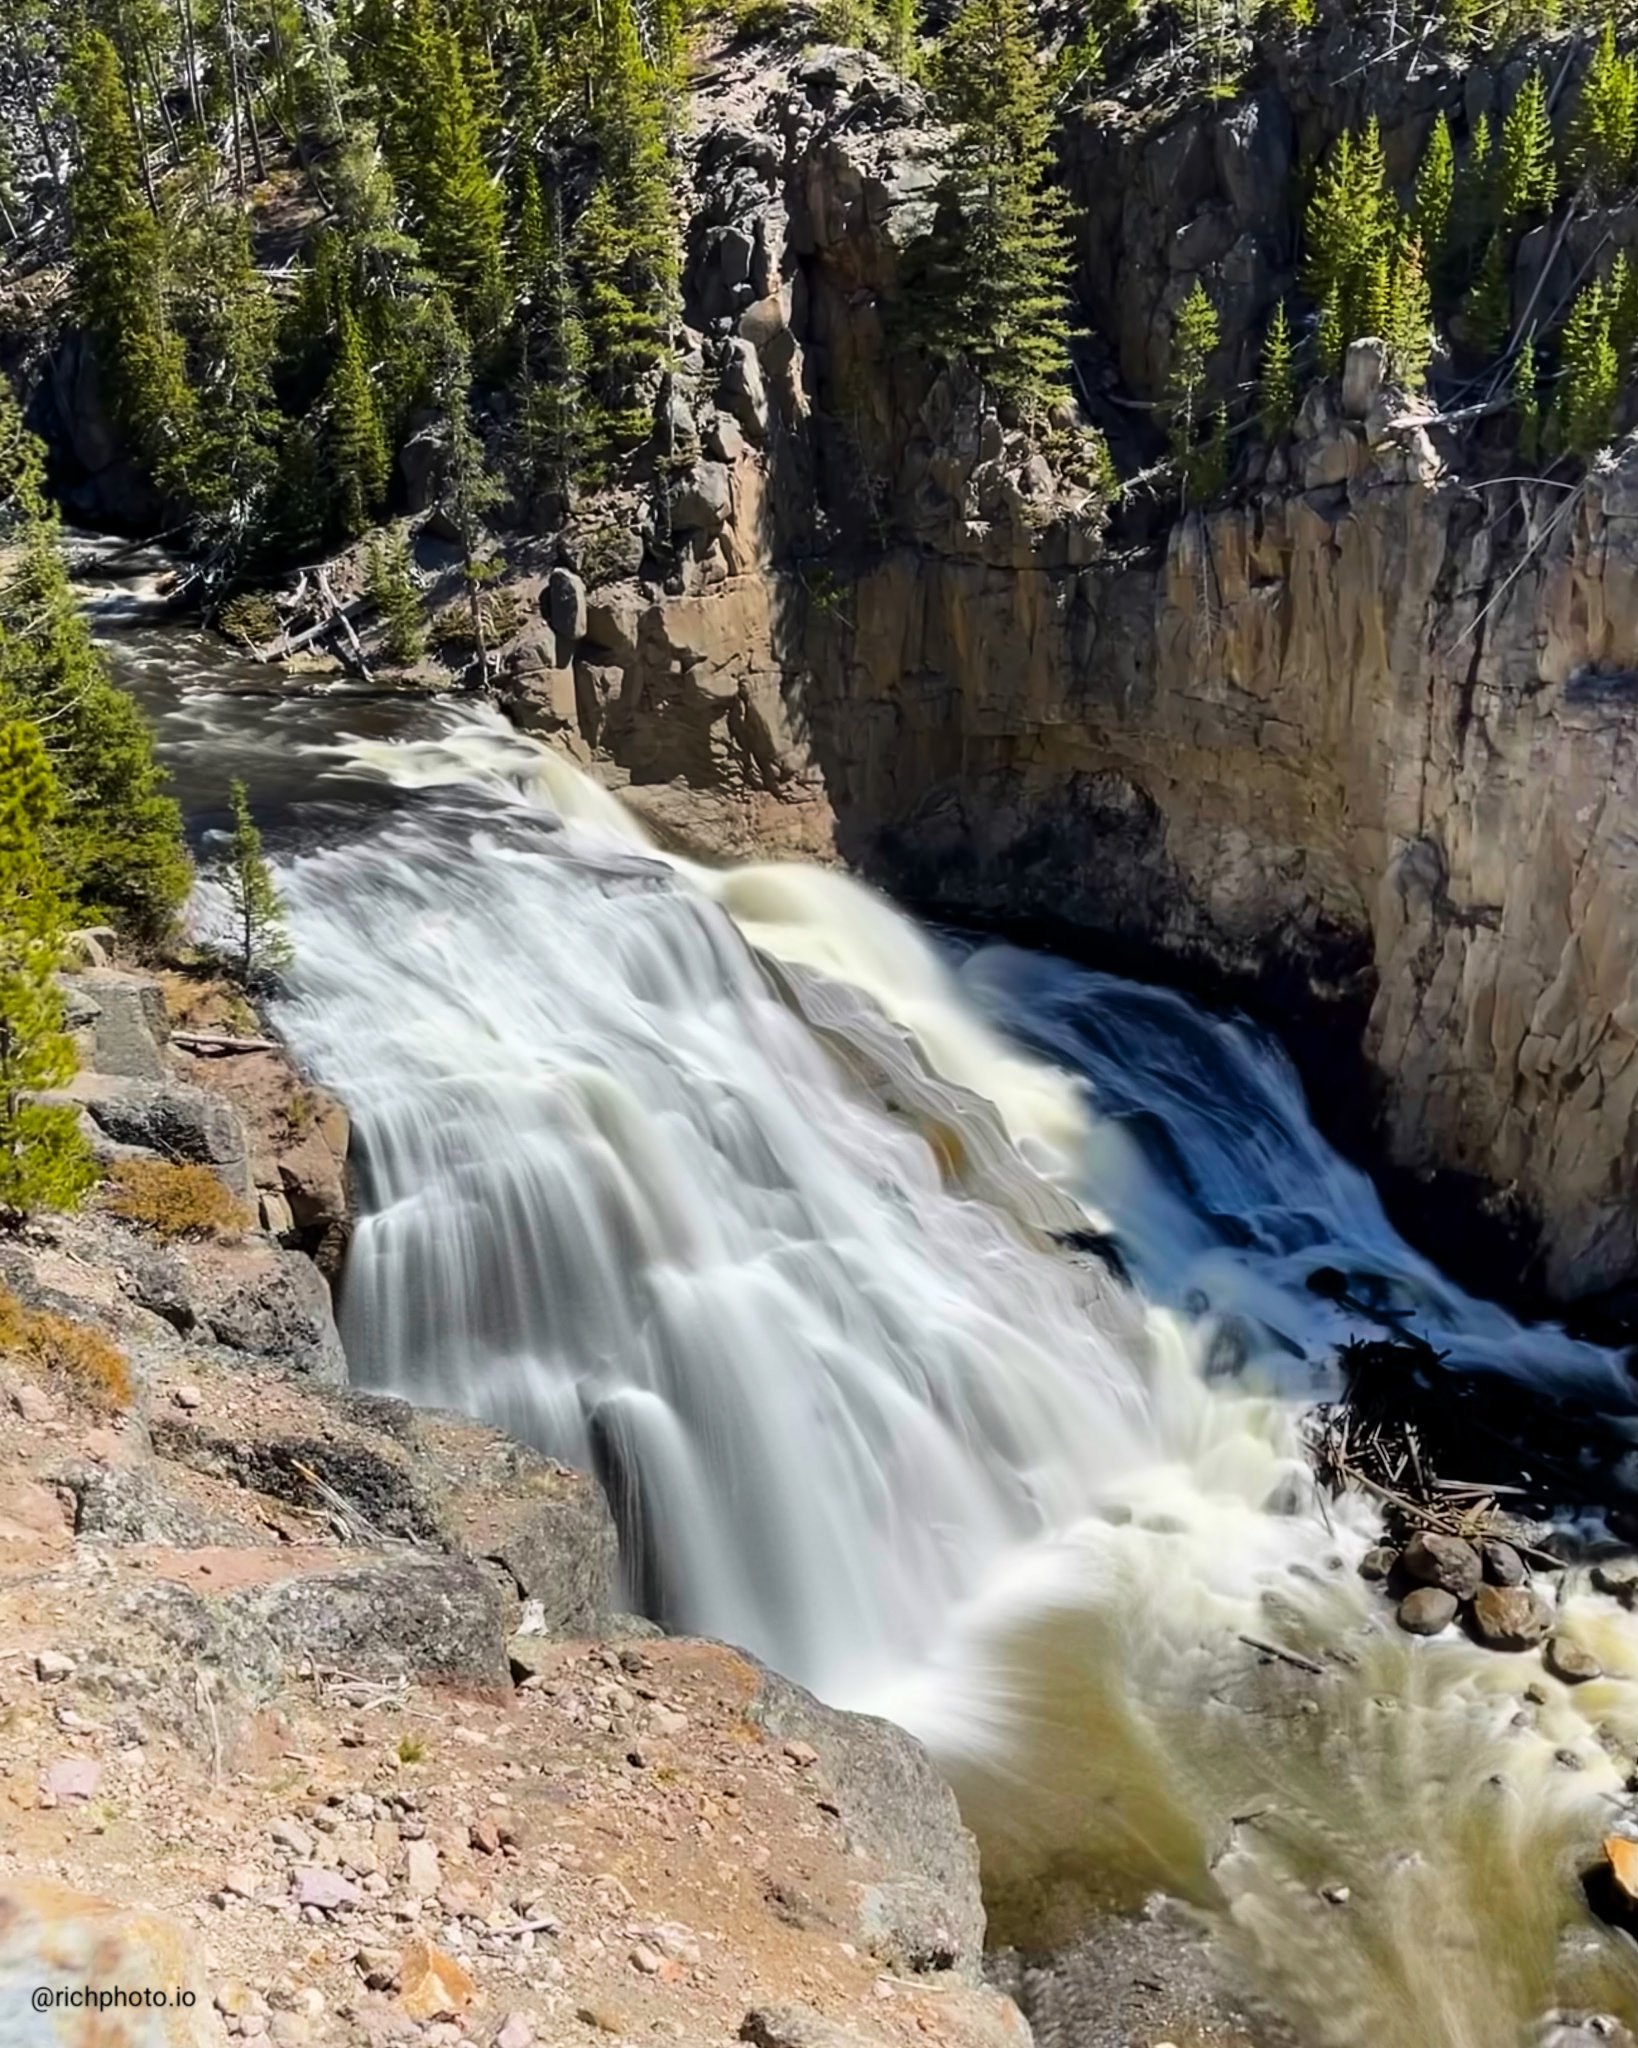
On Android: Many newer phones (Pixel, Samsung, etc.) have a built-in “Long Exposure,” “Night,” or Pro mode. Switch to Pro and dial the shutter speed down to ¼ second or slower. If your phone doesn’t have it, free apps like Open Camera or Slow Shutter Cam work great.
The secret is keeping the phone dead still during the exposure. Start with shorter times and work your way longer as you get steadier. It feels like cheating once you see the result.
Find the Best Angle and Composition
Don’t just stand where everyone else does. Walk around, get low, or step back for a wider view. Look for leading lines—the flow of the water itself or rocks that guide the eye toward the falls. Turn on your grid lines (in Settings > Camera) and use the rule of thirds so the main drop isn’t dead center. Portrait mode works great for tall waterfalls; landscape is perfect for wider cascades. A little foreground interest (like wet rocks or leaves) adds depth and makes the shot feel three-dimensional.
Handle the Mist and Spray
Waterfalls throw mist everywhere, and that beautiful spray can quickly turn into annoying lens fog. Keep a microfiber cloth handy and wipe the lens between shots. If it’s really misty, position yourself slightly off to the side instead of straight in front of the heaviest flow. A cheap plastic bag or phone rain sleeve can be a lifesaver on bigger waterfalls. Pro move: embrace a little mist in the air—it can actually soften the scene beautifully in your long exposures.
Quick Edits to Make It Pop
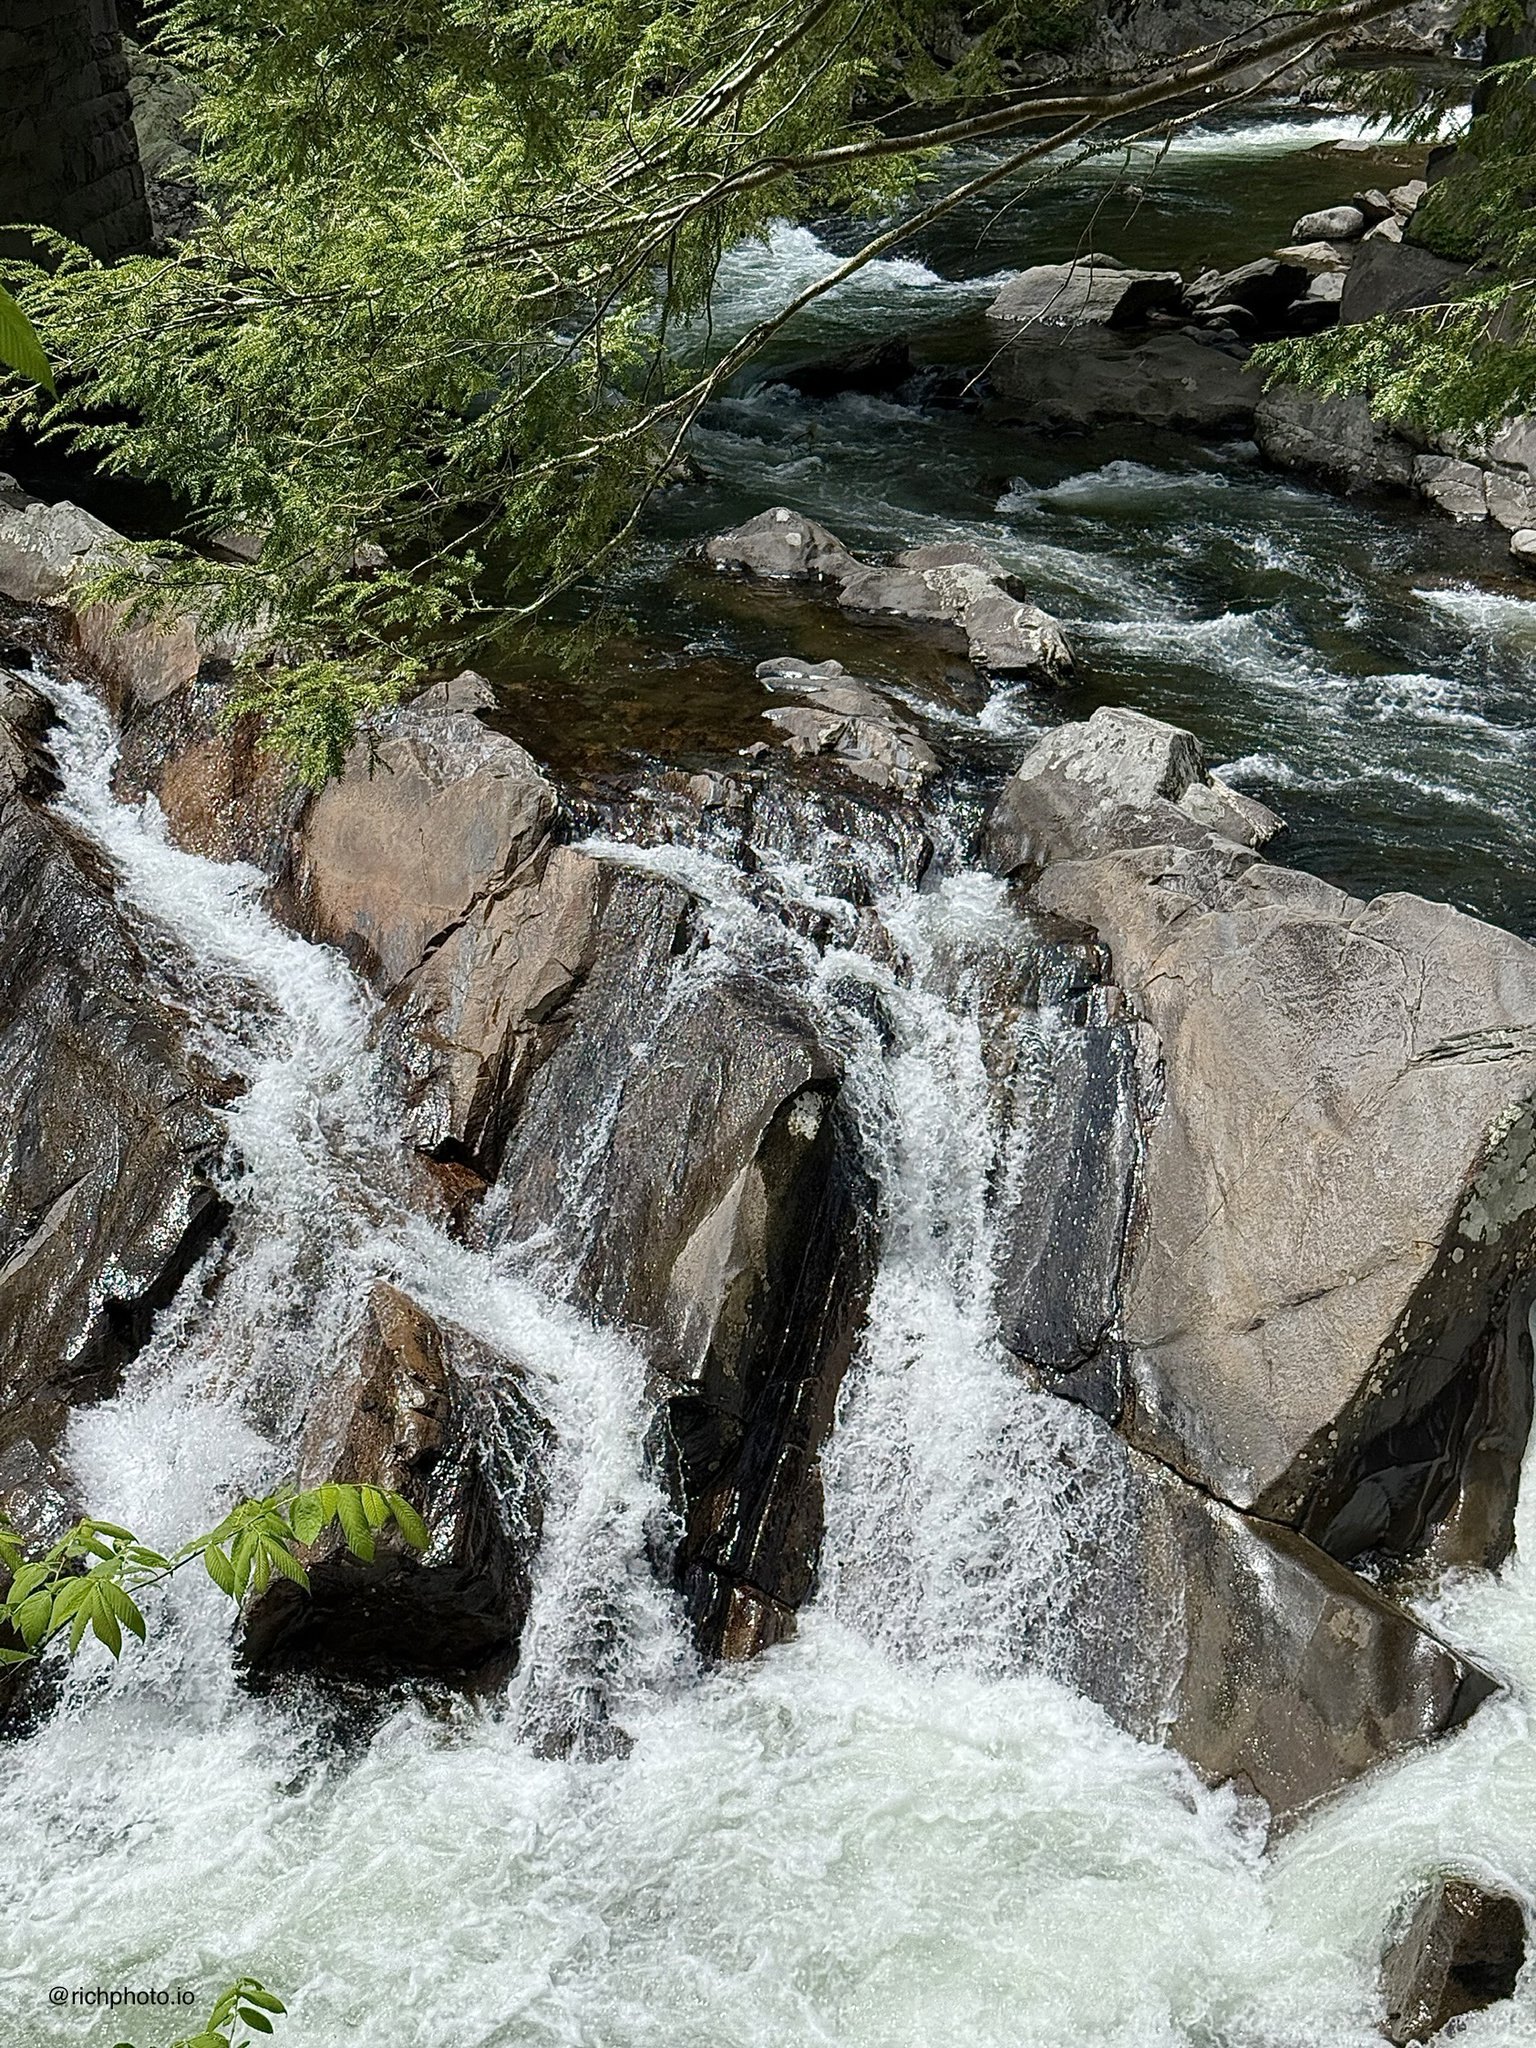
You’re not done when you hit the shutter. Open the photo and give it a light touch: bump the contrast so the white water stands out against the dark rocks, add a touch of vibrance to the greens and blues, and crop out any distractions. Both iPhone and Android’s built-in editors are plenty powerful for this. My rule—edit until it looks like what your eyes actually saw, then stop. Overdoing it makes the photo look fake fast.
The long exposure trick alone can make your waterfall photos look like they came from a much bigger camera, and once you nail the timing and steadiness, everything else falls into place. Next time you hear that rush of water, slow down, play with the angles, and let your phone do the heavy lifting—you might surprise yourself with how good the results turn out.
Thanks for reading—got a favorite waterfall you want to shoot? Drop your best waterfall shot in the comments if you try these tips. Can’t wait to see what you capture! 💦📱
Rich Photography · Lexington, Kentucky