June 6, 2026
Moon Photography on Your iPhone - How to capture sharp, detailed moon shots without a telescope
The moon looks incredible hanging in the sky, but most iPhone photos of it turn out as a blurry white blob or a featureless bright circle.
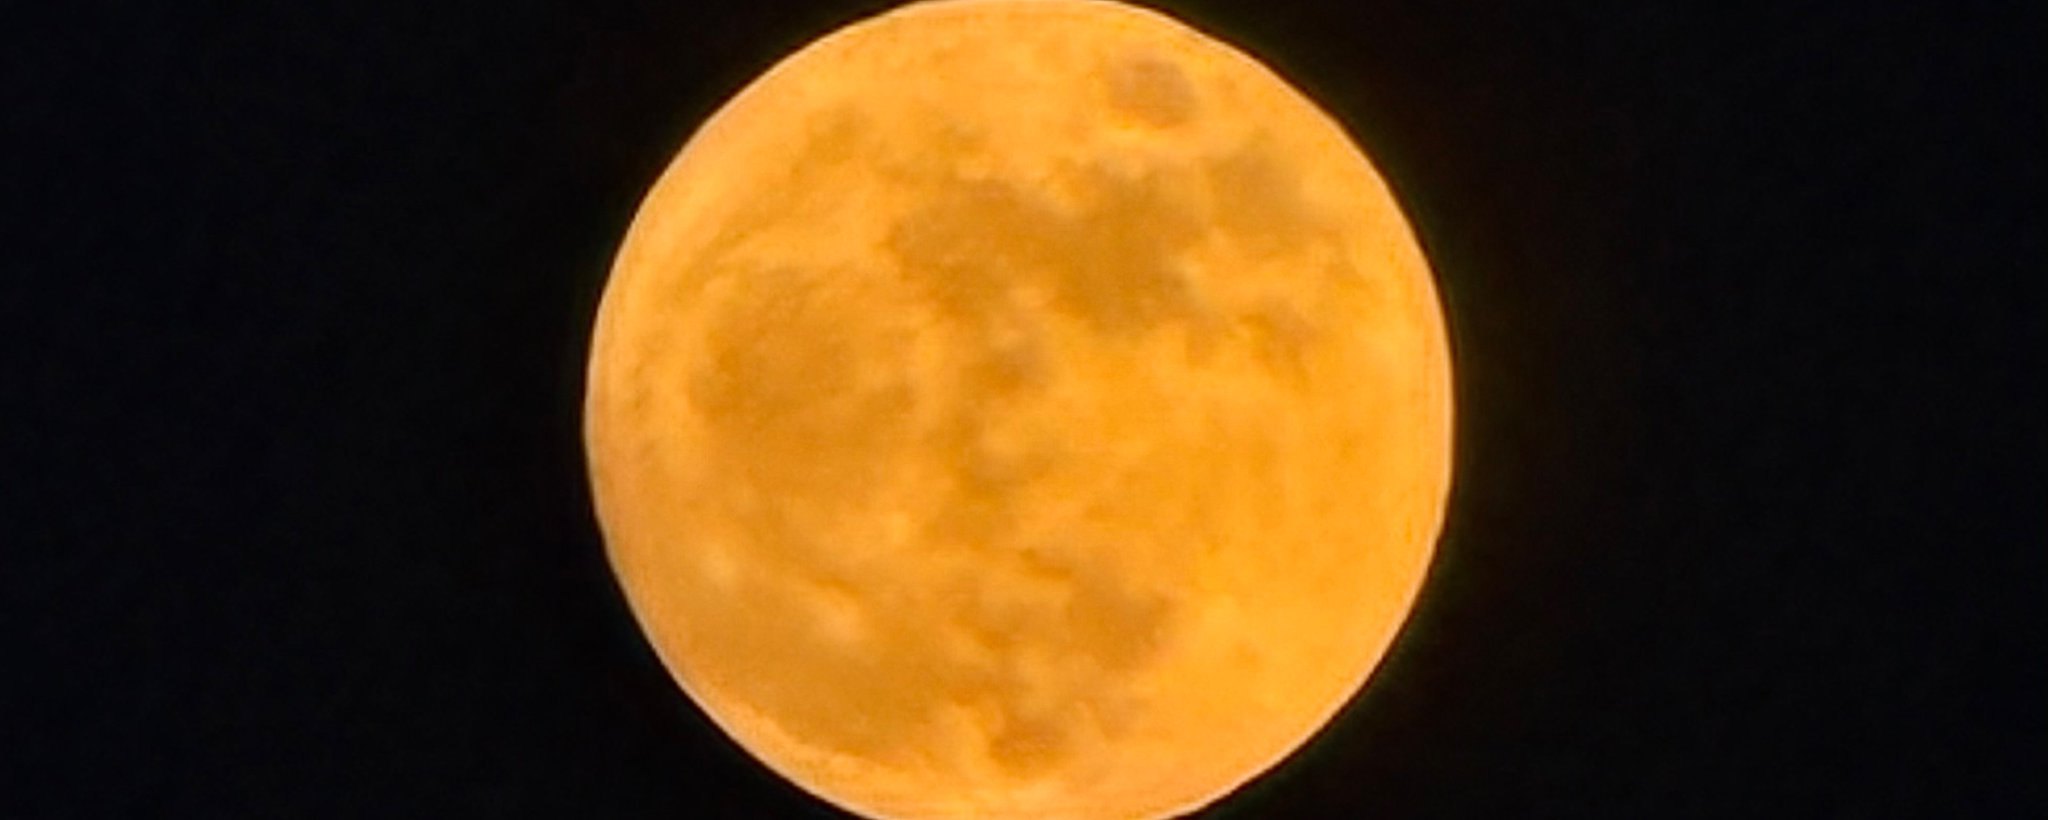
The moon looks incredible hanging in the sky, but most iPhone photos of it turn out as a blurry white blob or a featureless bright circle. The good news? Newer iPhones are surprisingly good at this with the right technique. No tripod required (though it helps), no extra apps needed, and you can get results that actually show craters and texture.
Time It Right
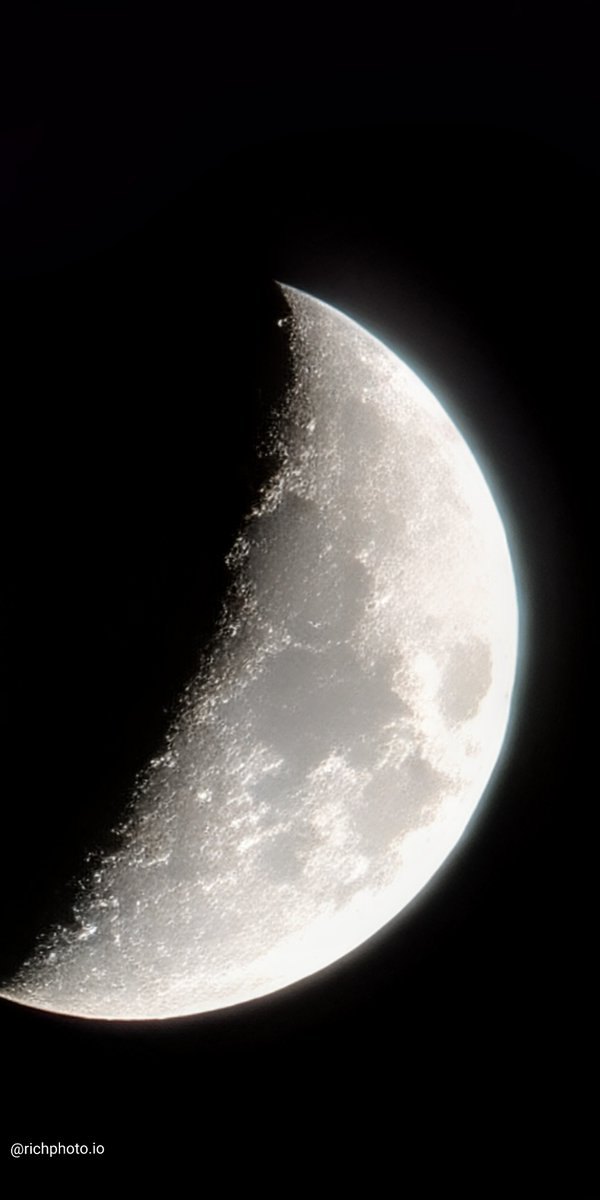
The moon is easiest to shoot when it is rising or setting and appears larger near the horizon. Check a moon phase app and aim for a clear night. Full moons are bright and dramatic, but a gibbous or crescent phase often shows more surface detail because of the angled light creating shadows in the craters. Avoid nights with a bright full moon high in the sky — the lower and bigger it looks, the better your phone can capture it. Planning ahead with an app like PhotoPills or just the built-in Weather app can help you catch the moon at its most photogenic moments.
Stability Is Everything
Even tiny movements destroy moon photos. Rest your iPhone on a stable surface like a fence, car hood, or rock. A tripod is the best way, but any stable item will do in a pinch. Use the volume buttons as your shutter and set the 3-second self-timer so you are not touching the phone during the exposure. Brace your arms against your body if you have to hand-hold it. The steadier you are, the sharper the result. I have learned the hard way that even breathing too heavily can soften the shot, so take a deep breath and hold it right before the timer finishes. The header photo on this article was captured handheld, so it can be done!
Let Night Mode Do the Heavy Lifting
Point your iPhone at the moon and wait for Night mode to activate (the yellow moon icon). Tap the number at the top to extend the exposure time as long as possible. On recent iPhones, Night mode does an excellent job stacking multiple frames and reducing noise. Tap and hold on the moon itself to lock focus and exposure, then drag the sun icon down slightly to prevent the moon from blowing out. This automatic stacking is pure computational magic that turns a simple point-and-shoot into something much more impressive.
Adjust Exposure in the Viewfinder
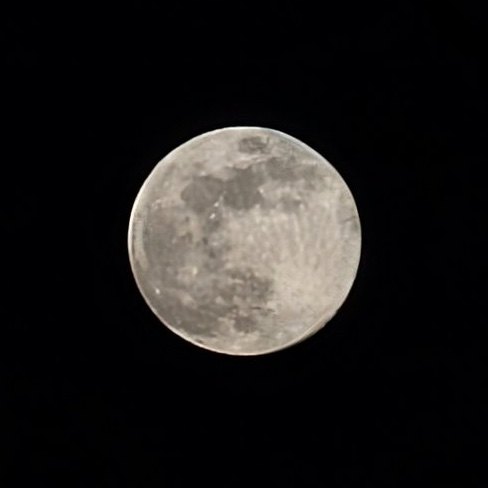
Before you even tap the shutter button, get your exposure dialed in while looking through the viewfinder. Tap and hold directly on the moon until the yellow AE/AF lock box appears, then drag the sun icon downward to lower the overall brightness. This simple step prevents the moon from turning into a washed-out white blob and helps preserve crater details and surface texture right from the start. Taking a few seconds to fine-tune exposure live almost always gives you better results than fixing everything in editing later.
Add Context for Better Composition
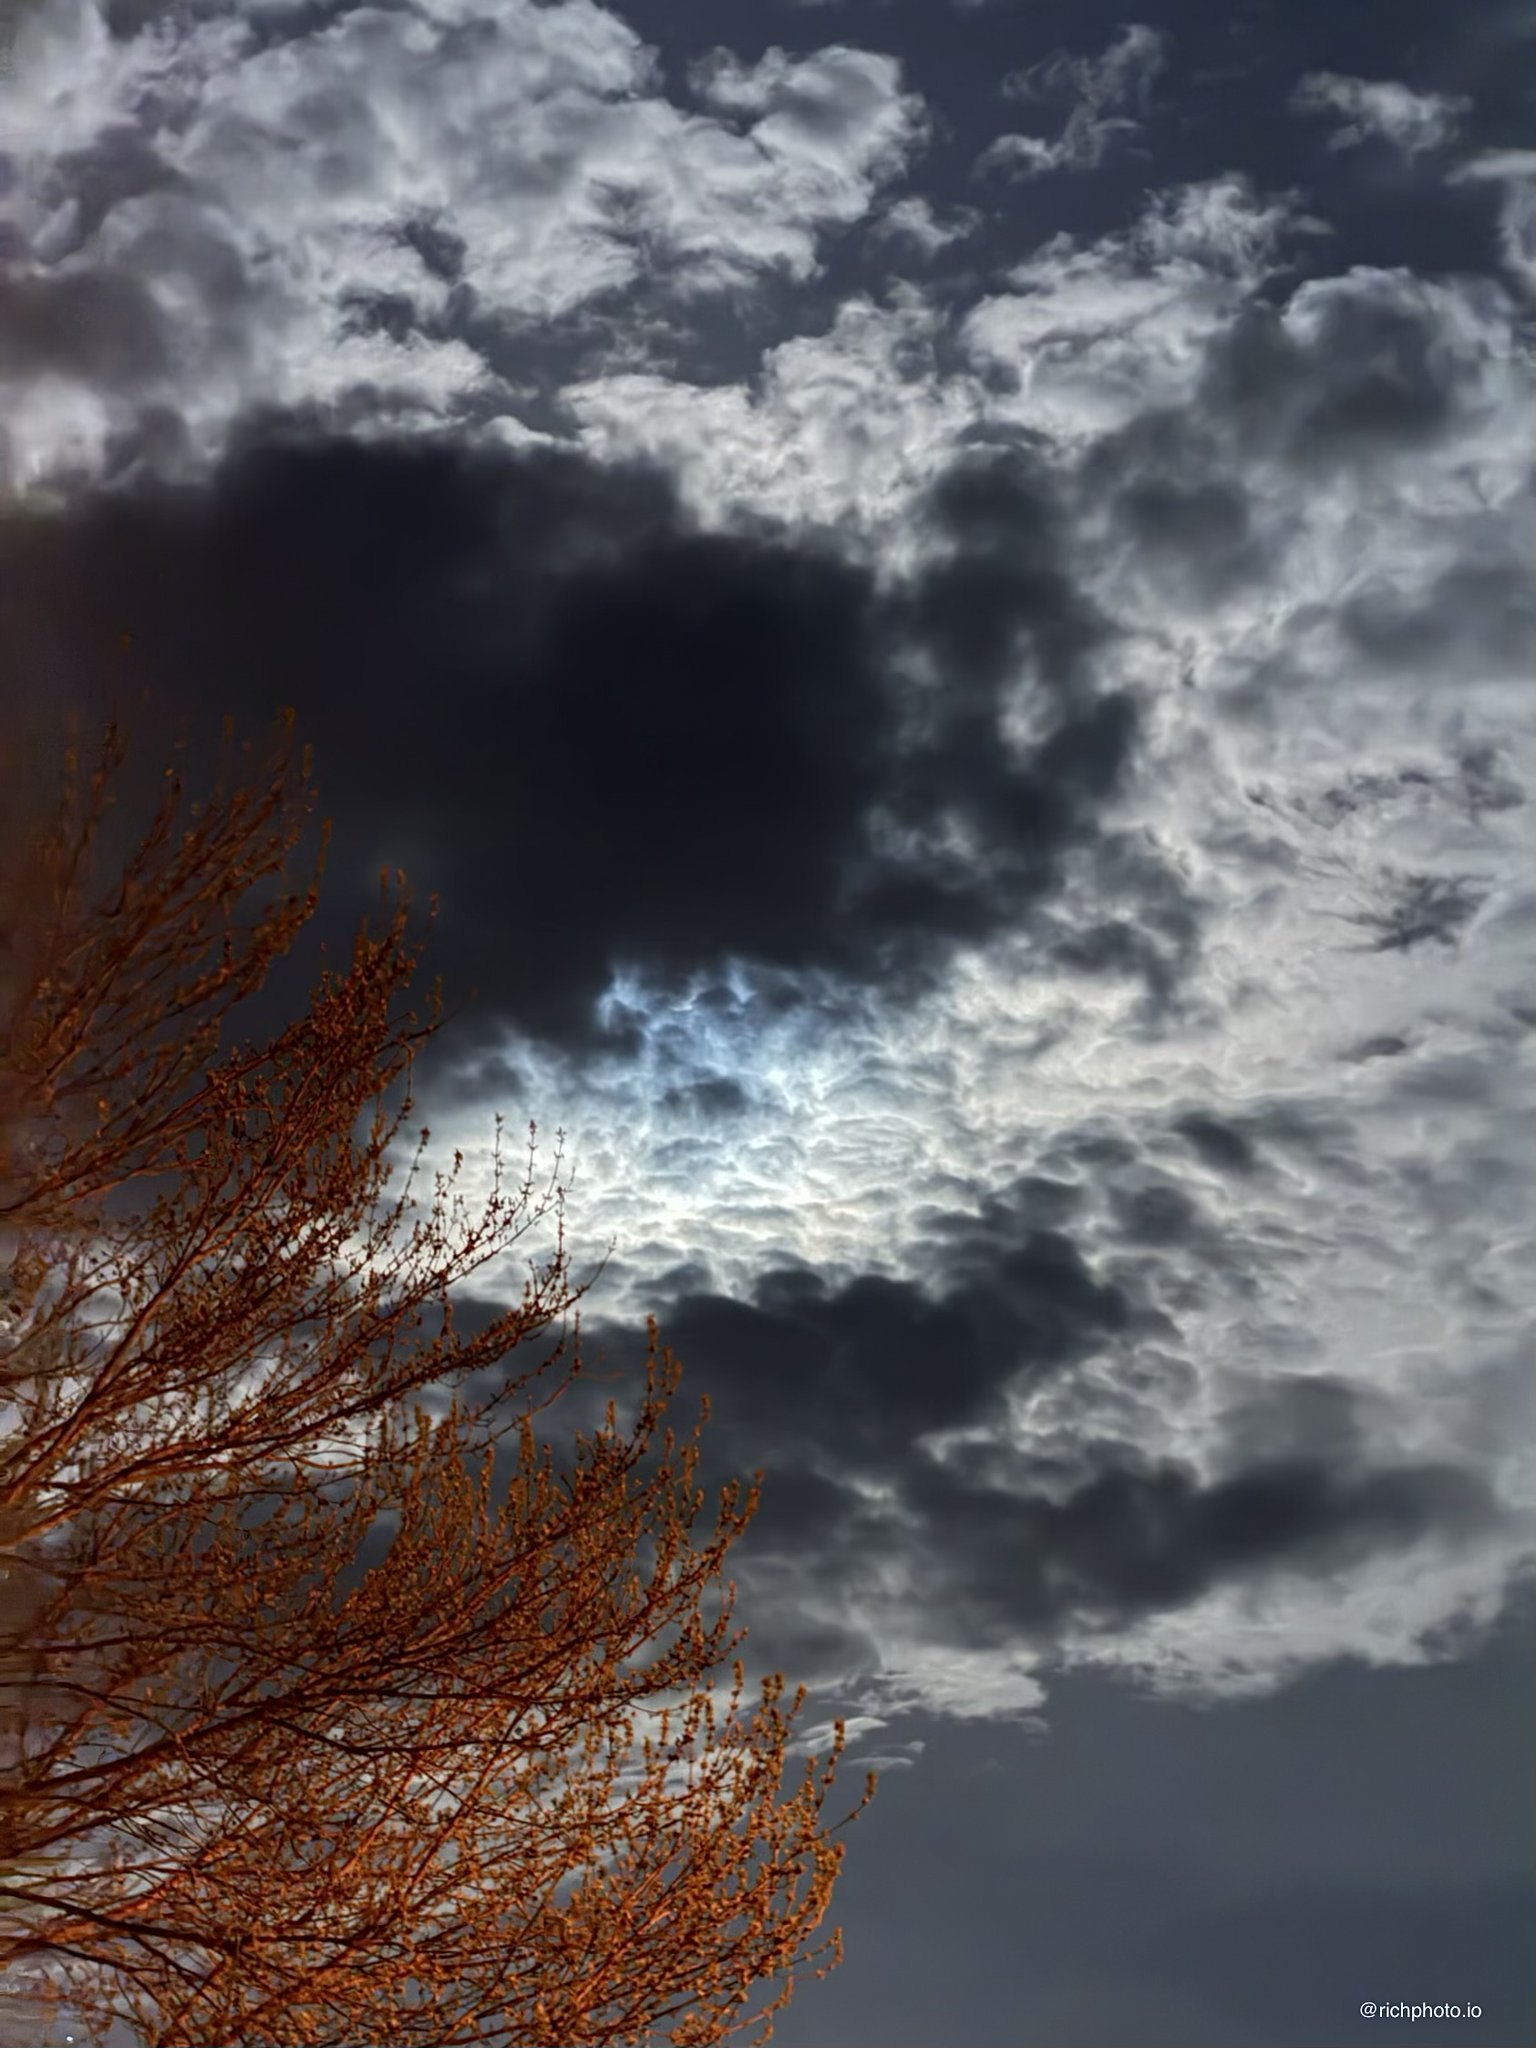
A lone moon floating in black sky is nice, but it gets boring fast. Include a foreground element like a tree silhouette, mountain ridge, building, or even your hand “holding” the moon. This gives the photo scale and tells a story. Turn on the grid in Settings > Camera and use the rule of thirds to place the moon off-center. Portrait orientation works great for vertical compositions. These little additions turn a basic moon shot into something people actually stop to look at and comment on.
Pro Tips for Cleaner Shots
Zoom with your feet first, then use optical zoom (usually 4x or 5x) instead of digital pinch-zoom.
Shoot in RAW if your iPhone supports it for more editing flexibility later.
If the moon is too bright, try switching to ProRAW or using a third-party camera app with manual controls.
These small adjustments make a noticeable difference, especially as you get more comfortable shooting at night.
Quick Edits to Make It Pop
Open the photo in the Photos app and make these adjustments: increase Contrast and Clarity to bring out crater details, pull down Highlights if the moon is still blown out, and add a touch of Definition. A slight crop can make the moon feel more dominant. Keep edits natural — you want it to look like what you actually saw. Sometimes a subtle warmth adjustment helps the moon feel more golden and alive in the frame.
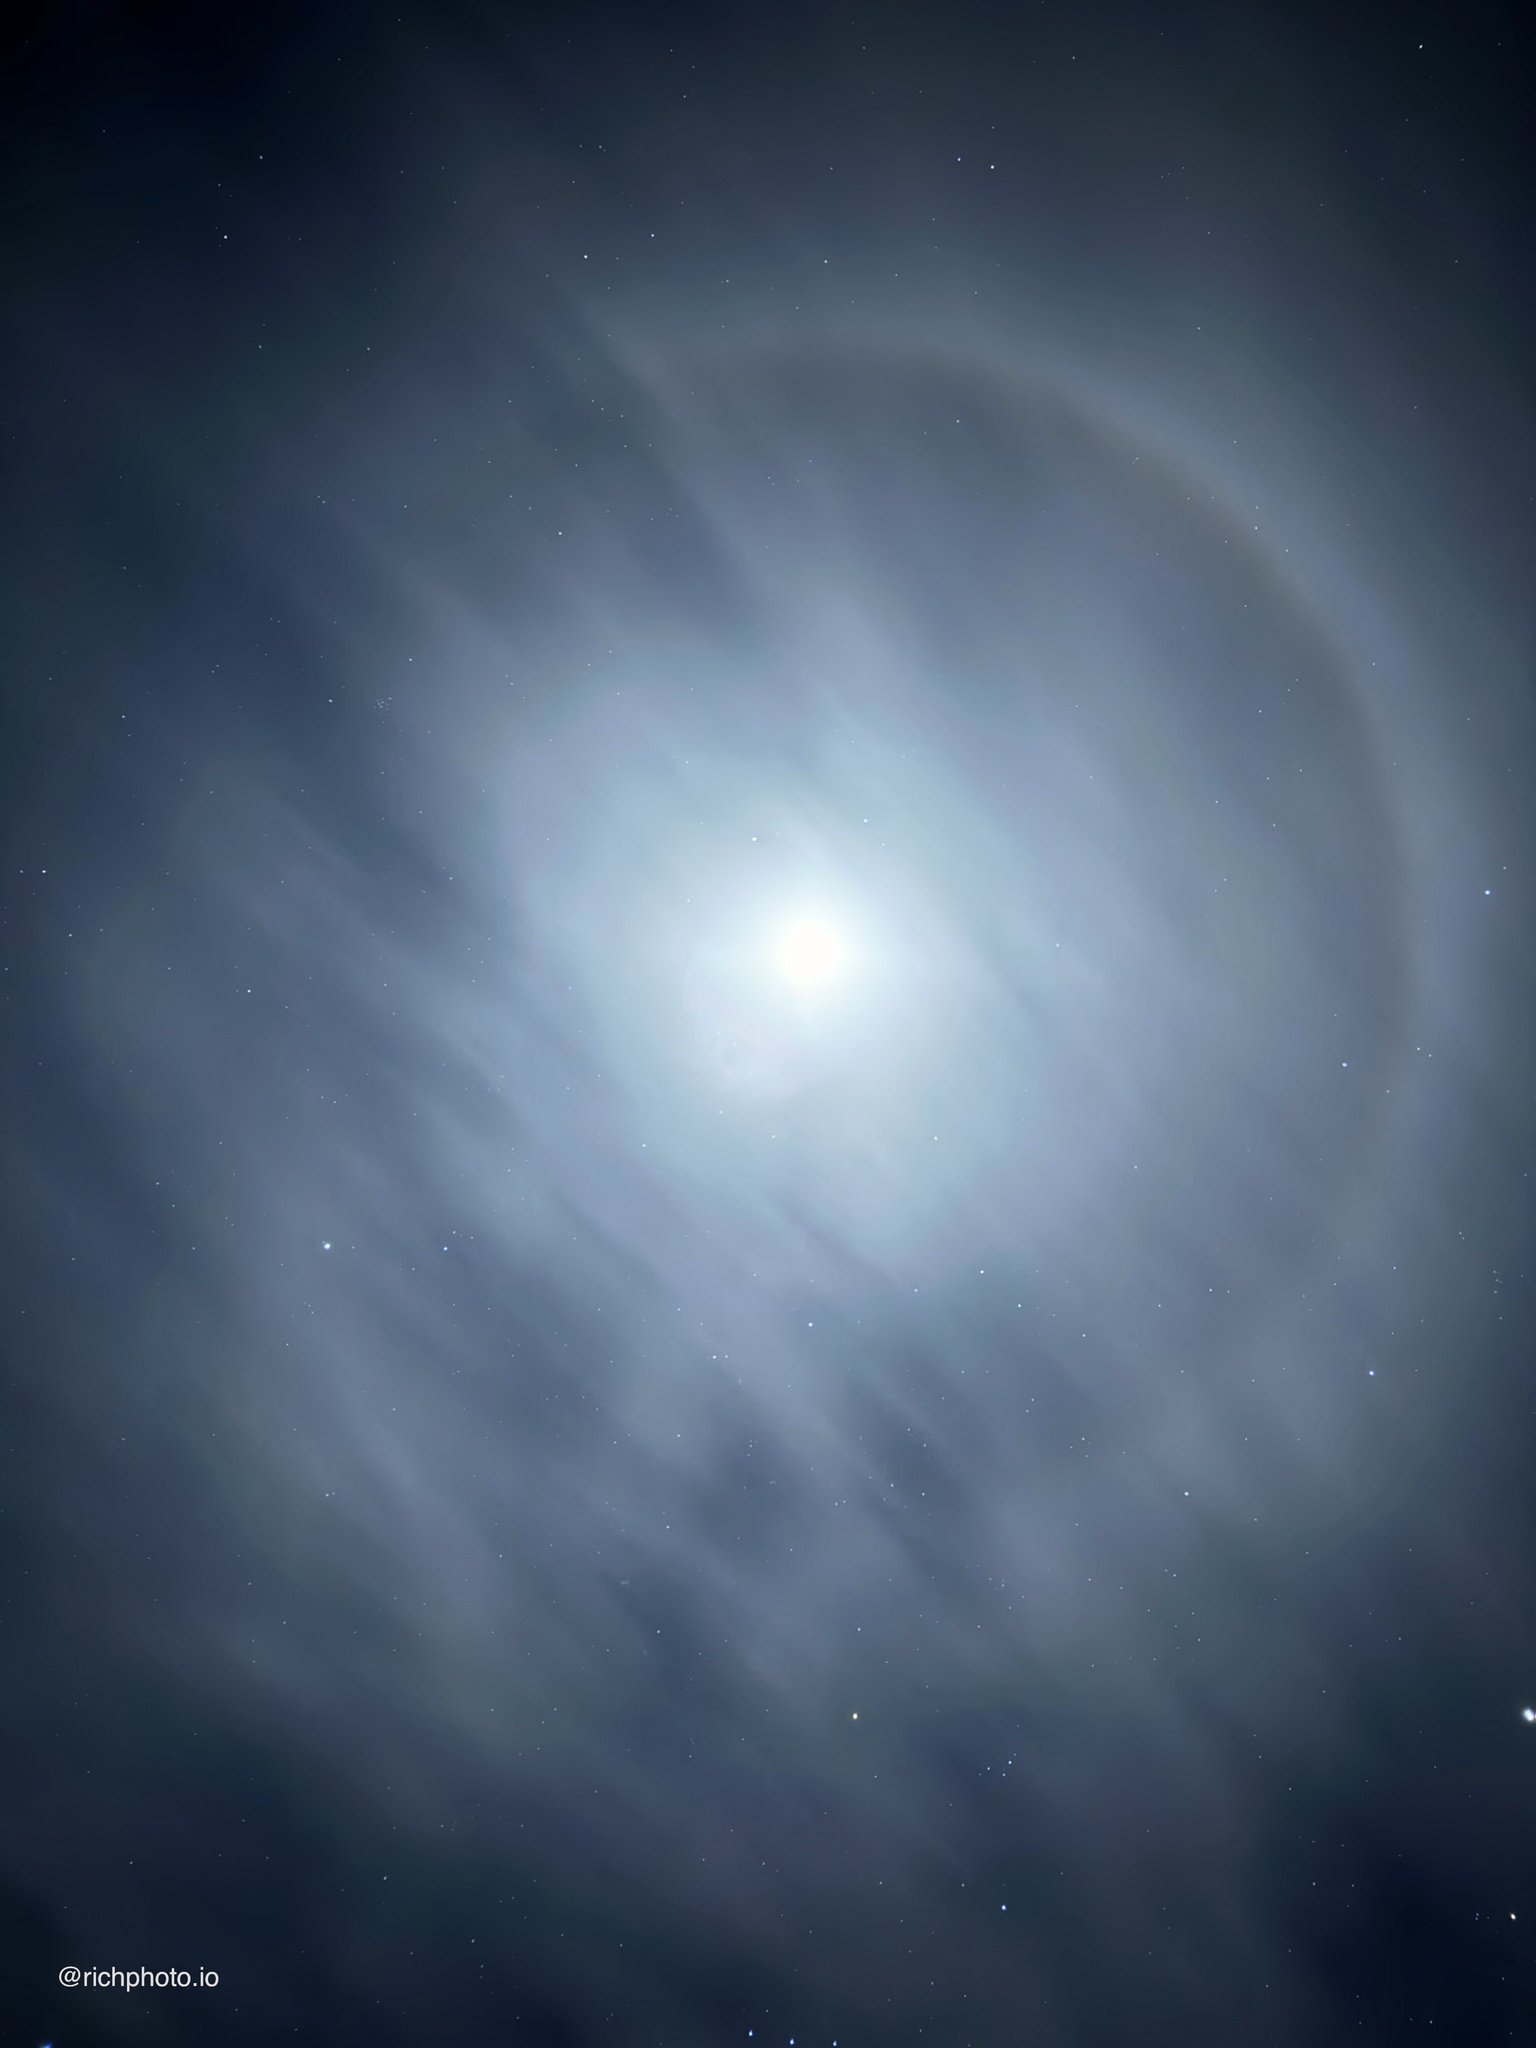
Moon photography on your iPhone is one of those rewarding challenges that never gets old. It forces you to slow down, be patient, and work with what nature gives you. Next clear night, step outside and give it a try. You will be amazed what your phone can pull off with a little technique.
-Rich | richphoto.io
Rich Photography · Lexington, Kentucky