June 16, 2026
iPhone Astrophotography: How to shoot stars and the Milky Way with just your iPhone
Capturing the night sky with your iPhone feels almost like magic.
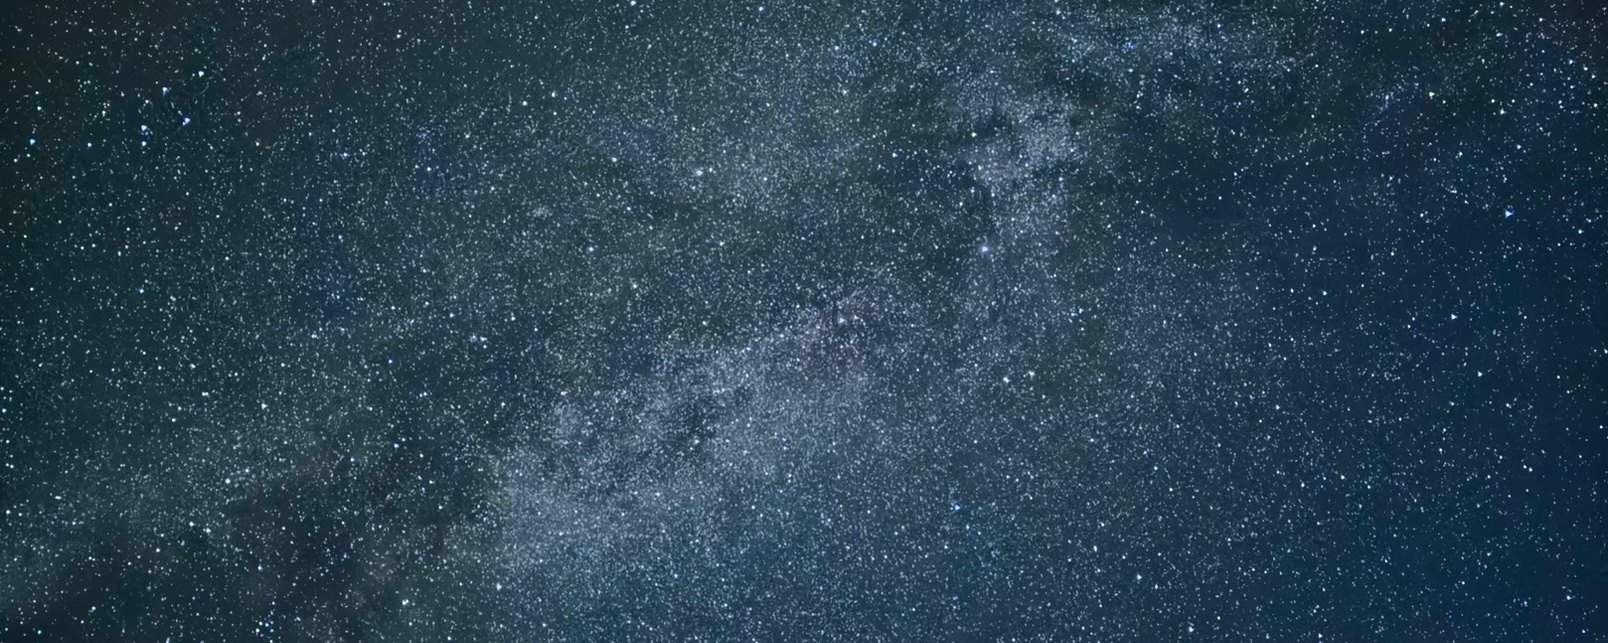
Capturing the night sky with your iPhone feels almost like magic. What used to require expensive cameras and tripods is now possible with recent iPhones thanks to powerful Night mode and computational photography. Whether you are chasing the Milky Way or just a beautiful star field, these tips will help you get sharp, impressive results without fancy gear. All it takes is a little planning and patience.
Find Truly Dark Skies
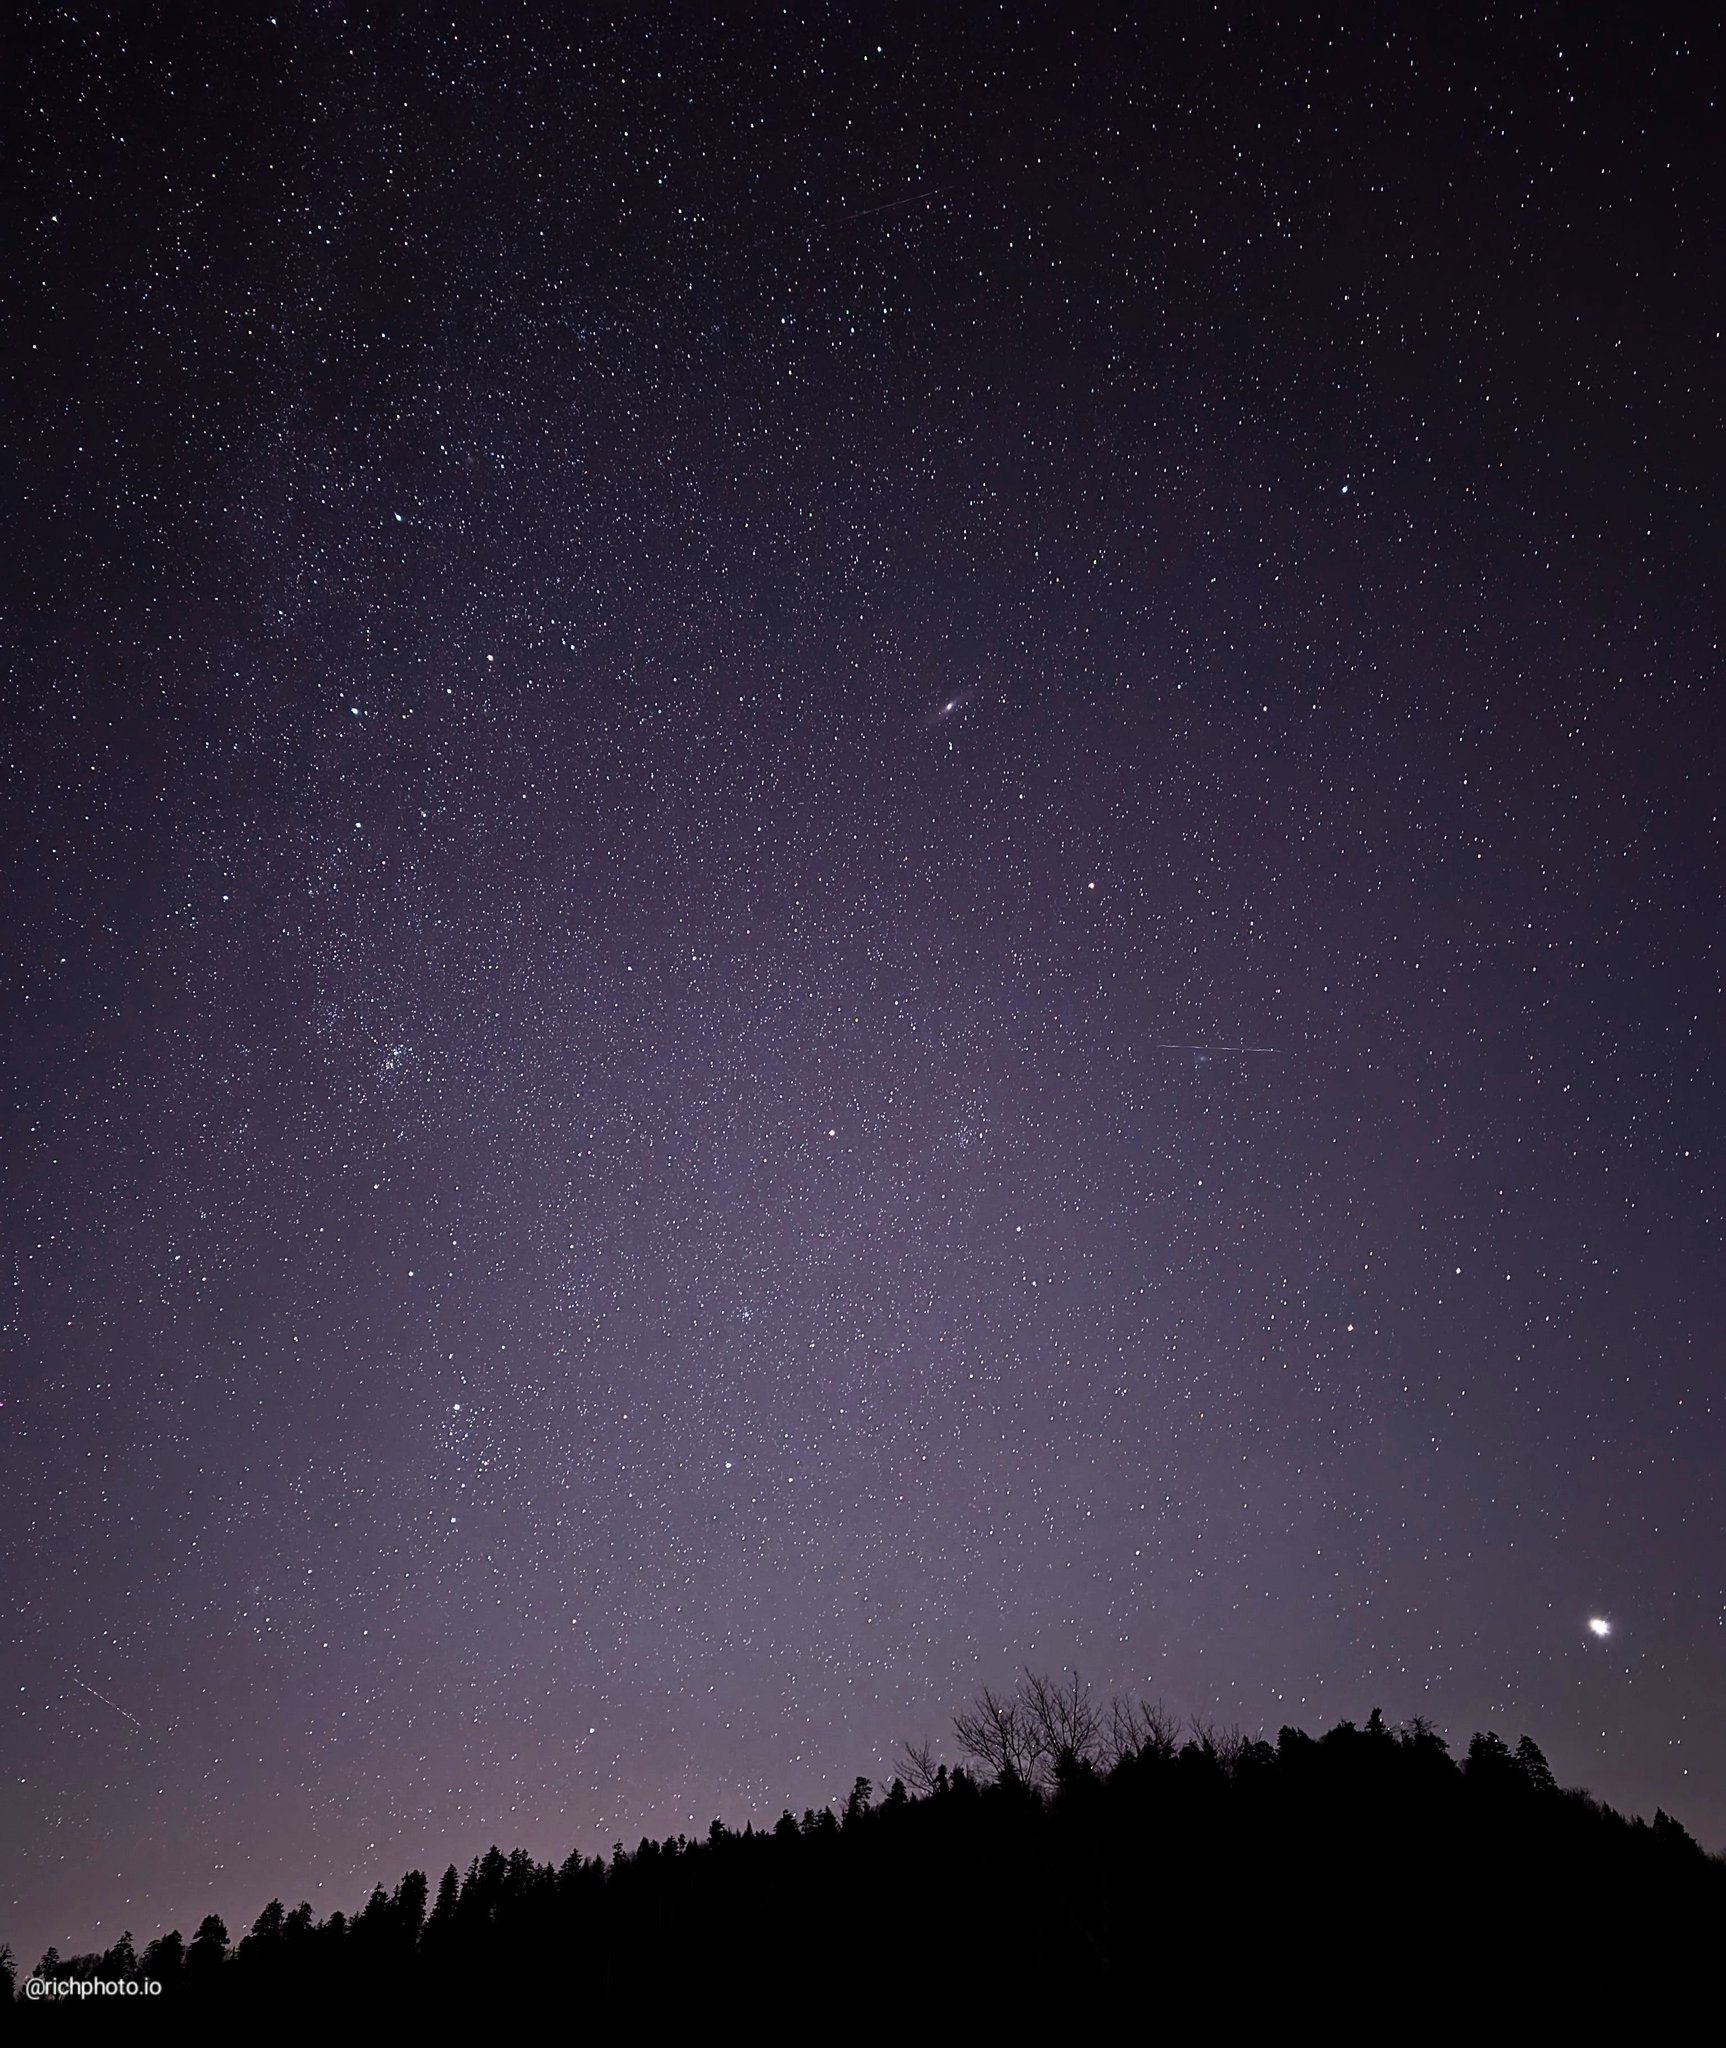
Light pollution kills astrophotography. Get at least 30–60 minutes outside major cities to a rural spot, national park, or dark beach. Use websites like Dark Site Finder or Light Pollution Map to locate the best spots near you. The difference between a suburban backyard and a true dark site is massive. Your iPhone will pull out way more stars the darker the location. I have driven an hour outside town and been rewarded with hundreds more visible stars than I ever see at home.
Pick the Right Conditions
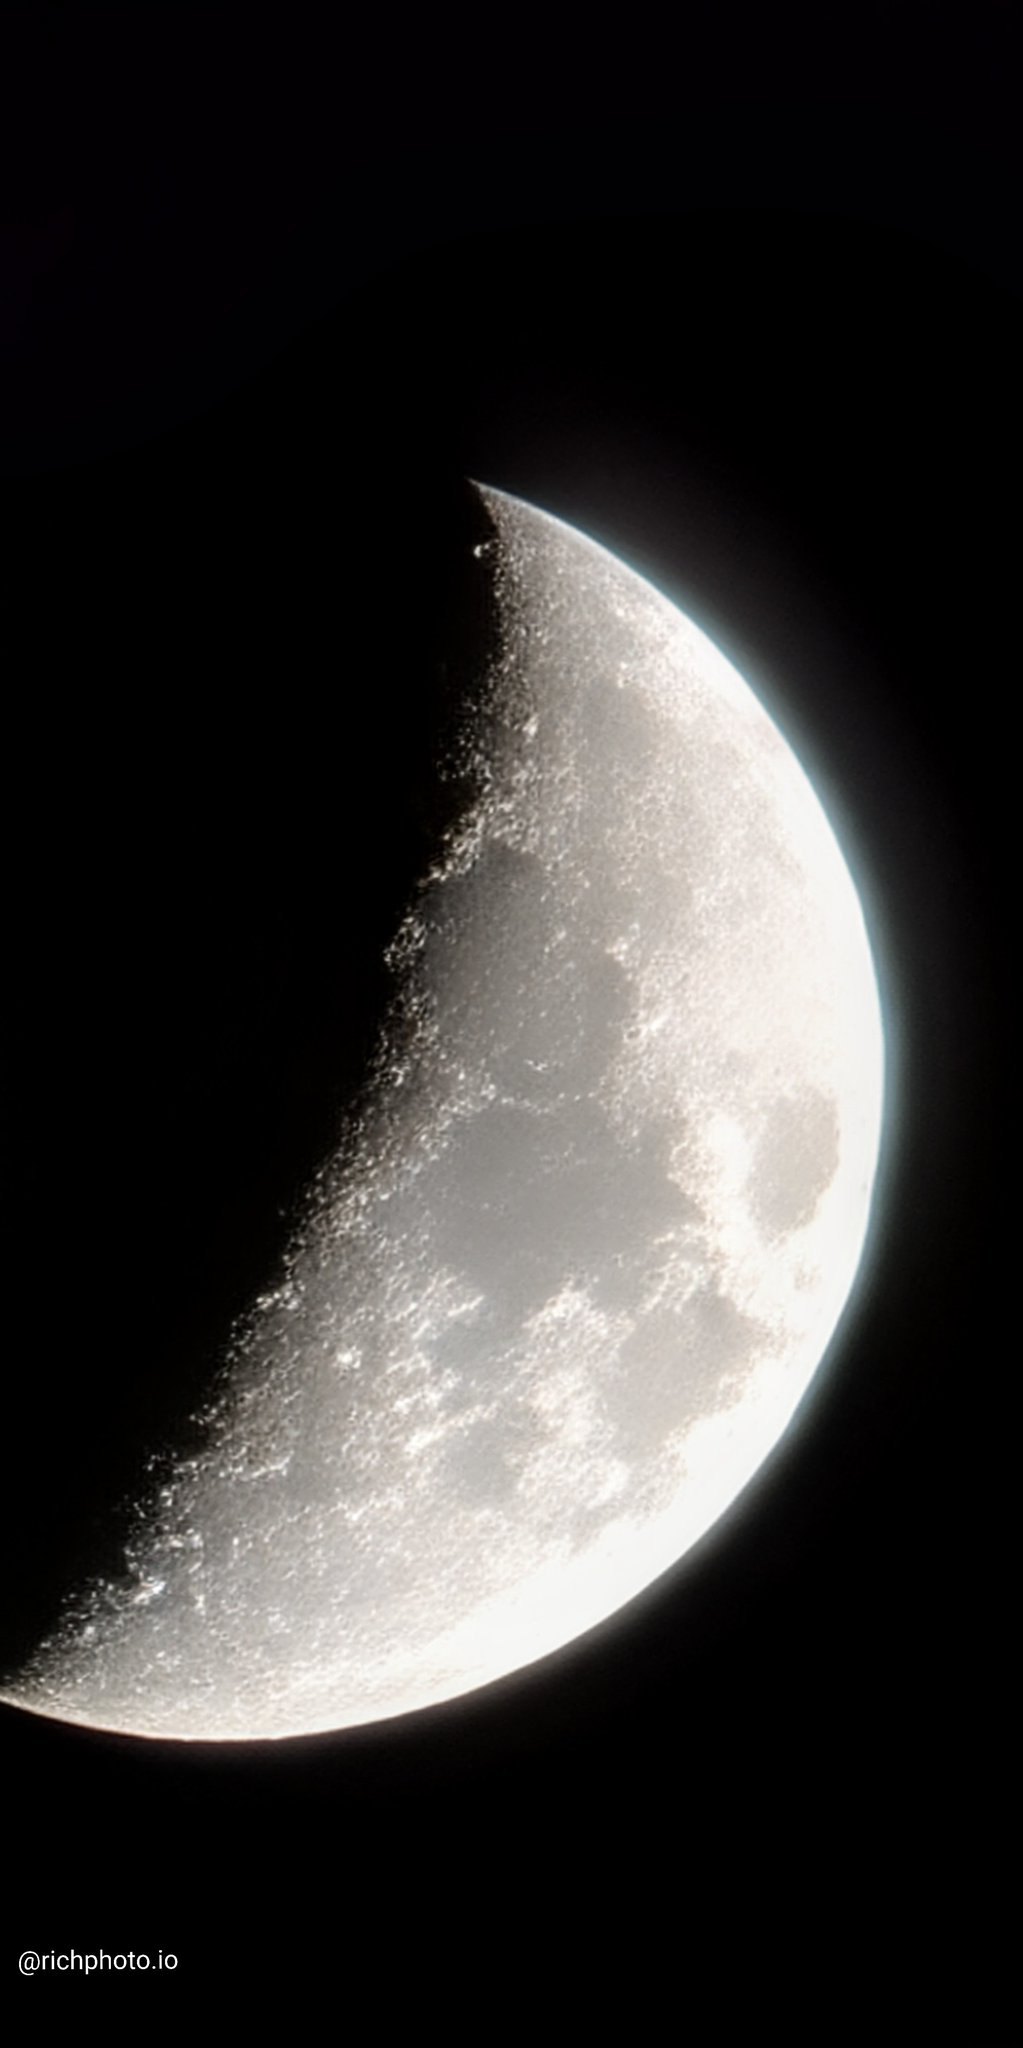
Check the moon phase and aim for new moon nights or times when the moon is below the horizon. Clear skies with low humidity give the best results. In the Northern Hemisphere, spring through early fall offers the best views of the Milky Way. Also pay attention to weather forecast apps, like Weather or Carrot. Even a little haze or high clouds can wash out faint stars, so waiting for a truly clear night is worth it.
Stability Is Mandatory
A tripod is essential for serious astrophotography. Any shake at all ruins the long exposures needed to capture faint stars. Mount your iPhone securely on the tripod, then use the volume buttons or trigger the shutter remotely with your Apple Watch to avoid touching the screen. Set the 3-second self-timer as extra insurance. The steadier your setup, the sharper and more detailed your stars and Milky Way will appear in the final image. This one step makes the biggest difference between blurry trails and crisp points of light.
Master Night Mode for the Sky
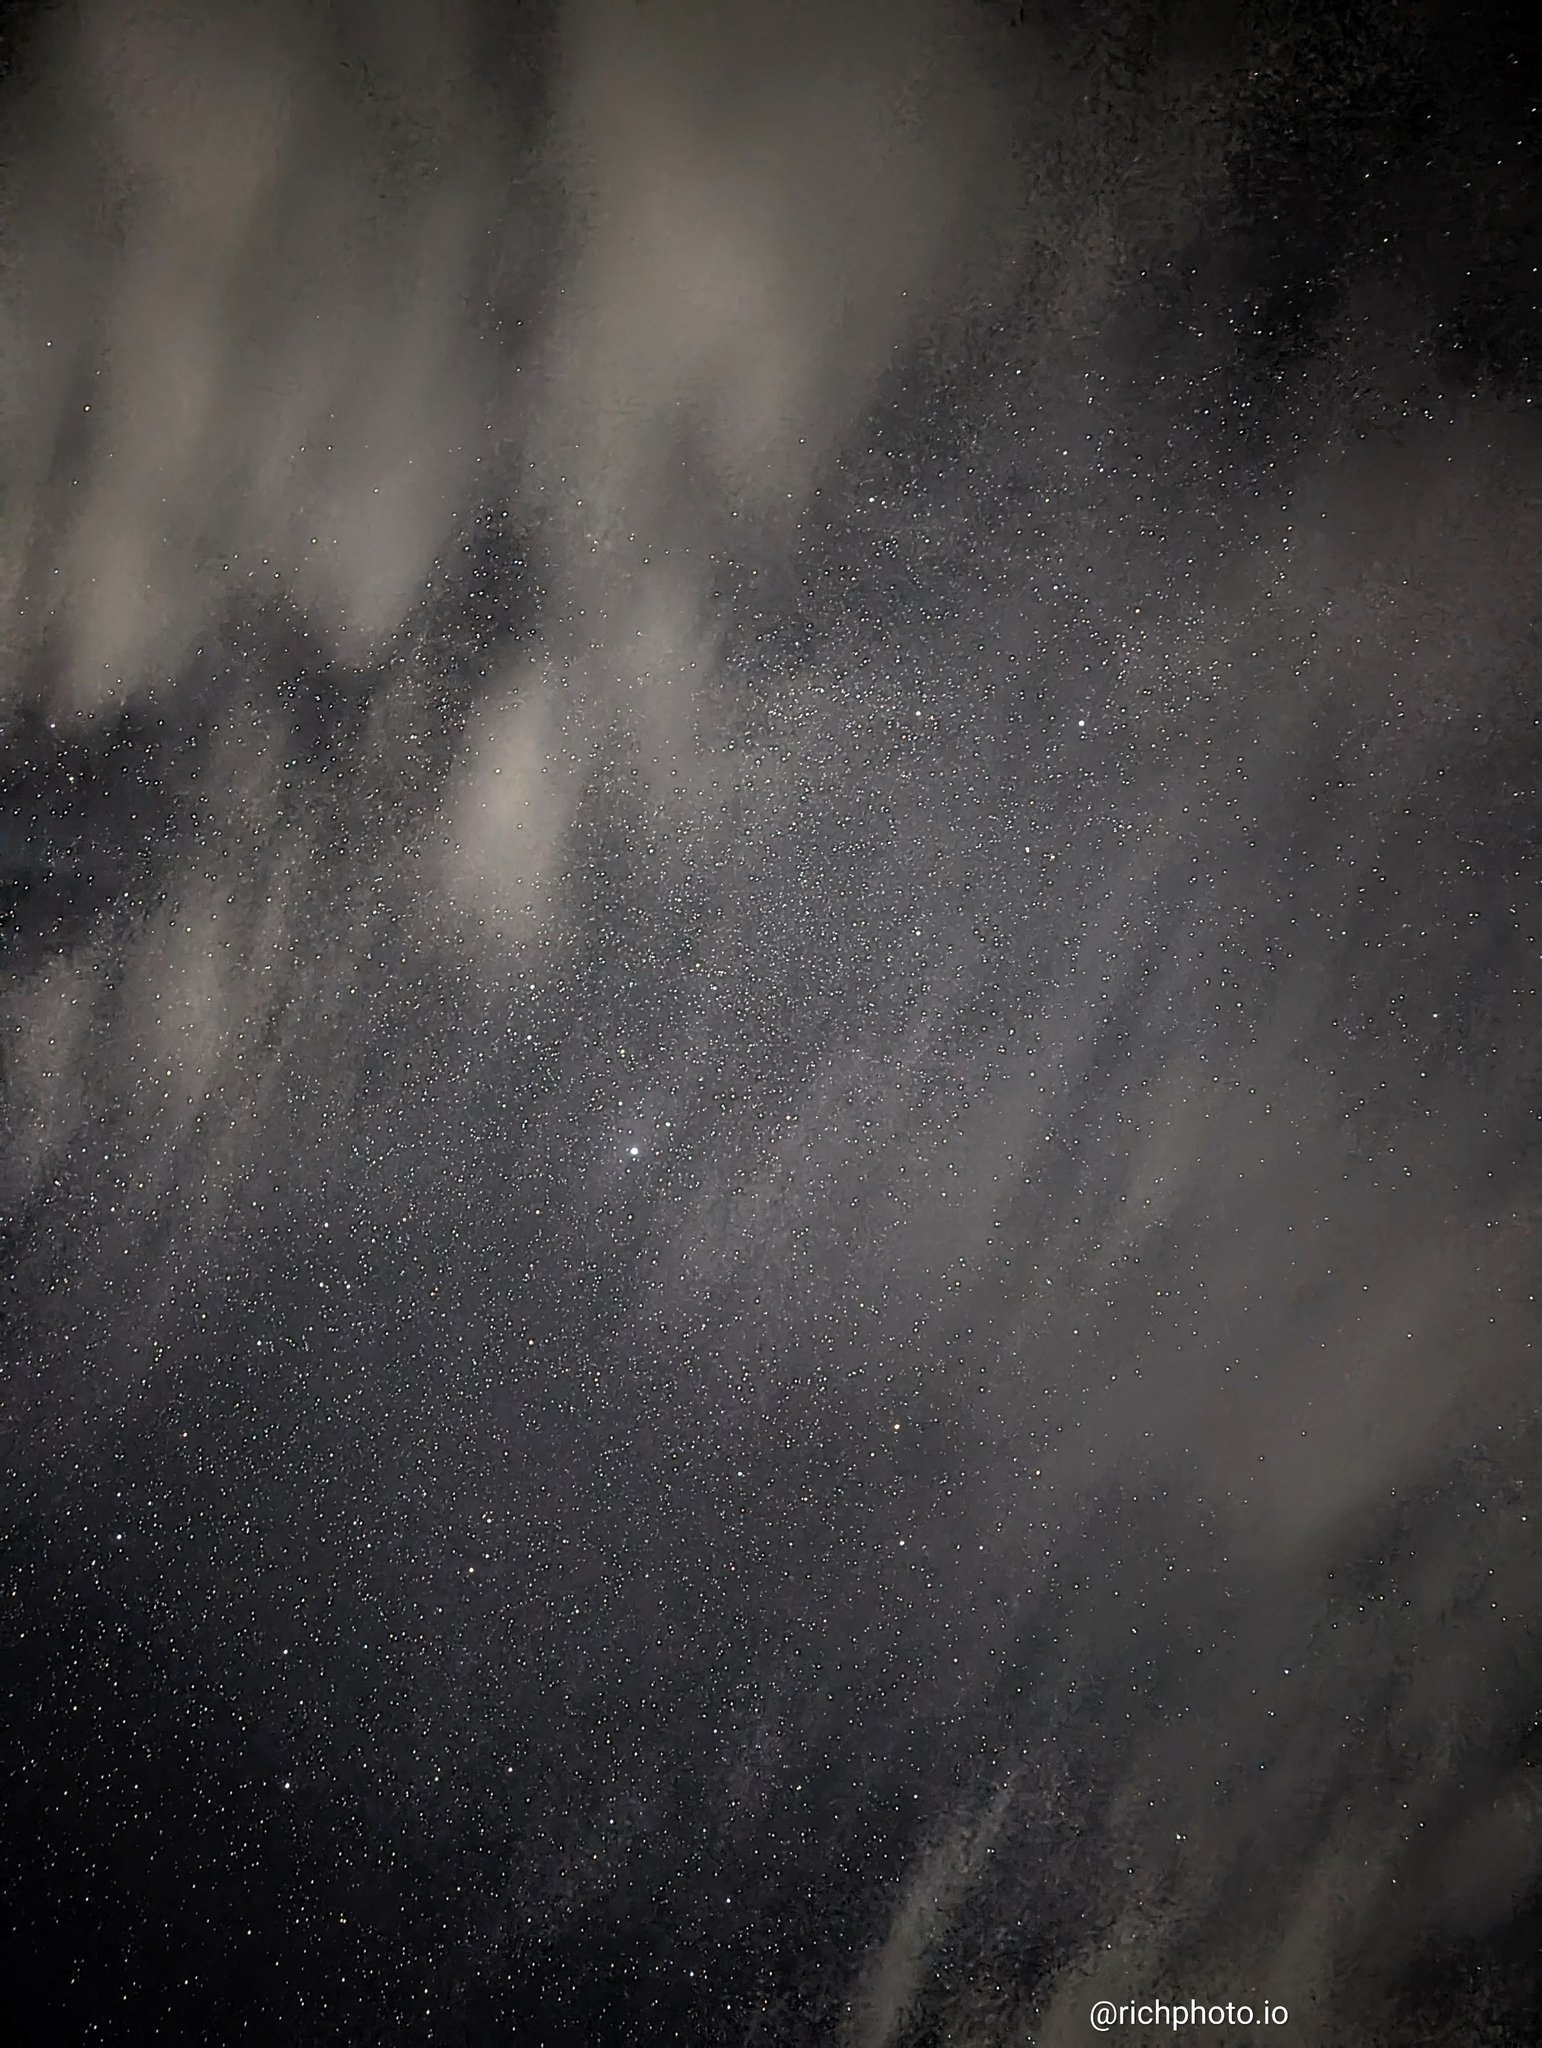
Open the Camera app and point it at the stars. Night mode should activate automatically (yellow moon icon). Tap the exposure number at the top and drag the slider all the way to the maximum (usually 30 seconds) for the best results. On iPhone, it intelligently switches into astrophotography mode and stacks multiple frames to reduce noise and bring out faint stars. Tap and hold on a bright star to lock focus and exposure, then adjust the exposure slider if the sky looks too bright. This process turns your phone into a surprisingly capable night sky camera.
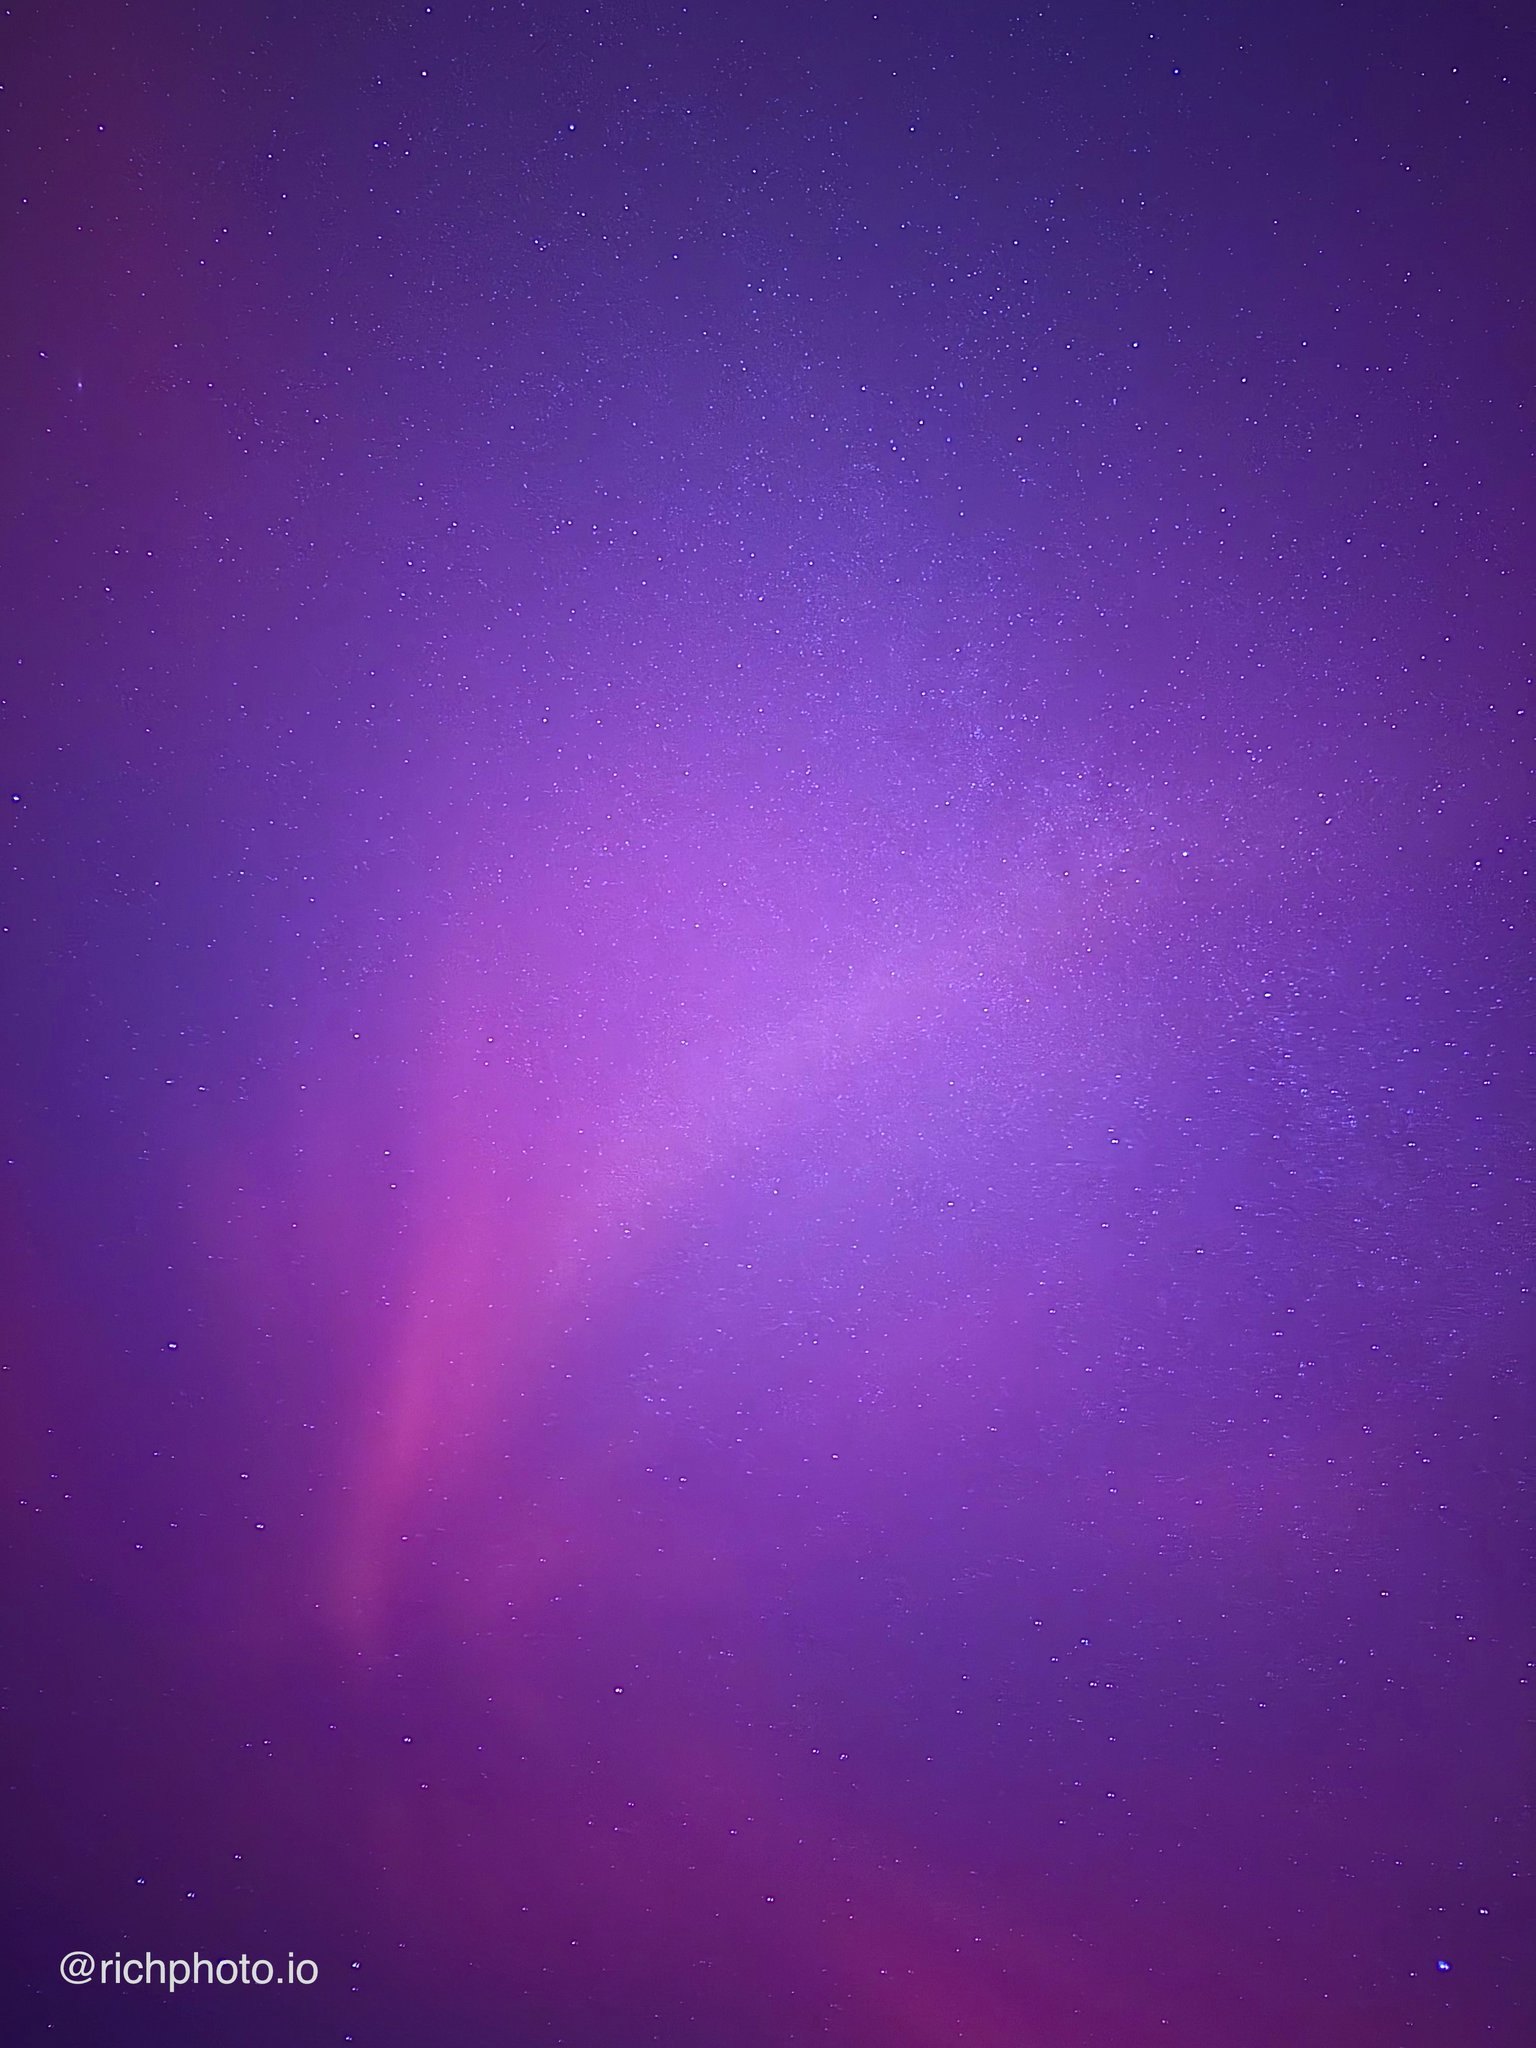
Compose with Foreground Interest
Pure star fields are nice, but adding a foreground element makes the shot epic. Include a silhouetted tree, mountain ridge, rock formation, or tent in the lower part of the frame. This gives scale and turns the photo into a story. Use the grid (Settings > Camera) and rule of thirds to place the horizon low so the sky dominates. Portrait orientation works great for vertical Milky Way shots. Taking time to frame the shot thoughtfully is what separates a basic star photo from one people stop scrolling to admire.
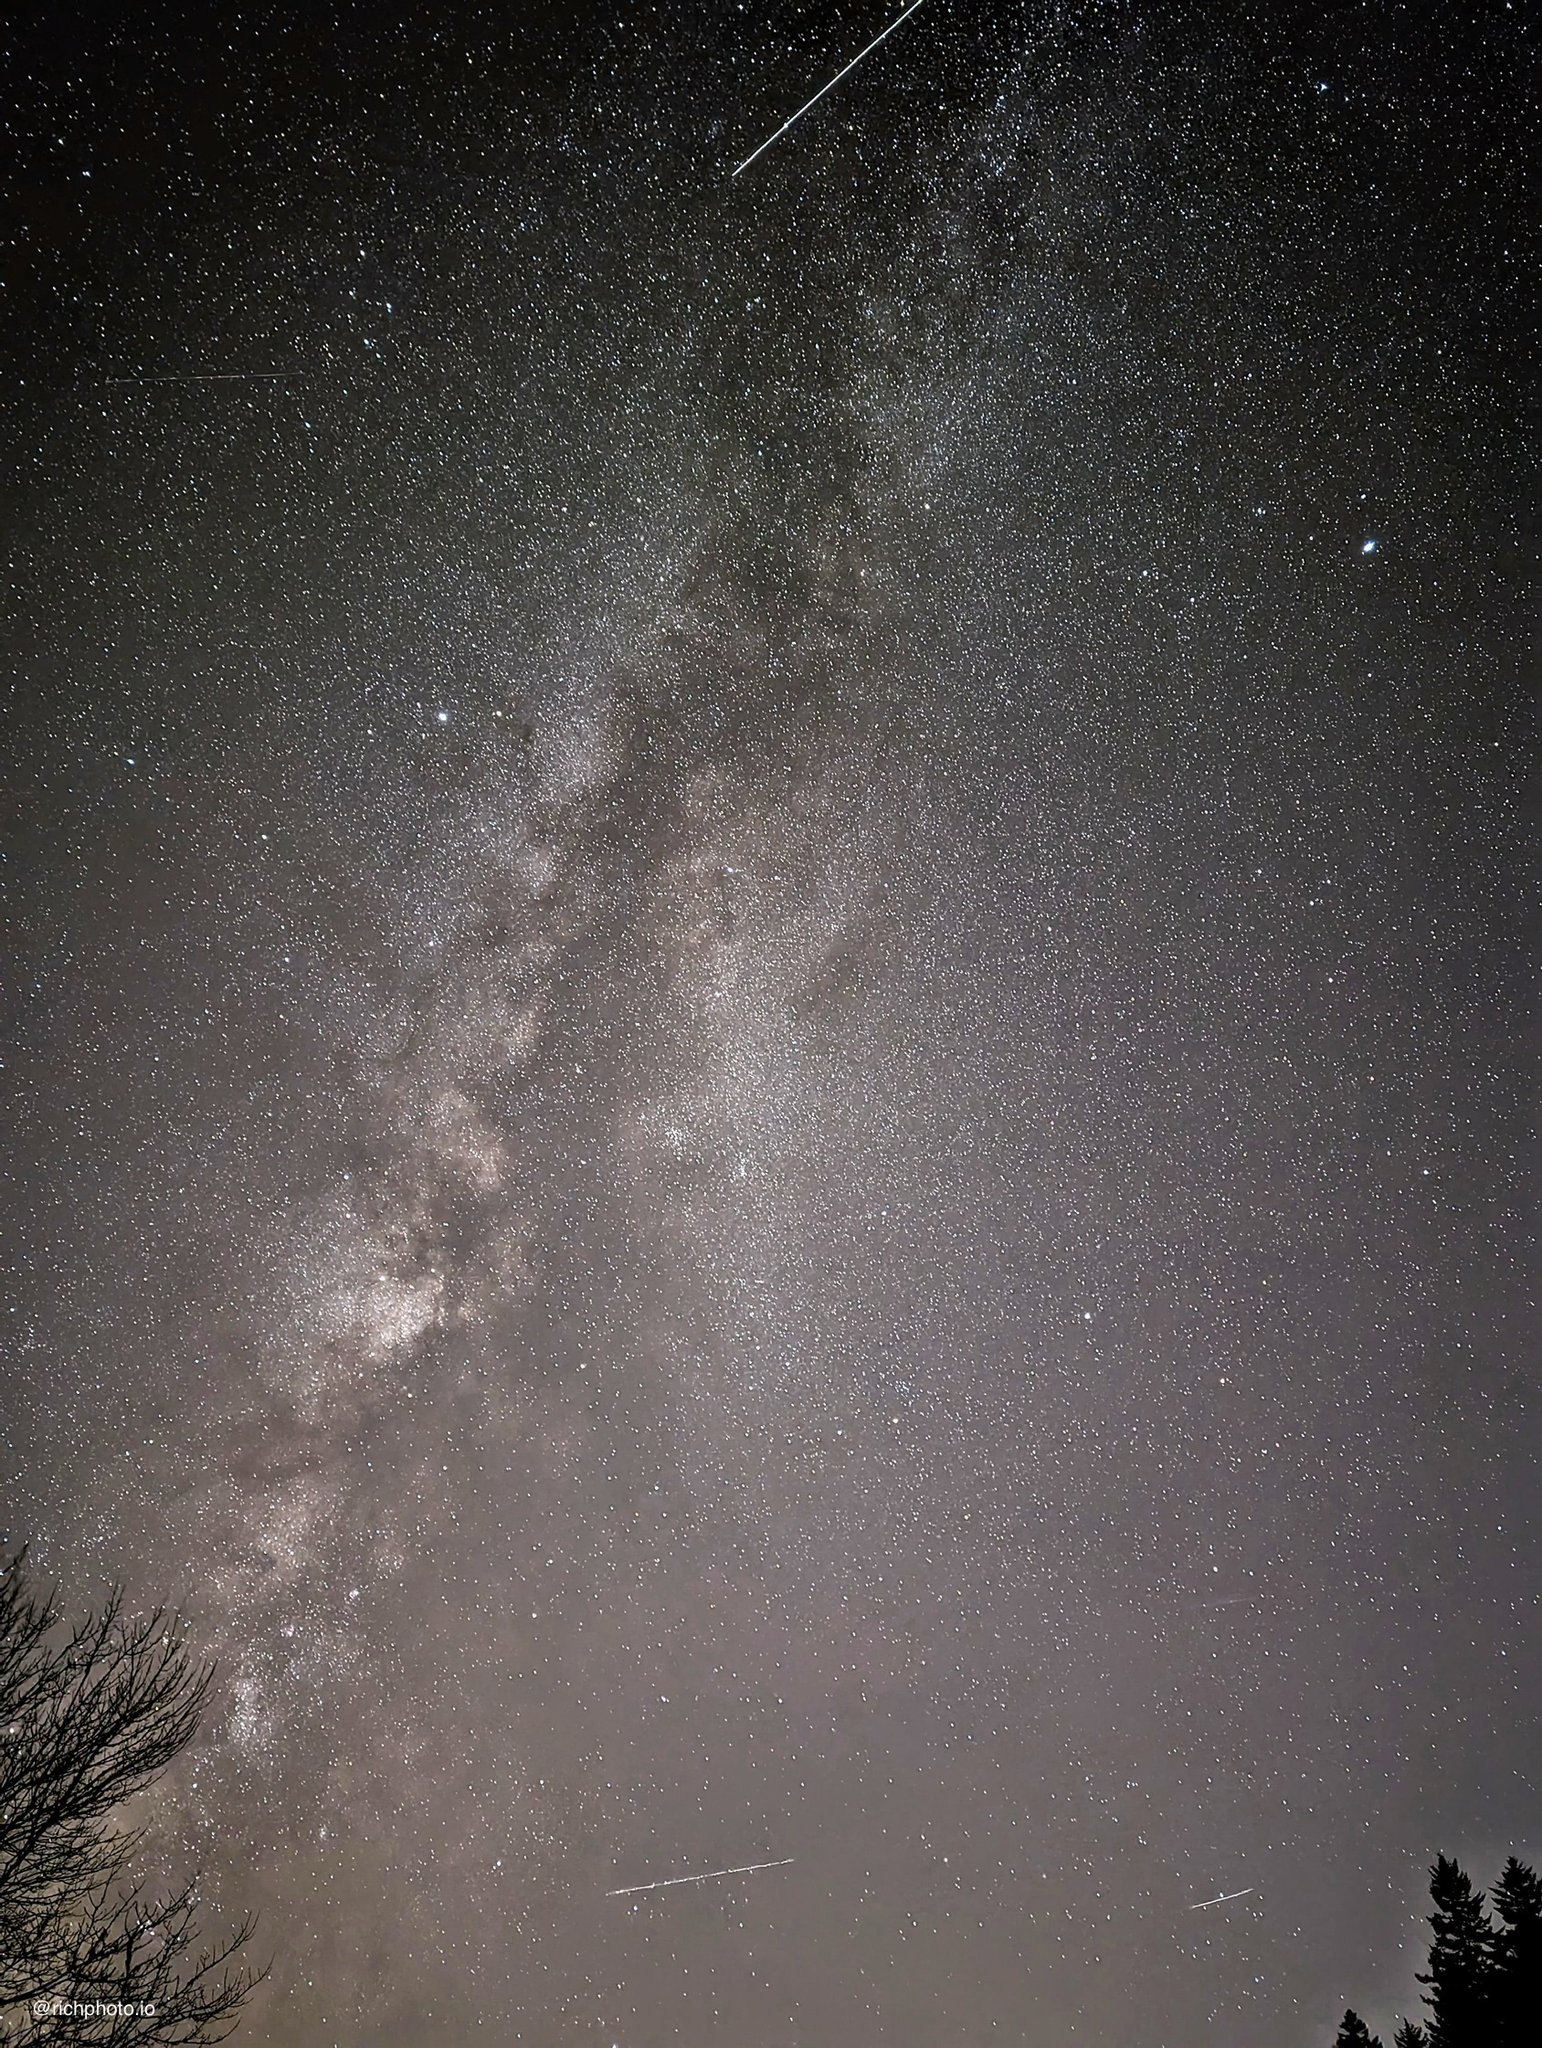
Quick Tips for Better Results
Always use the wide (main) lens for the broadest field of view and maximum star coverage.
Shoot in ProRAW when possible for maximum editing flexibility later, or HEIF Max for maximum resolution with minimal editing.
Use a red-light headlamp so you don’t ruin your night vision while setting up.
Be patient and take multiple shots because the sky moves and conditions can change quickly.
These small habits add up and help you consistently bring home stronger night sky images.
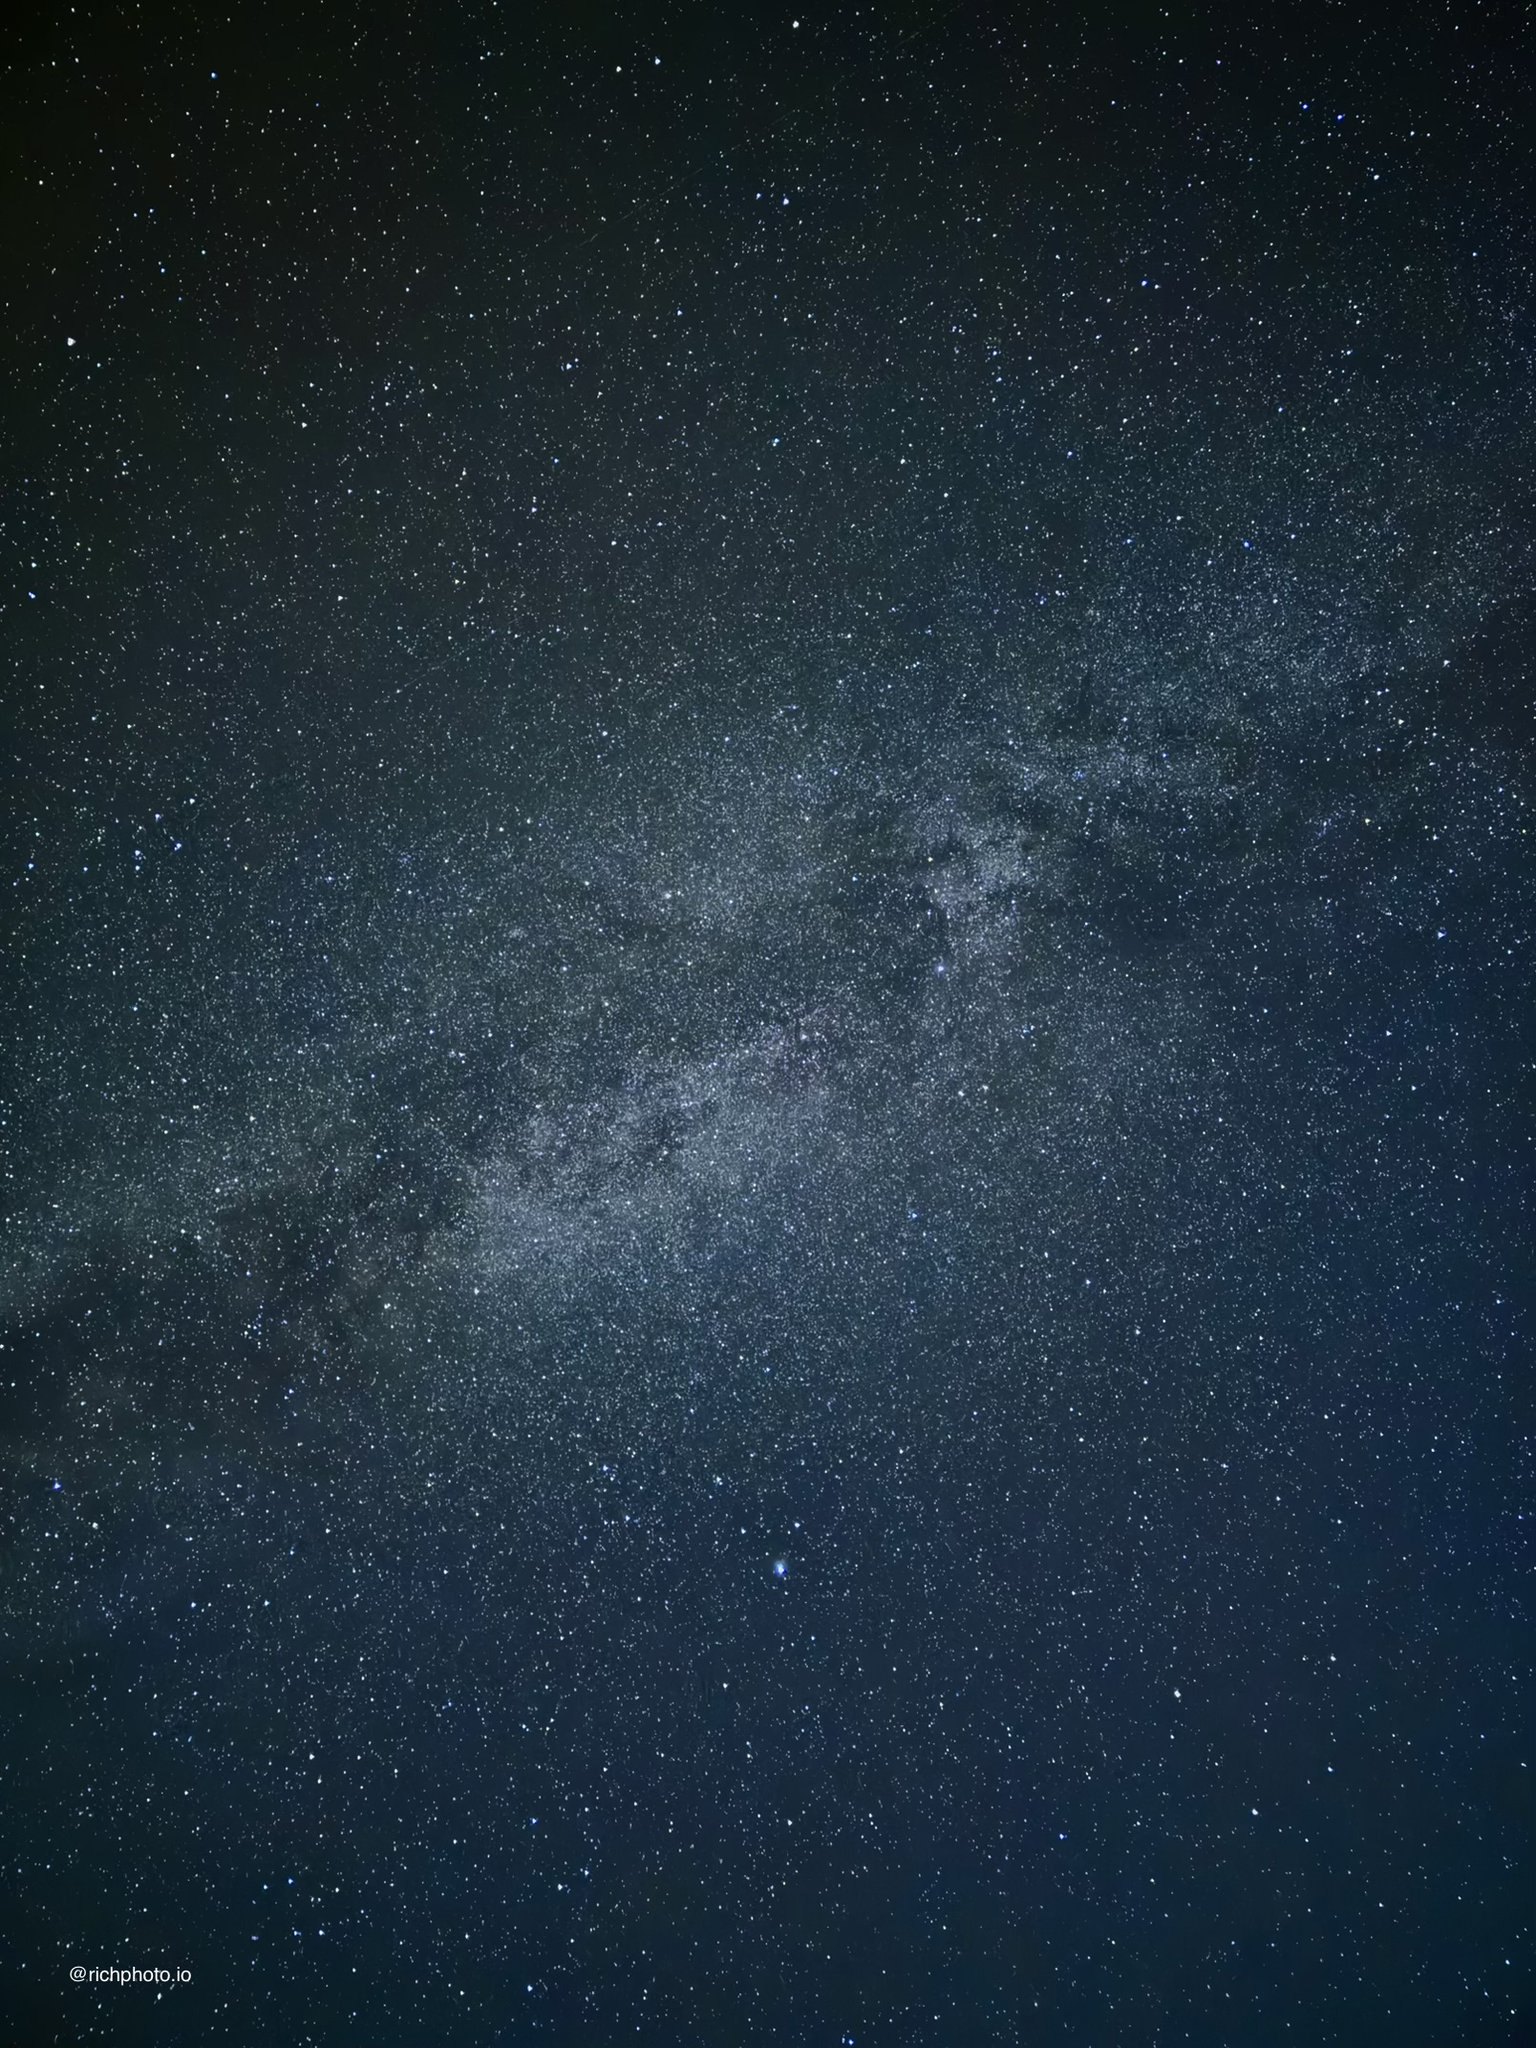
Editing Doesn’t have to be Complicated
When the timer finishes, look at your screen. The raw photo might look a little flat or slightly green/brown depending on the atmosphere. Don't panic. That’s just the raw ingredient.
Tap Edit right inside the Apple Photos app and tweak these sliders to make the image pop:
Contrast: Bump this up to make the black space darker and the stars sharper.
Exposure/Brilliance: Push this slightly to make the core of the Milky Way stand out.
Brightness: Drop this down a bit. Lowering the brightness helps mask any ambient light pollution and darkens the sky to a rich, nighttime backdrop.
Sharpness: Increase this slightly to give the tiny points of starlight a crisp, pinpoint definition.
Warmth: Slide this slightly toward the blue side (cooler). Space looks way more intentional and cinematic when it has a deep blue or midnight hue, rather than a muddy brown.
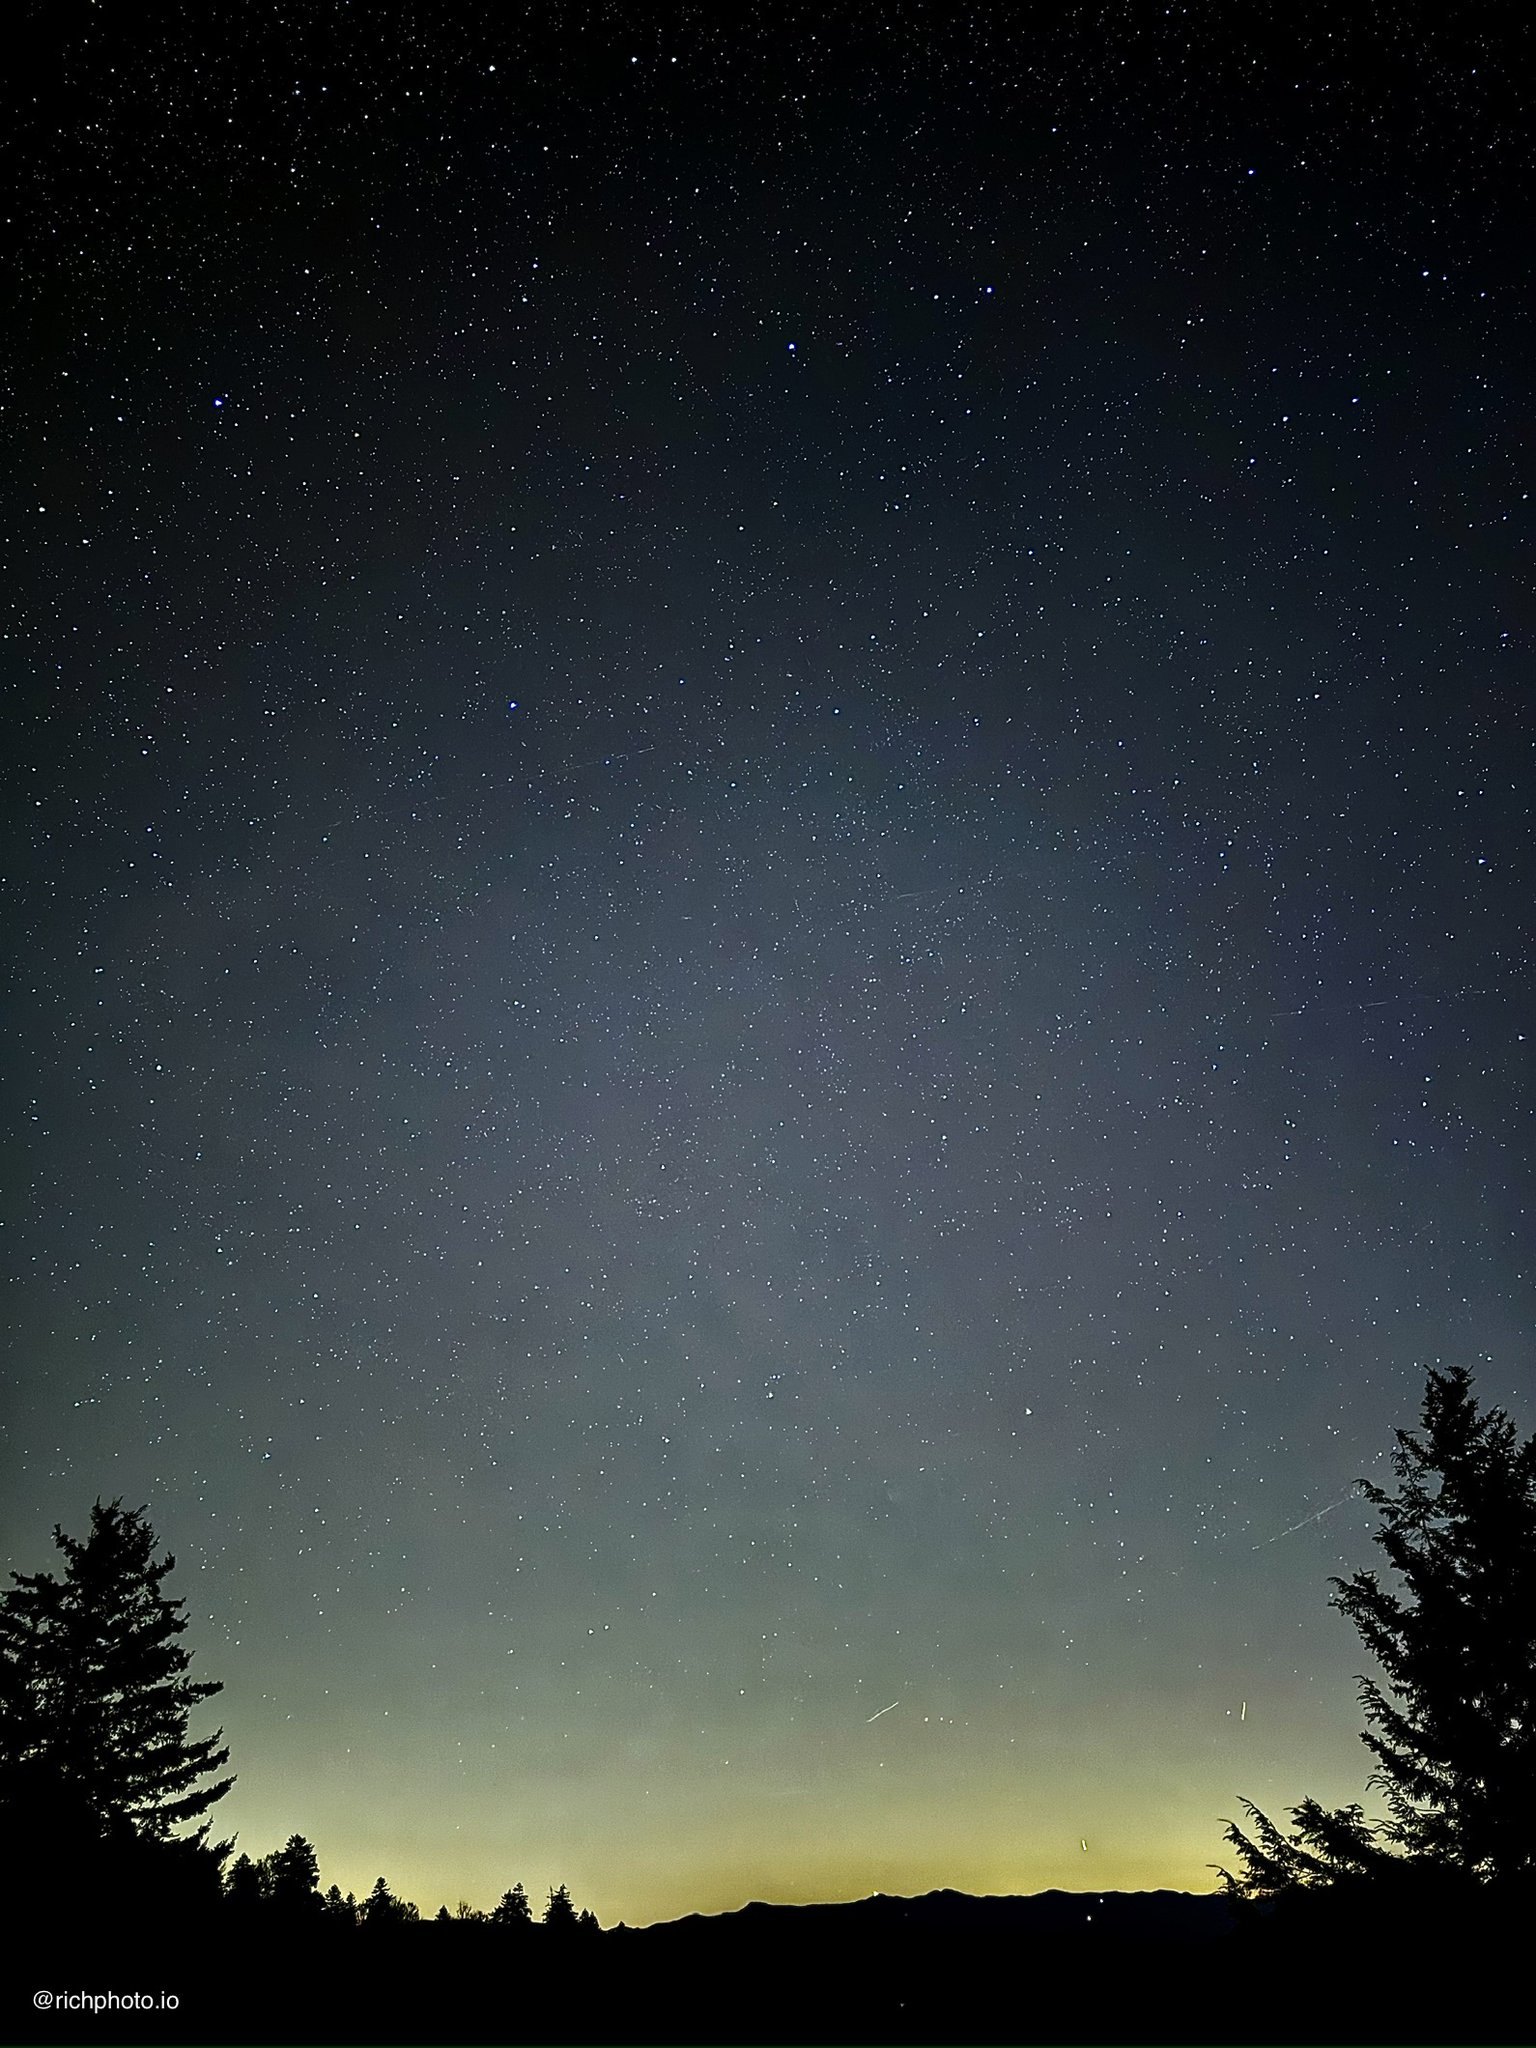
Final Thoughts
iPhone astrophotography has improved dramatically and makes shooting the night sky accessible and fun. It rewards patience, planning, and getting away from city lights. Some of the most rewarding photos I have taken have come from standing under a dark sky waiting for that perfect moment.
Next clear, dark night, grab your iPhone, head outside, and look up. You might capture something truly special.
-Rich | richphoto.io
Rich Photography · Lexington, Kentucky