August 9, 2026
Editing Photos on iPhone For Non-Photographers, With Just the iOS Photos App
I still remember the first time I opened a photo I had just taken and felt completely lost.
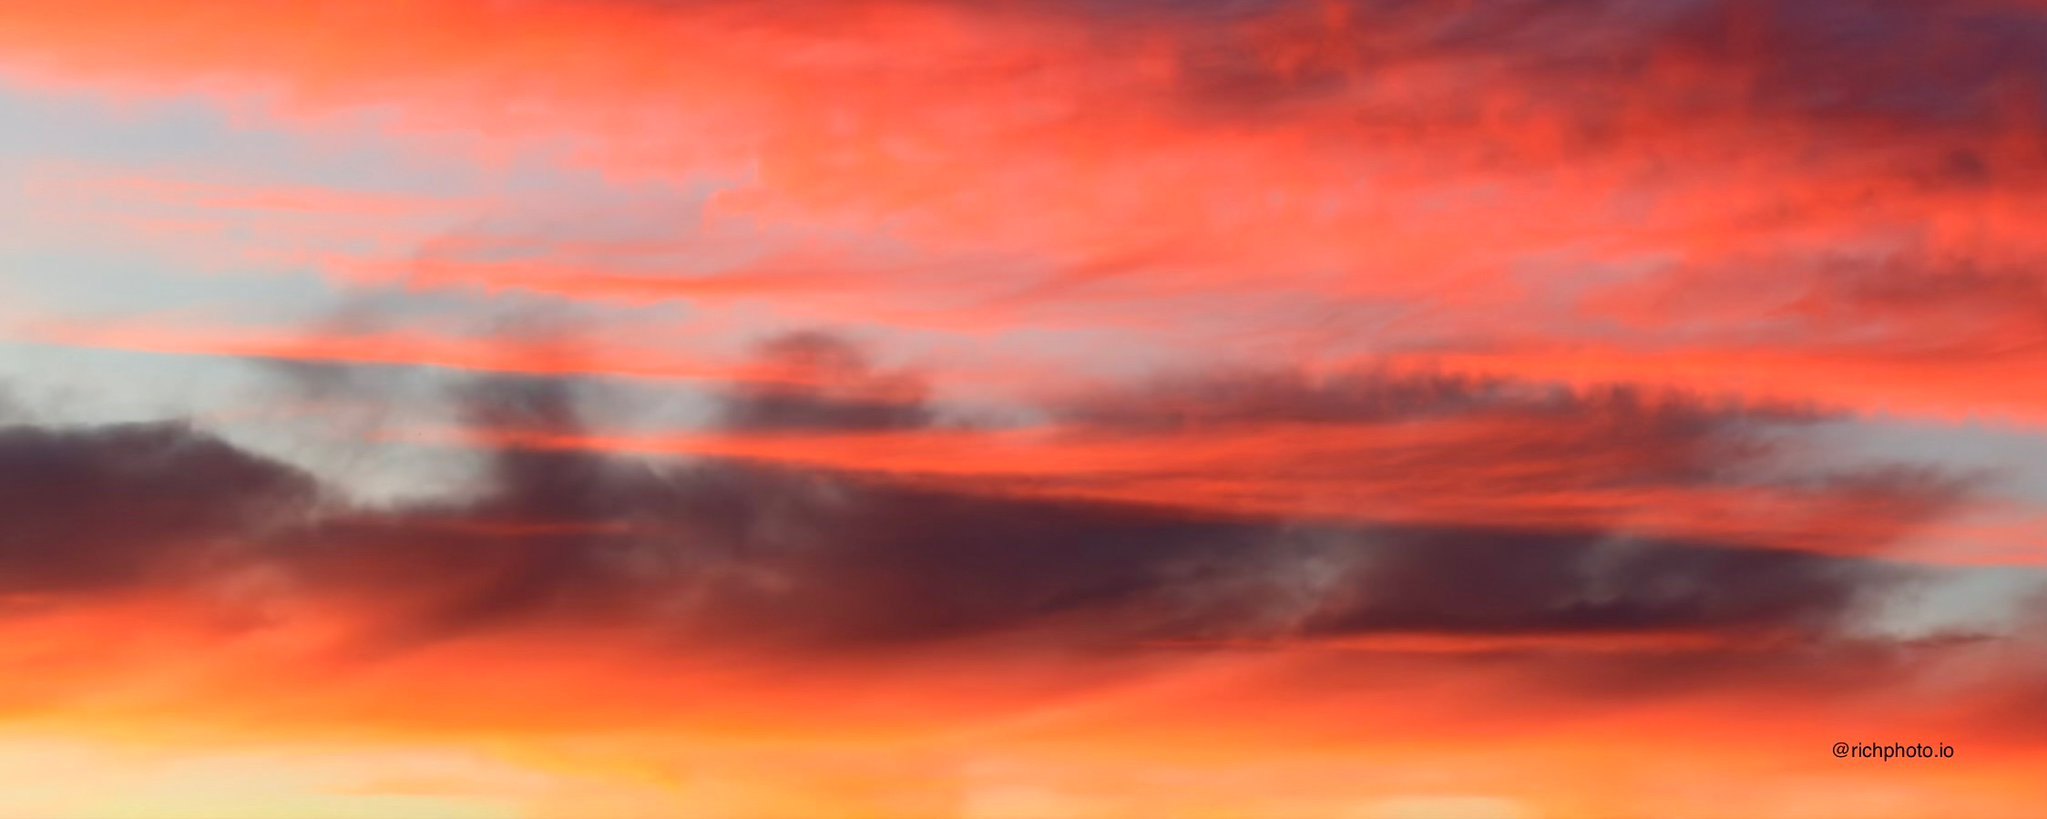
I still remember the first time I opened a photo I had just taken and felt completely lost. The image was fine, but it wasn’t quite what I saw when I pressed the shutter. For a long time I thought real editing required a separate app or a computer. Then I started spending more time inside the Photos app that already lives on every iPhone, and I realized how much you can actually do without leaving the device. No Lightroom necessary!
Most beginners jump straight into heavy filters or dramatic looks. I did the same. What finally helped me was slowing down and treating the Photos app like a quiet workshop instead of a bag of tricks.
Author’s note: I've written this article with Apple Photos in mind, however it should largely apply to Google Photos and Android as well.
The First Move Is Always the Same
Open the photo and tap Edit. The tools sit along the bottom in a clean row. I almost always start with the auto button. It gives the image a gentle lift without going overboard. Sometimes it is all the photo needs. Other times it shows me where the real problems are so I can adjust from a better starting point. Either way, it is a low-pressure place to begin.
When the Tools Feel Intimidating
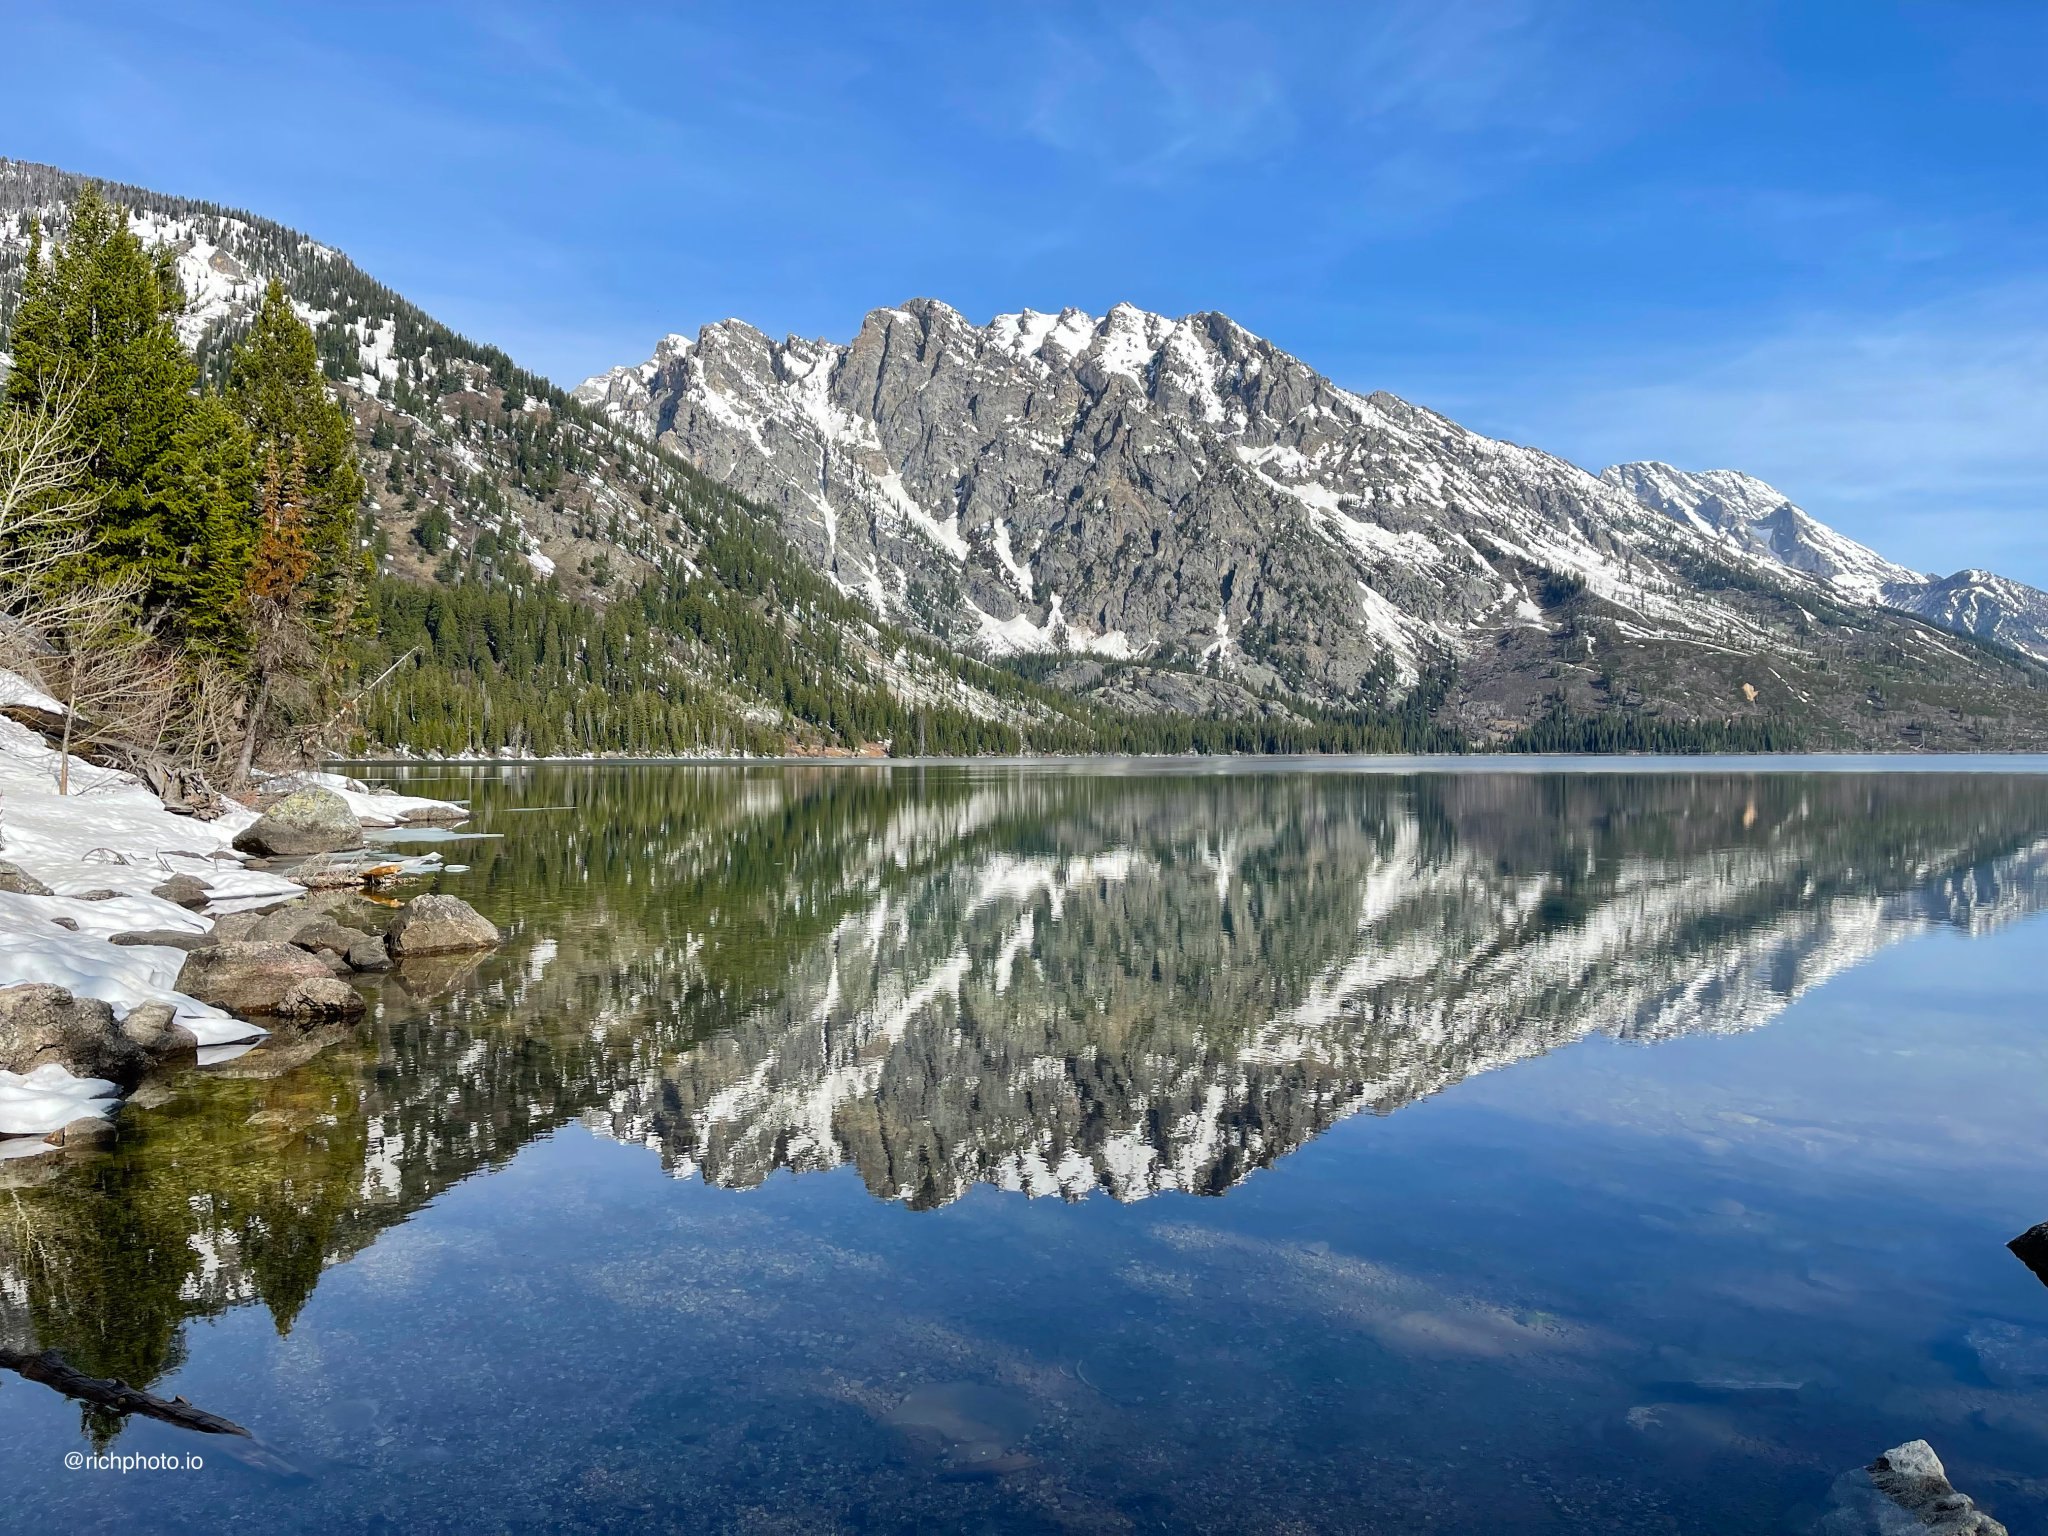
There is a moment early on when every slider looks important and you freeze up, worried about making the photo worse. I still feel that sometimes. The quickest way through it is to stop thinking and just start moving the sliders back and forth. Push brightness way up, then pull it down. Swing contrast hard in both directions. Watch what happens to the image as you do it. You will quickly see which changes help and which ones hurt. That simple trial-and-error removes most of the pressure and turns the tools into something you understand instead of something you fear.
Light and Color Matter More Than Fancy Tools
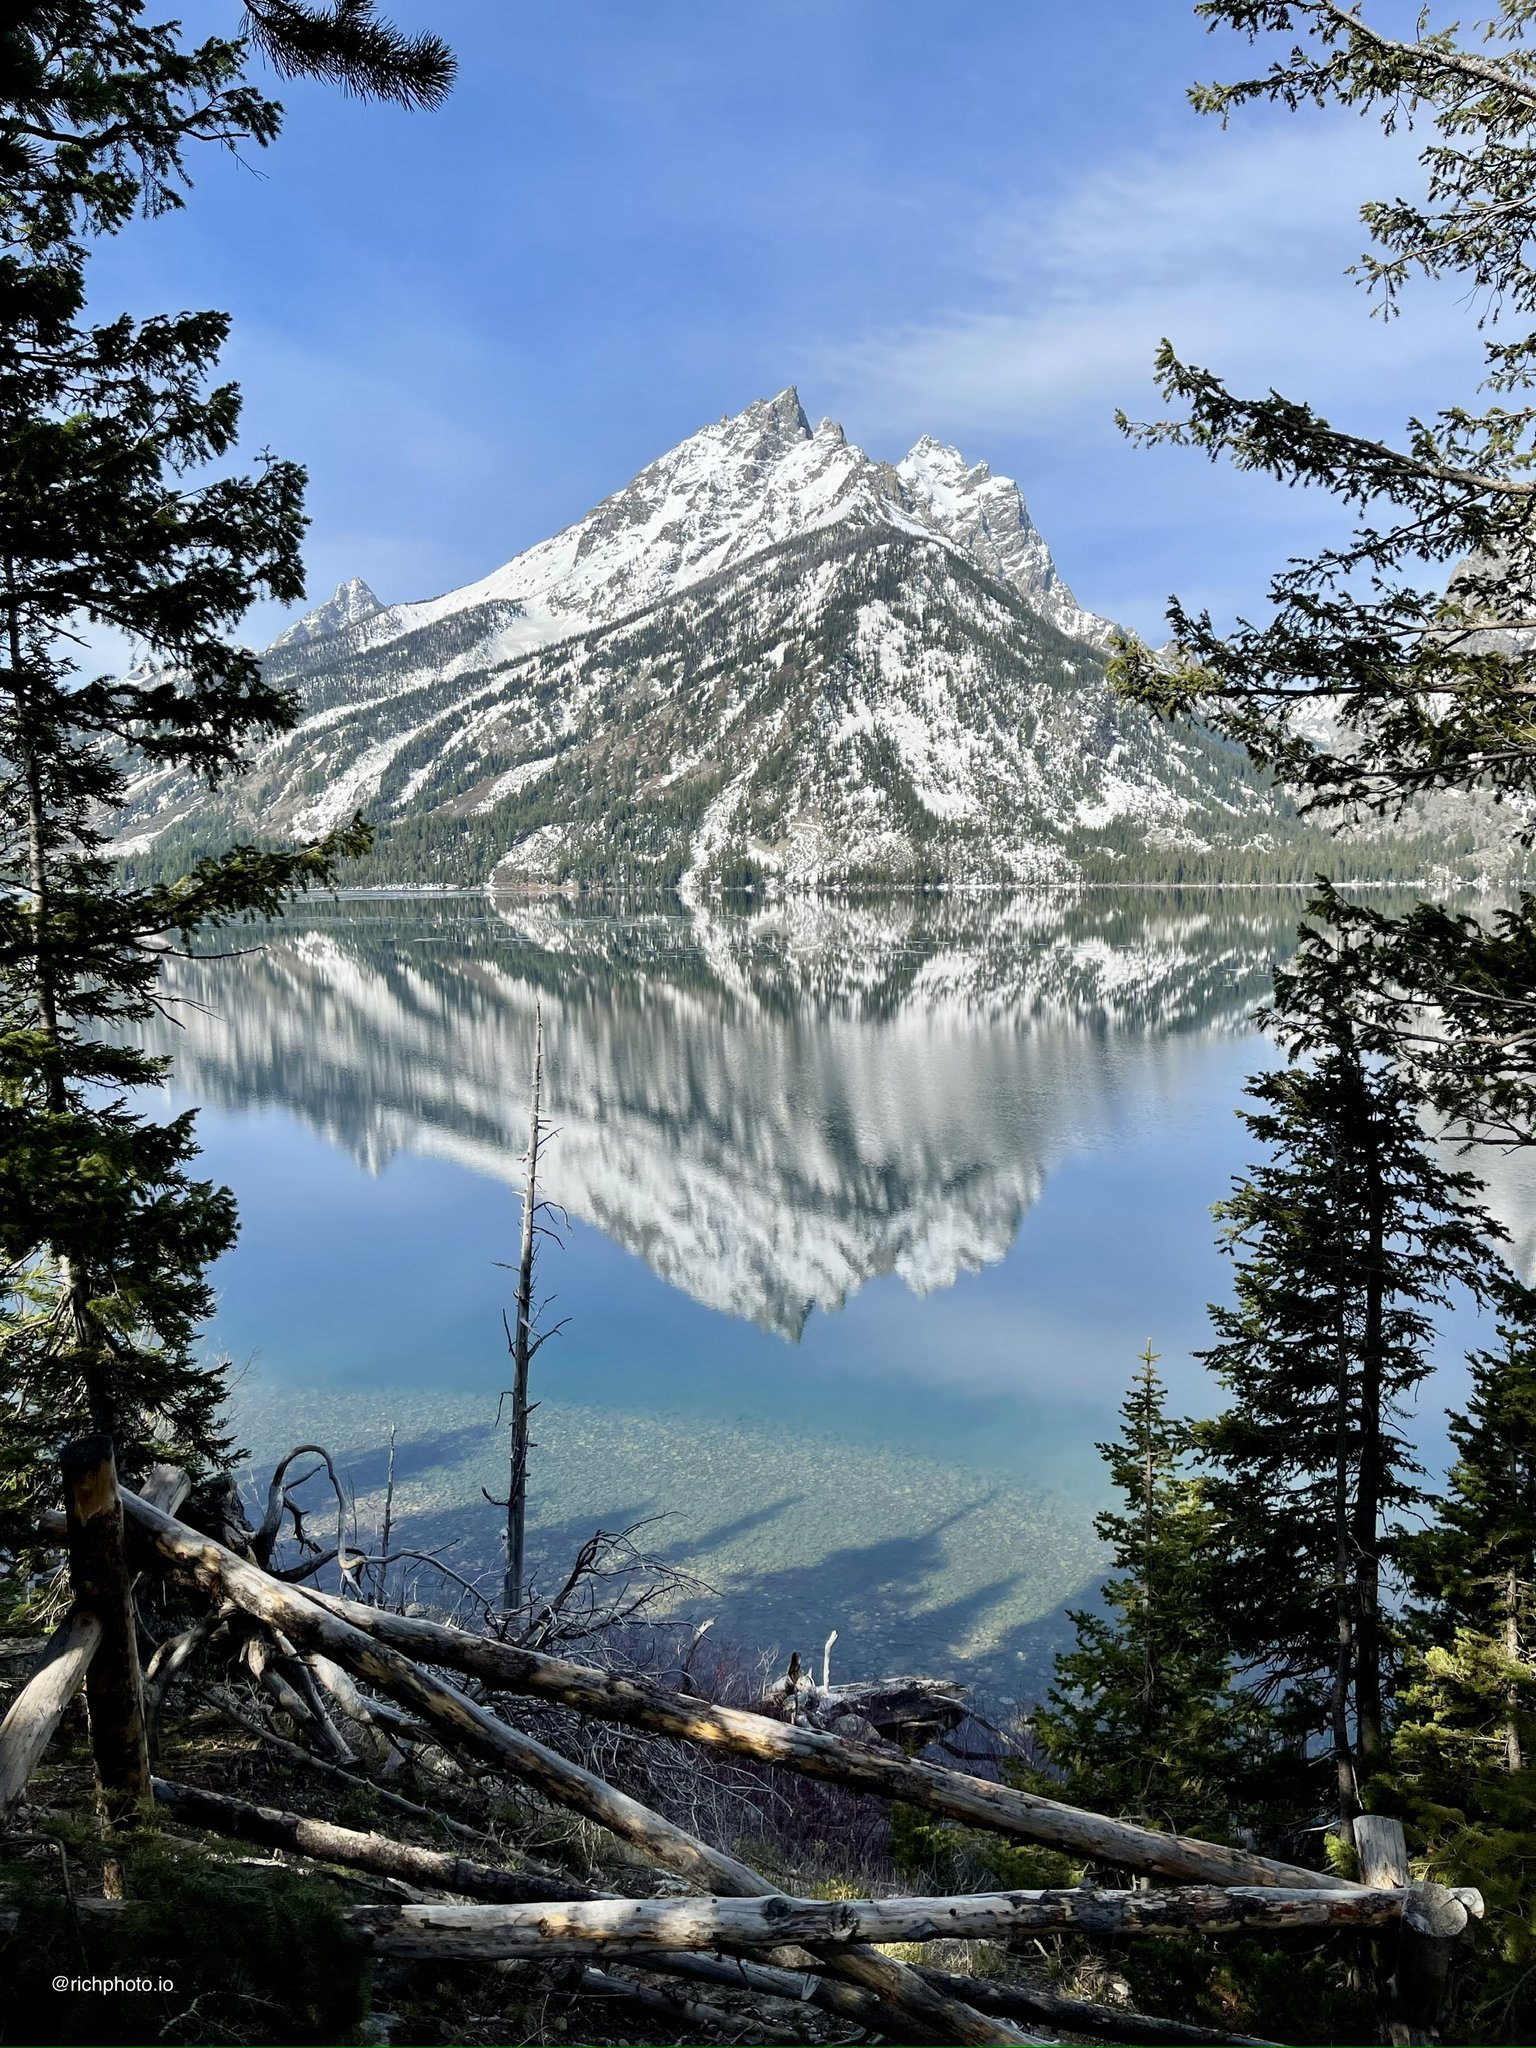
The brightness and contrast sliders do most of the heavy lifting for me. A slight bump in exposure can open up shadows that felt too dark in the field. Contrast brings a little shape back to flat light. I keep the changes small. Big swings usually look forced once you step away from the phone for a few minutes. Color is similar. The warmth control is right there and I use it carefully, mostly to pull the photo closer to how the scene actually felt rather than inventing a new mood.
Saturation Needs a Careful Hand
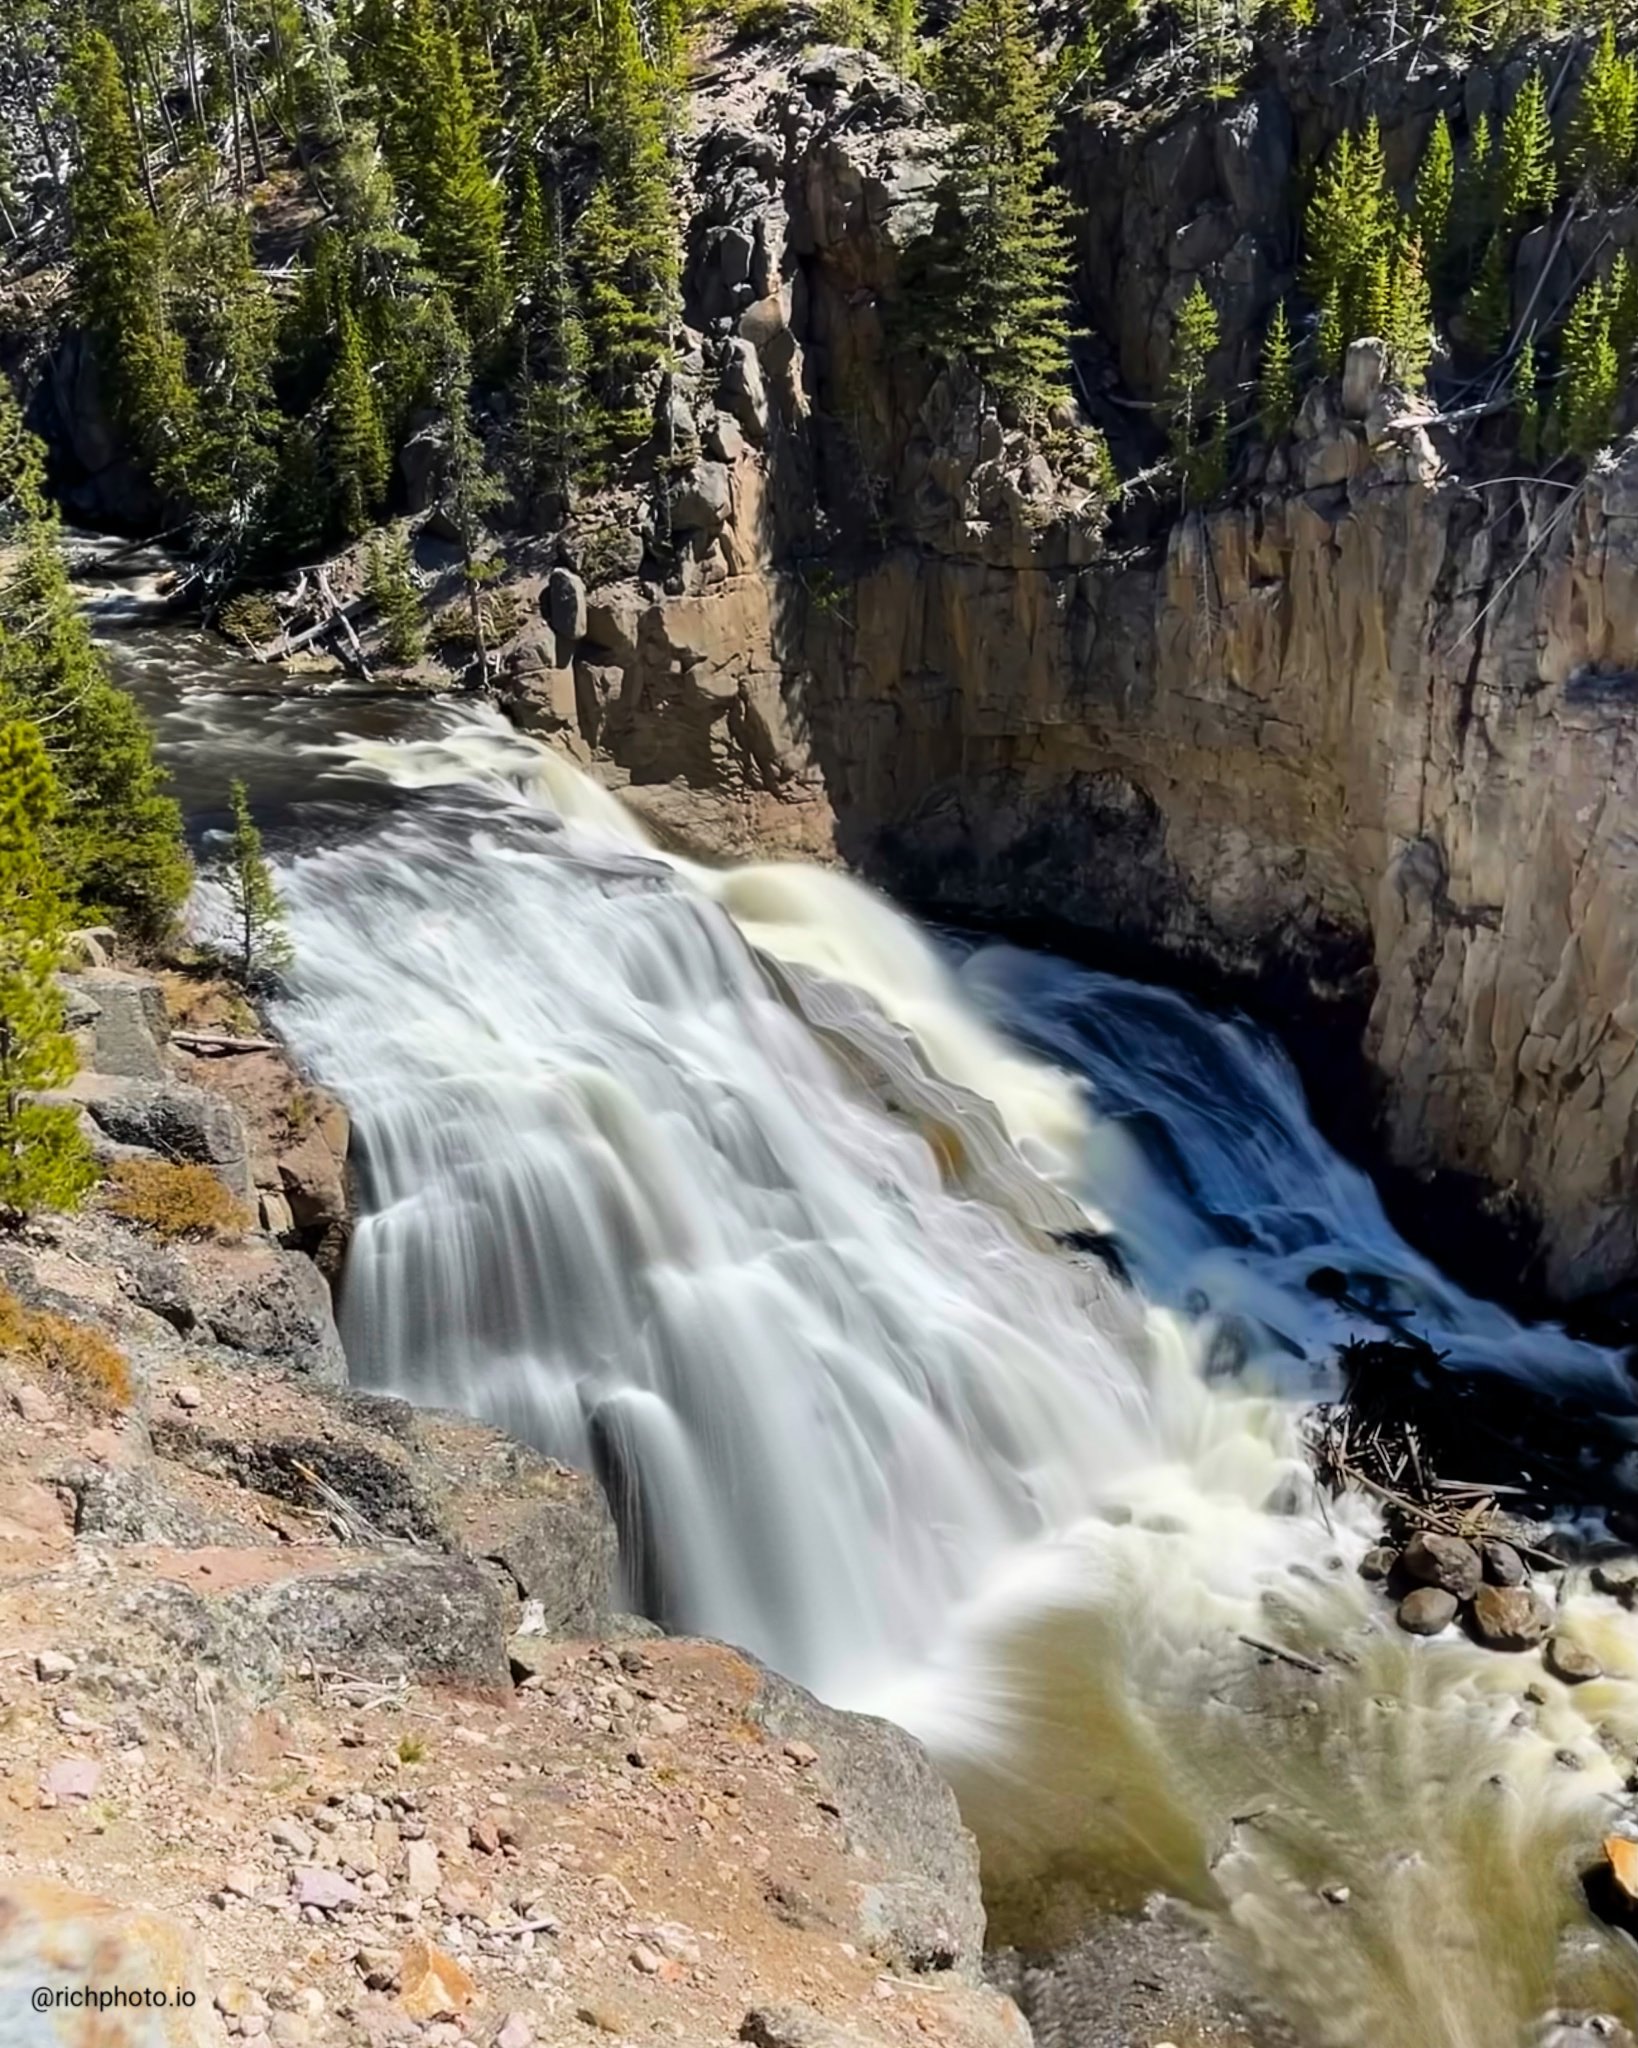
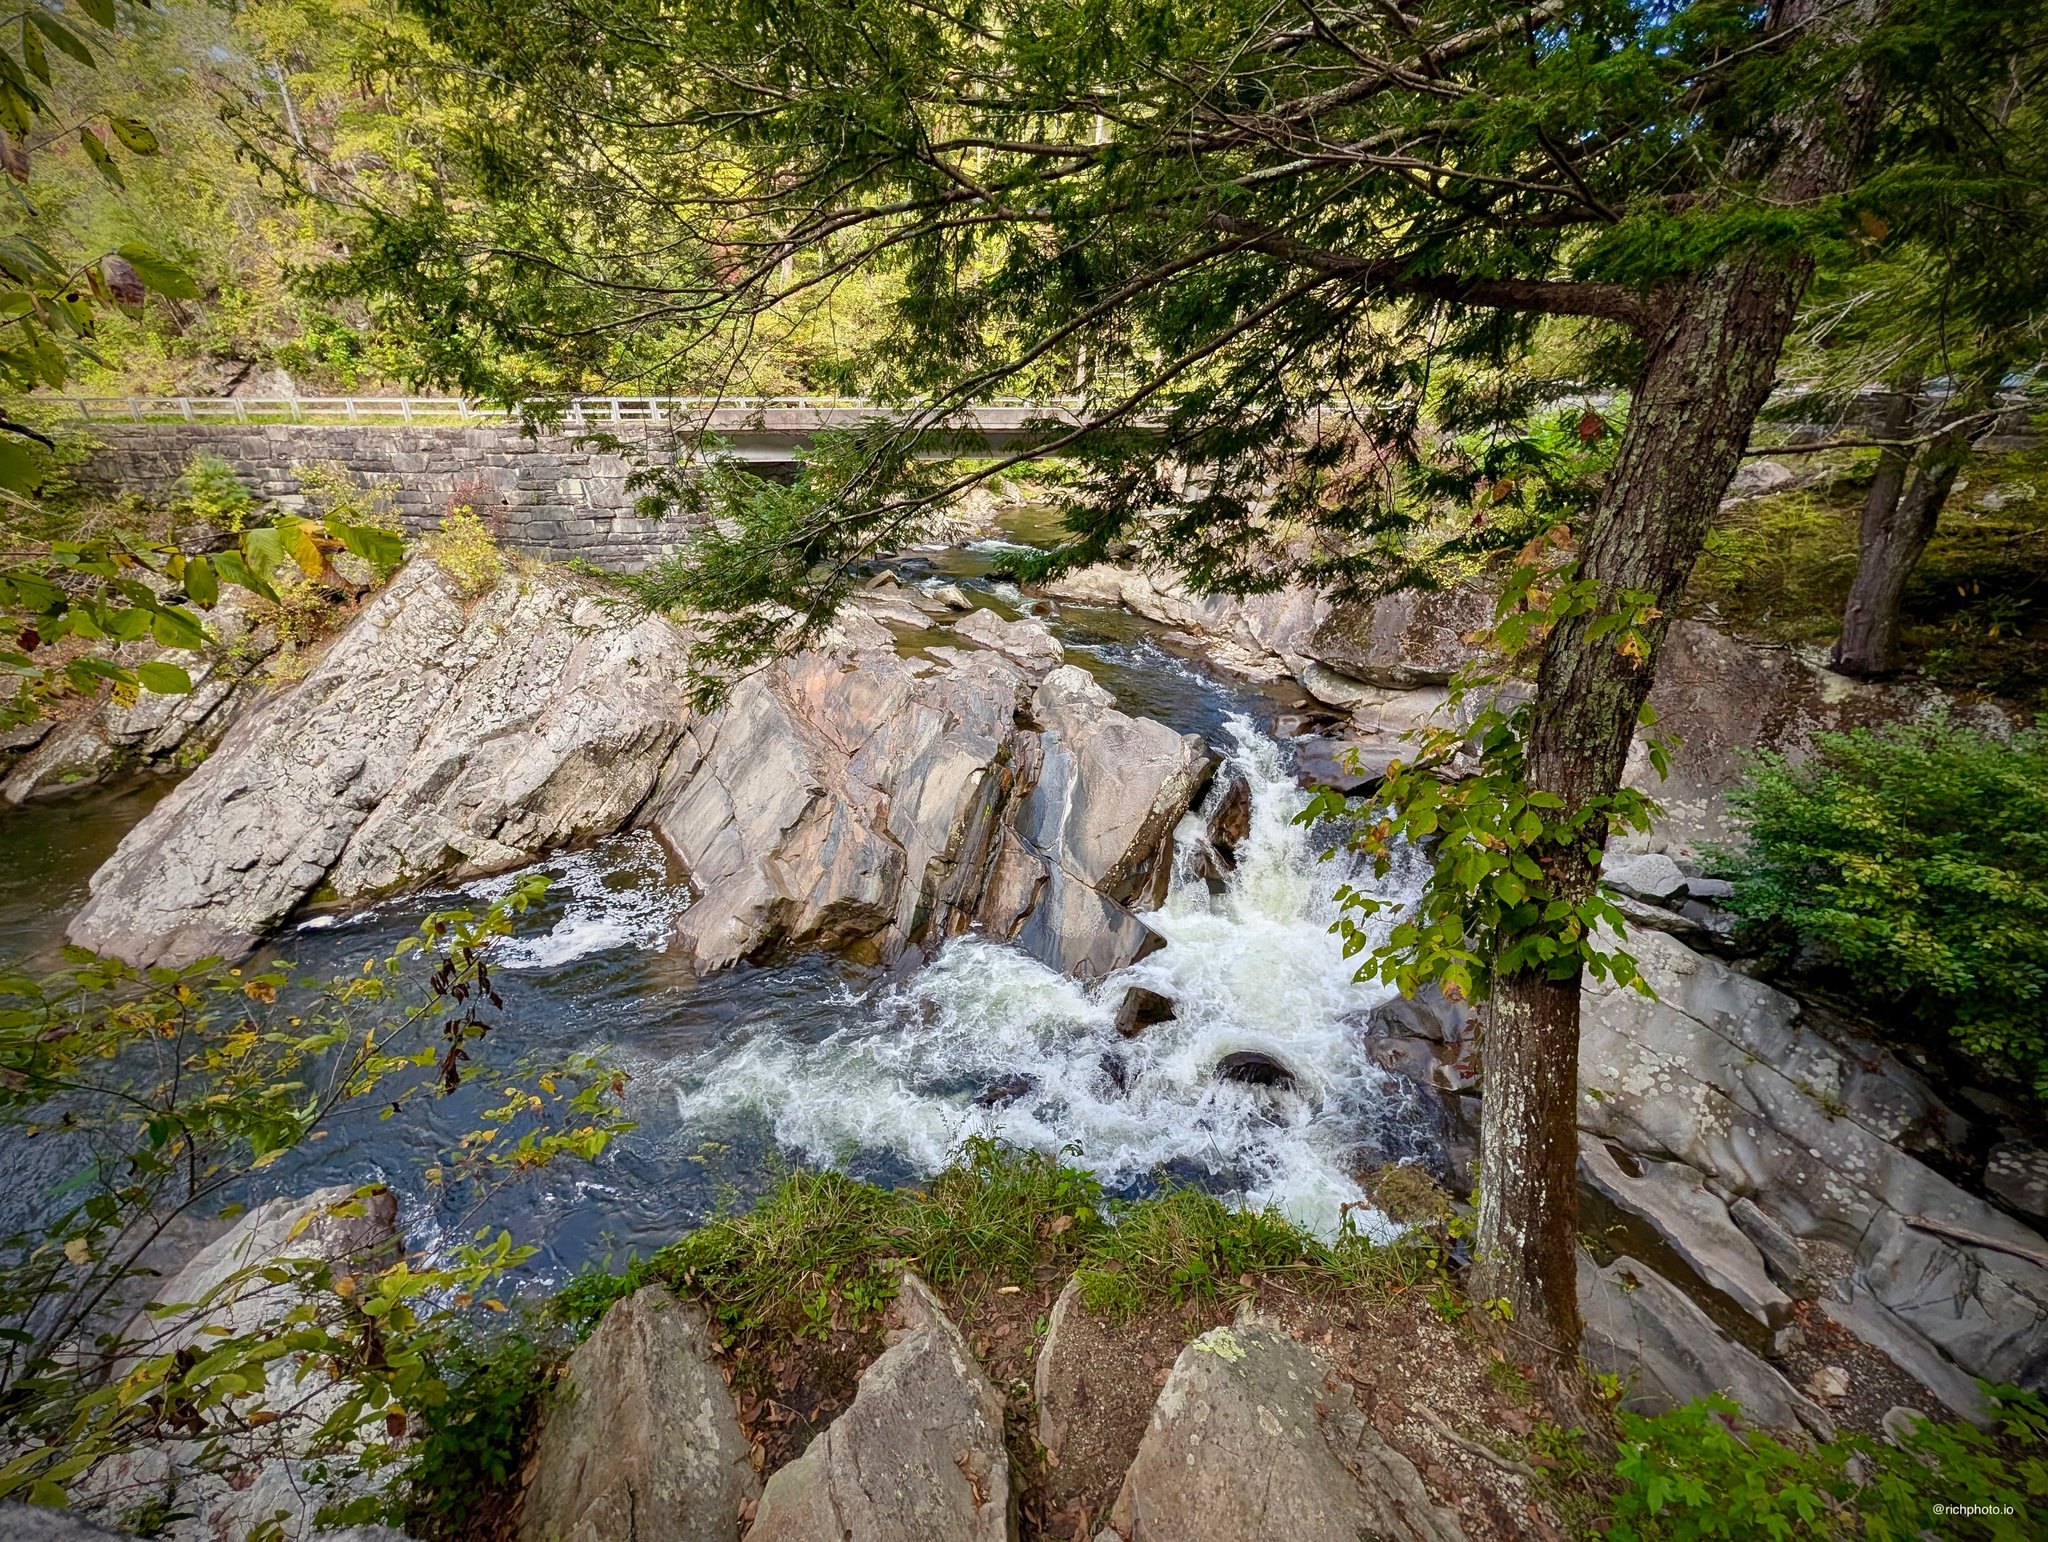
Saturation sits right next to the other color tools and it is the one that gets pushed too far most often. A little extra can make greens and blues feel more alive, especially in landscape shots. Too much and the whole image starts looking artificial. I usually move the slider just enough to notice the difference, then back it off a notch. The goal is to support what was already in the scene, not invent stronger colors that were never there.
Sharpness and Definition Are Easy to Overdo
Both of these tools live further down in the adjustments. Sharpness tightens edges and can make distant details feel clearer. Definition adds a bit of mid-tone contrast that gives the photo more presence. I use them sparingly. On an iPhone the sensor already captures a good amount of detail, so heavy sharpening often creates a harsh, crunchy look that falls apart when you zoom in. A light touch on both is usually enough to make the image feel finished without drawing attention to the edit itself.
A Soft Vignette Can Quietly Guide the Eye
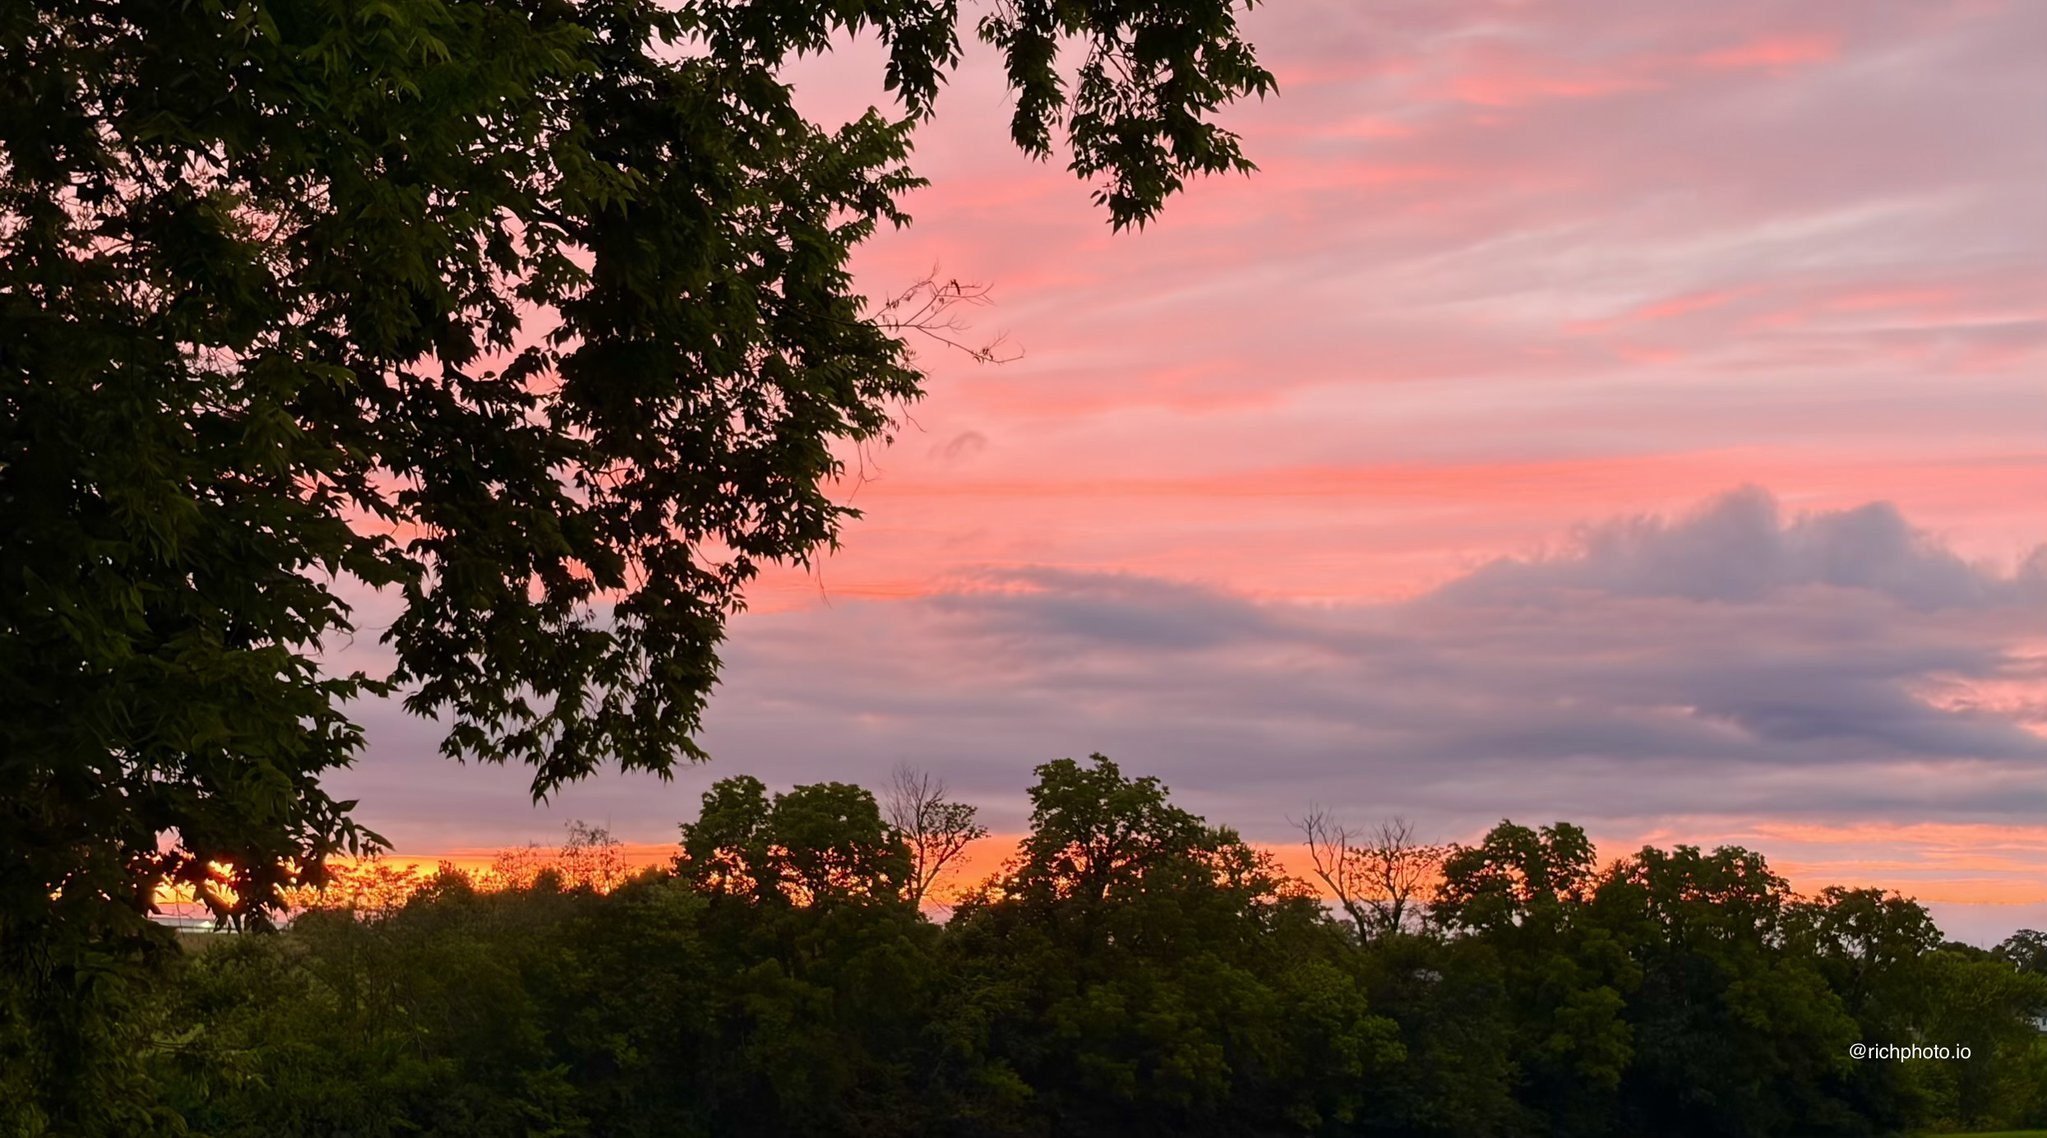
The vignette control darkens the corners just enough to pull attention toward the center. I reach for it when the edges feel distracting or when the subject needs a little more focus. A strong vignette looks dated fast. A subtle one feels natural, almost like the way your eye settles on a scene in real life. I check the result at full size and also at a smaller preview because the effect can look stronger on a tiny screen than it does when you share the photo.
Straightening and Cropping Fix More Than You Expect
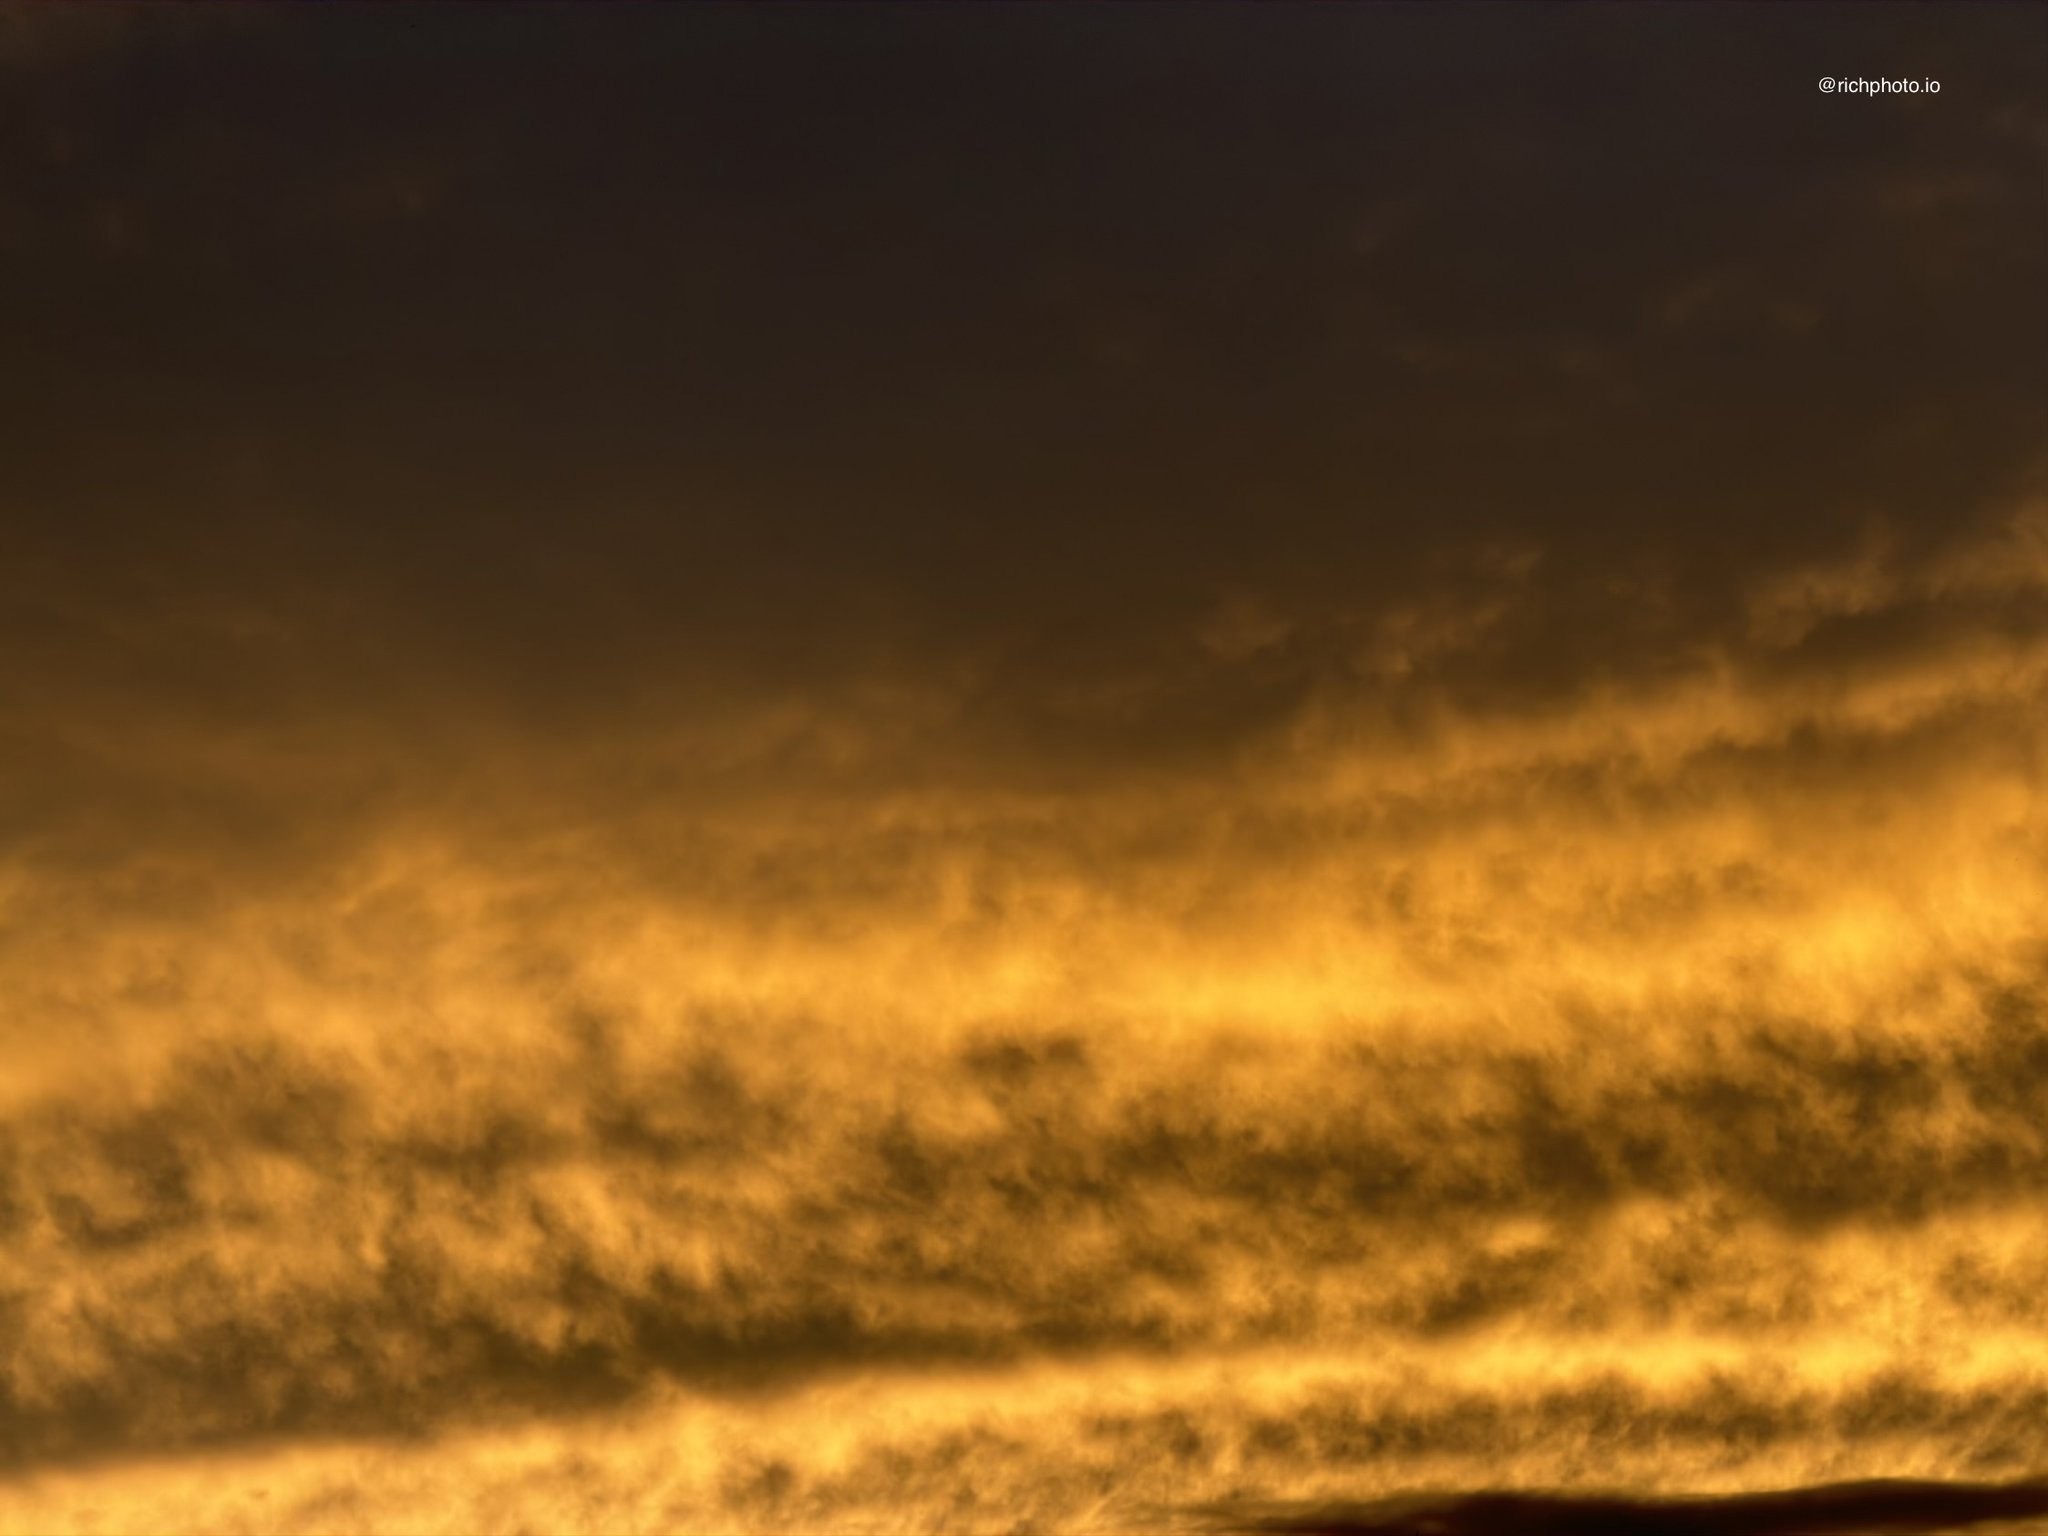
A crooked horizon will bother you more later than any color issue. The rotate and crop tools are simple, but they make a bigger difference than most people realize. I straighten first, then crop only when the composition needs tightening. Leaving a little breathing room around the subject usually feels better than cutting things too close. The grid overlay helps, especially when you are still learning what feels balanced.
Filters Can Be Useful if You Stay Light With Them
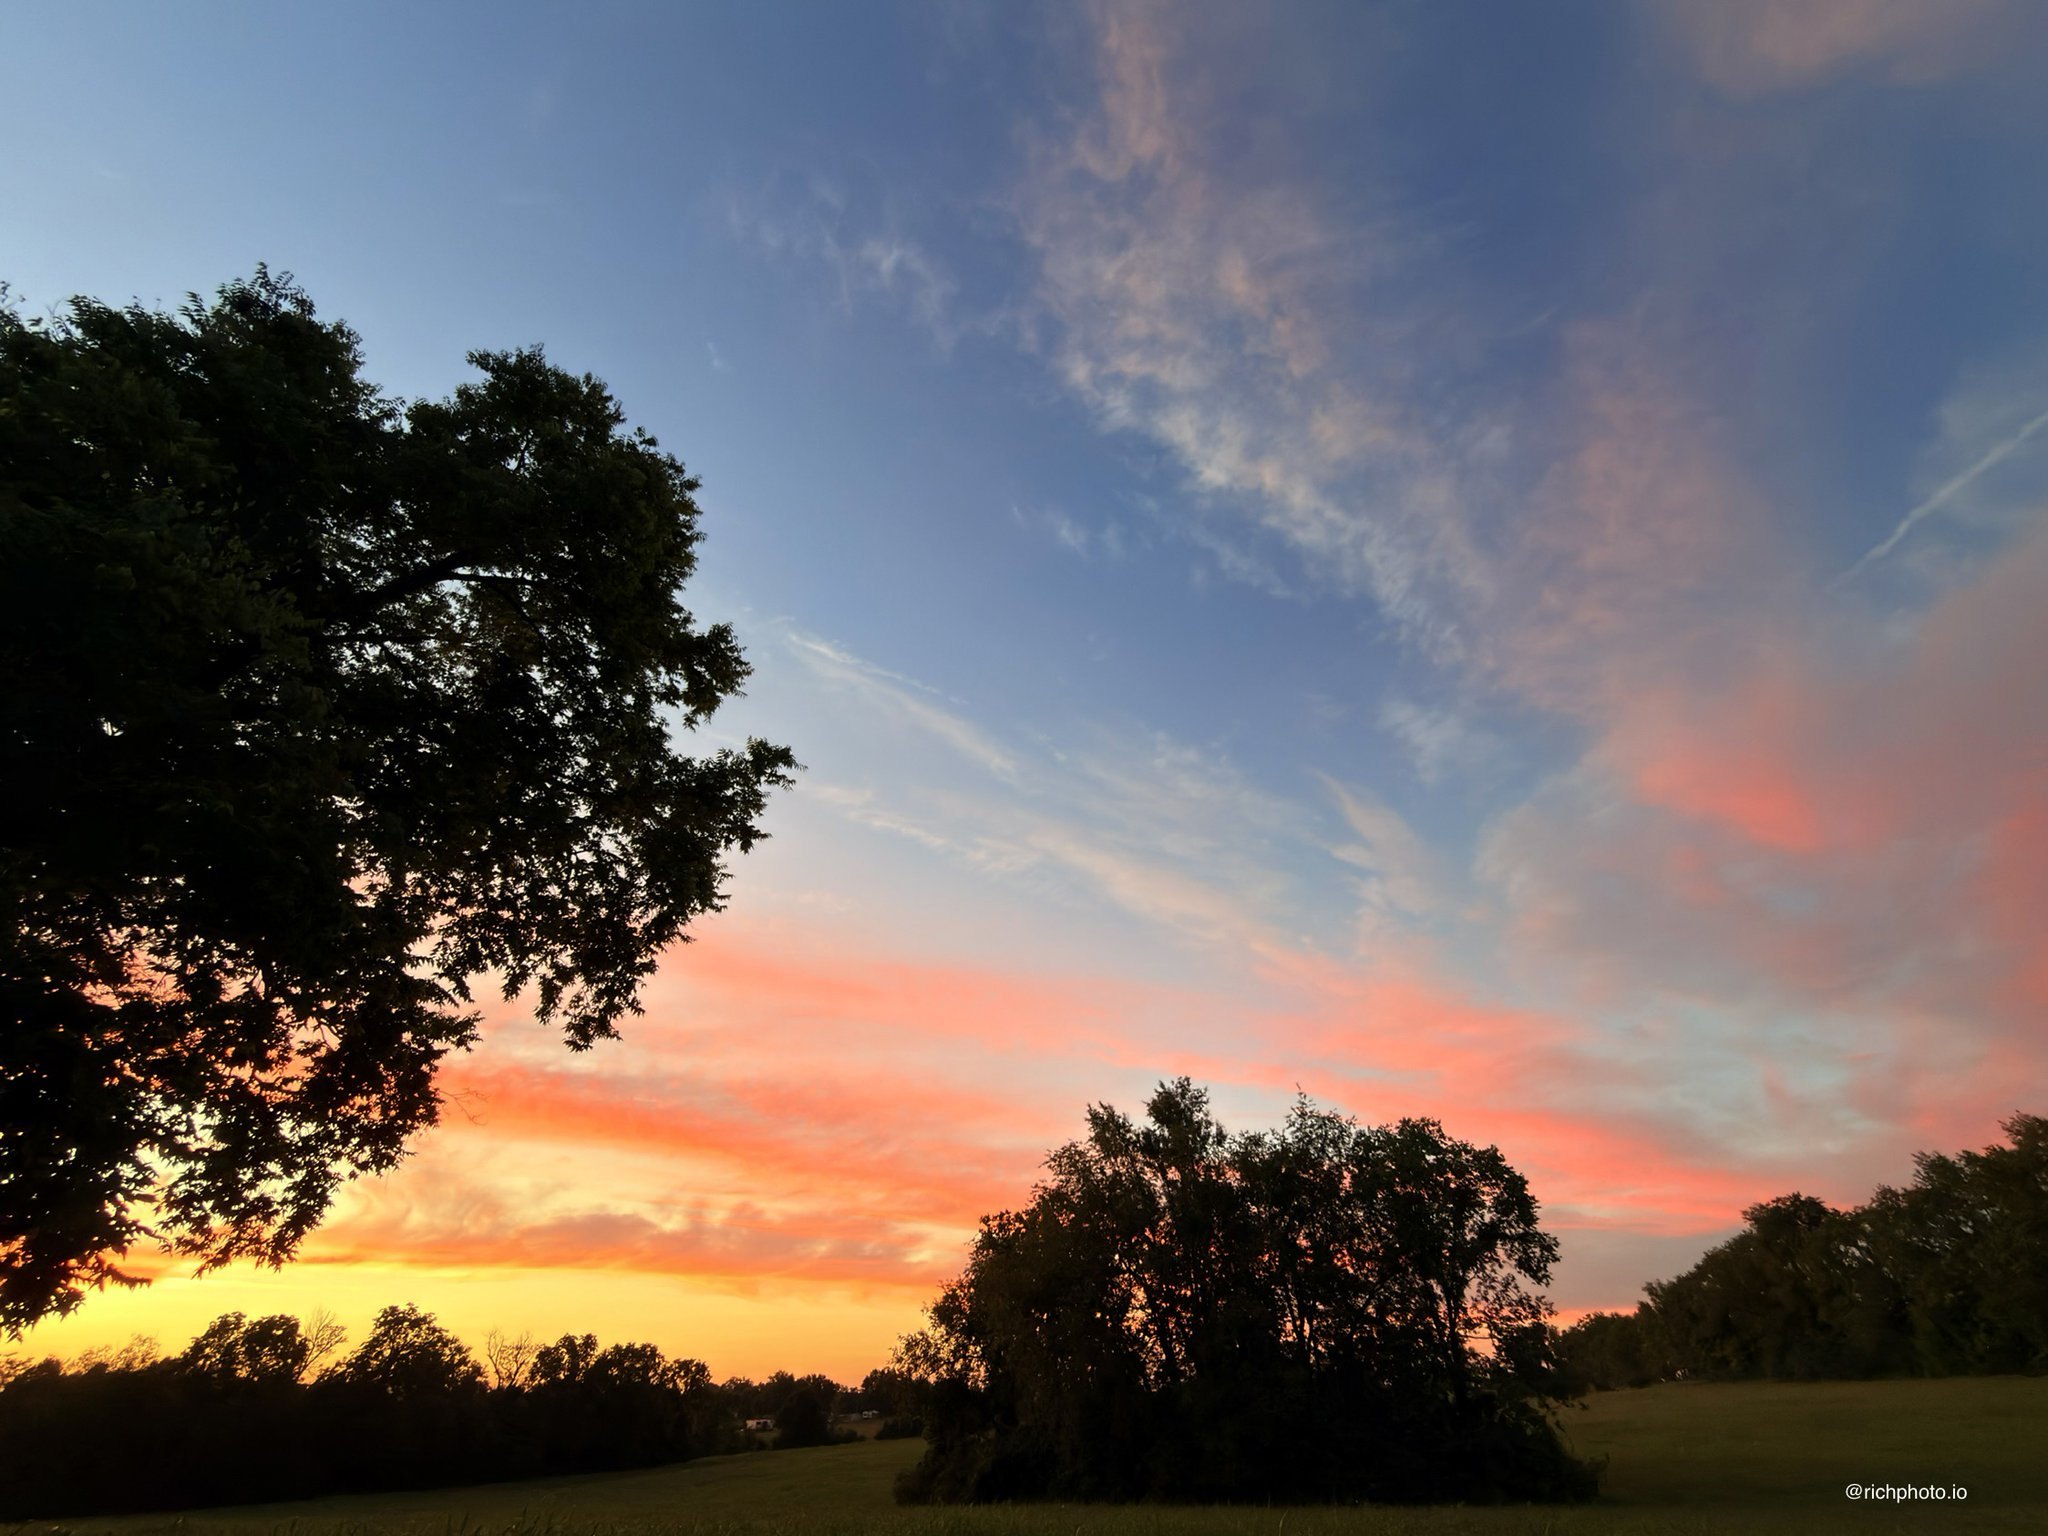
I used to avoid filters completely. Now I treat them as a quick starting point rather than the final look. Photography Styles on iPhone are the next evolution of filters, with Amber being my favorite. The Vivid or Dramatic options can give a flat image some life, but I always dial the intensity way down. Full strength rarely works. Once the filter is applied I go back into the individual adjustments and refine. That combination keeps the photo from looking like every other filtered image on the internet.
Knowing When to Stop Is the Hardest Part
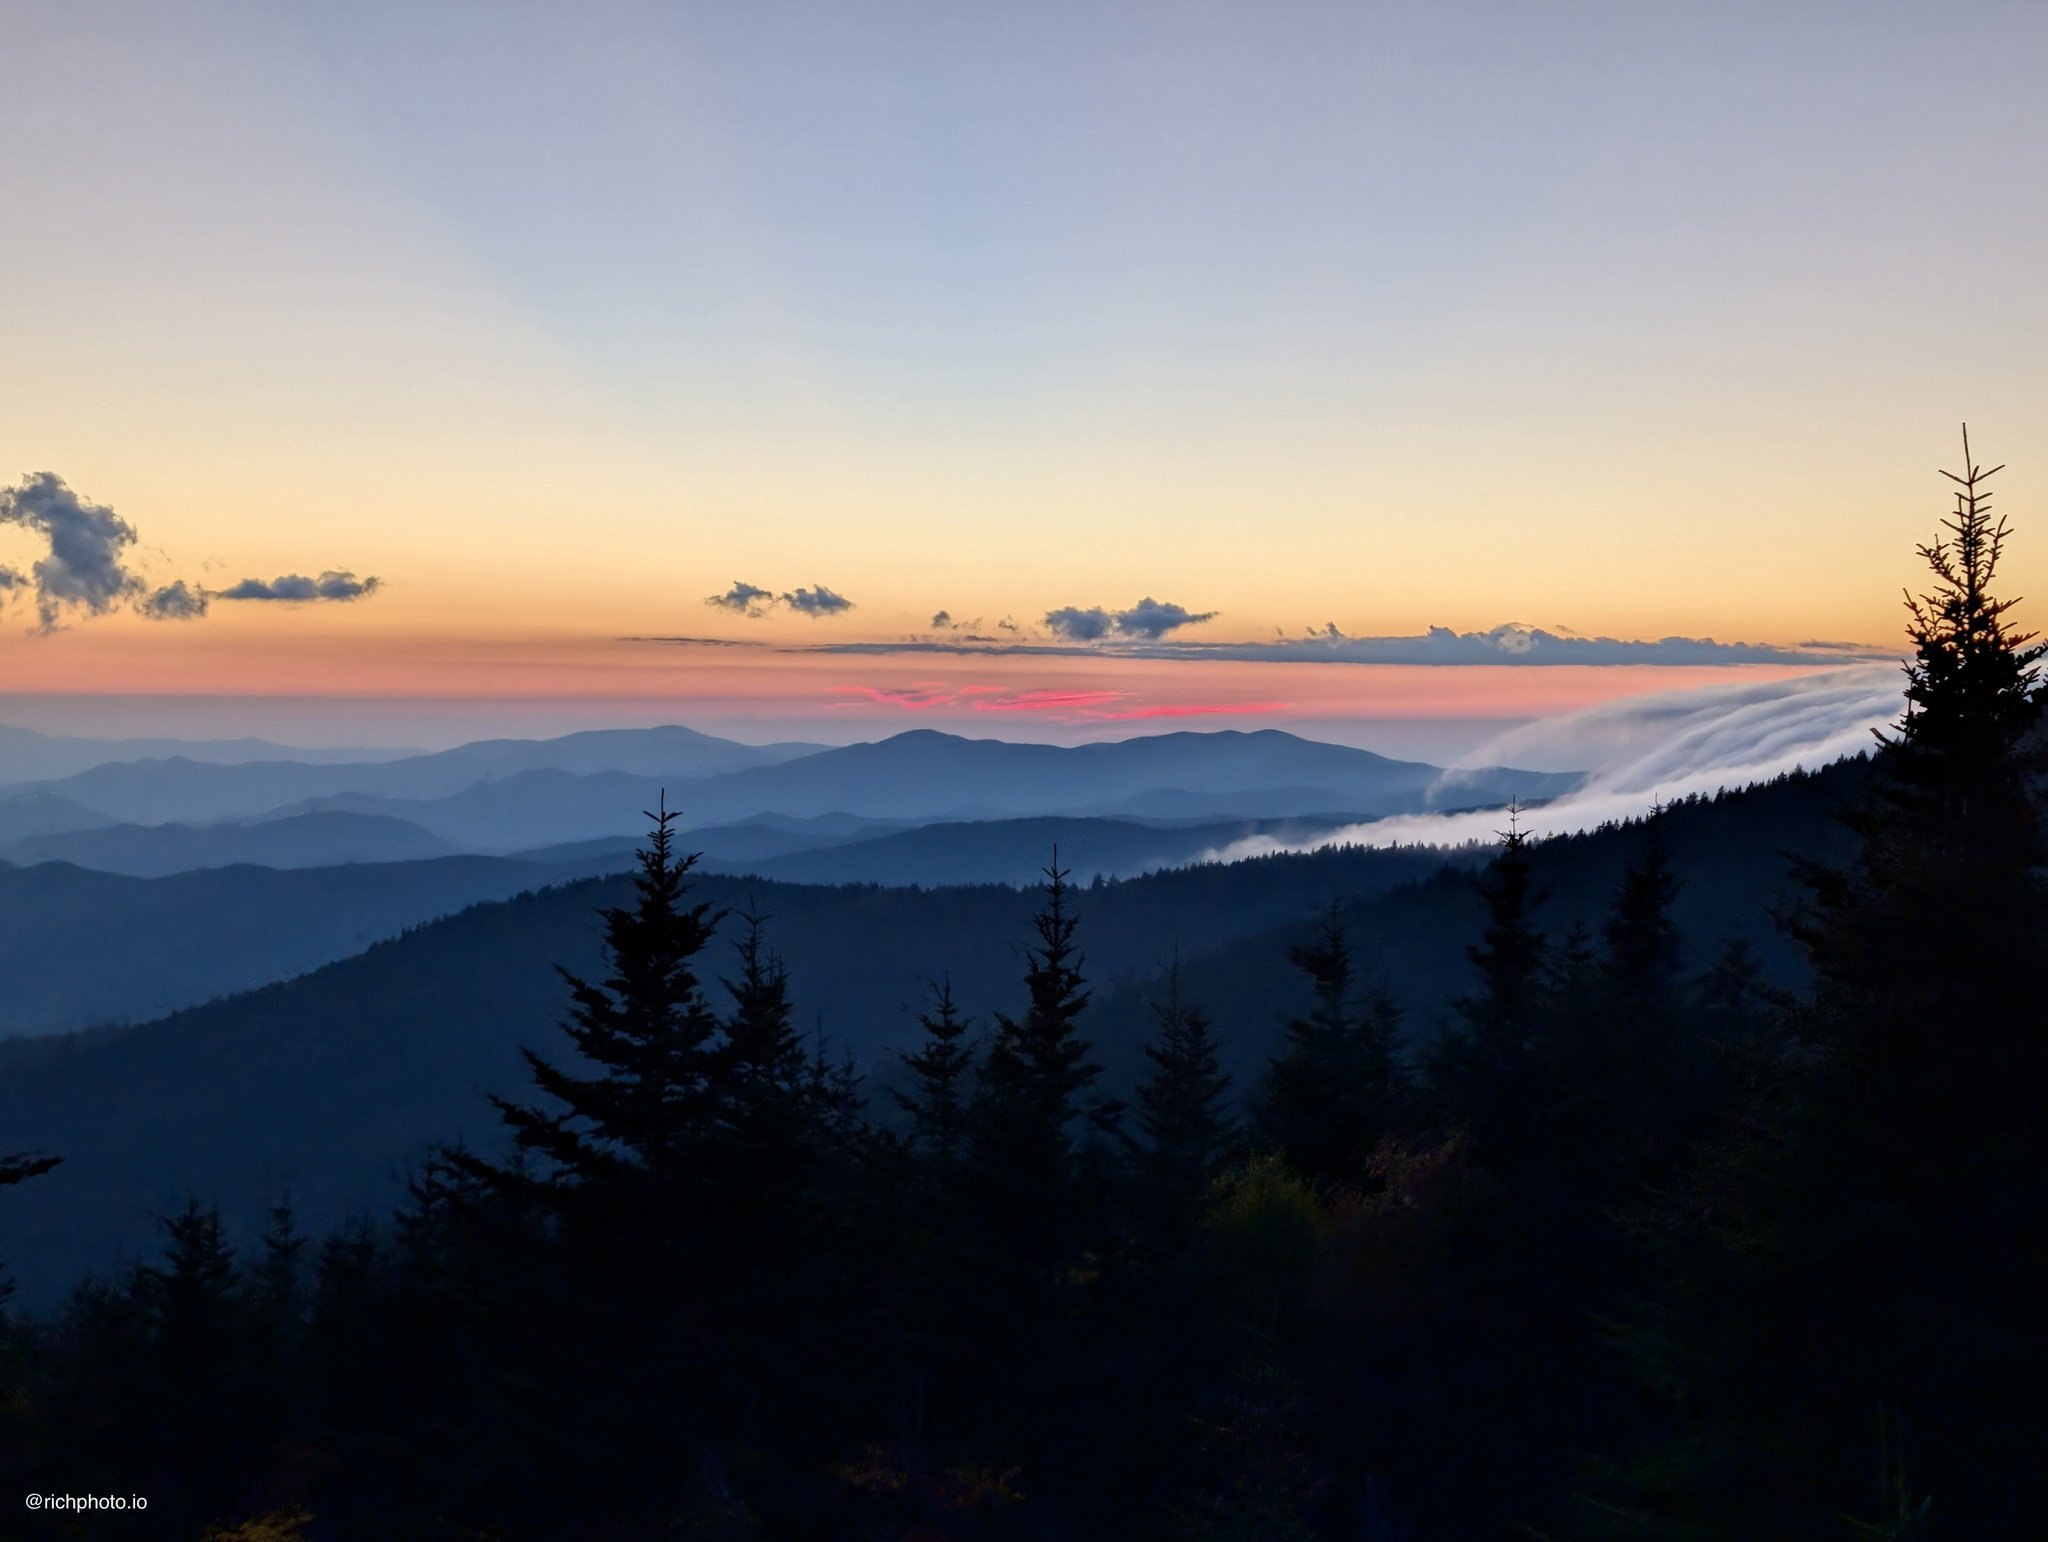
It is easy to keep pushing every slider until the photo looks overworked. I have ruined more images that way than I care to admit. The best check for me is to leave the edit screen, wait a minute, then come back and look at the original side by side. If the new version still feels natural and closer to what I saw, I keep it. If it feels louder or busier, I undo and start smaller. Restraint ends up looking more intentional than constant tweaking.
The Photos App Is Limited, and That Is Fine
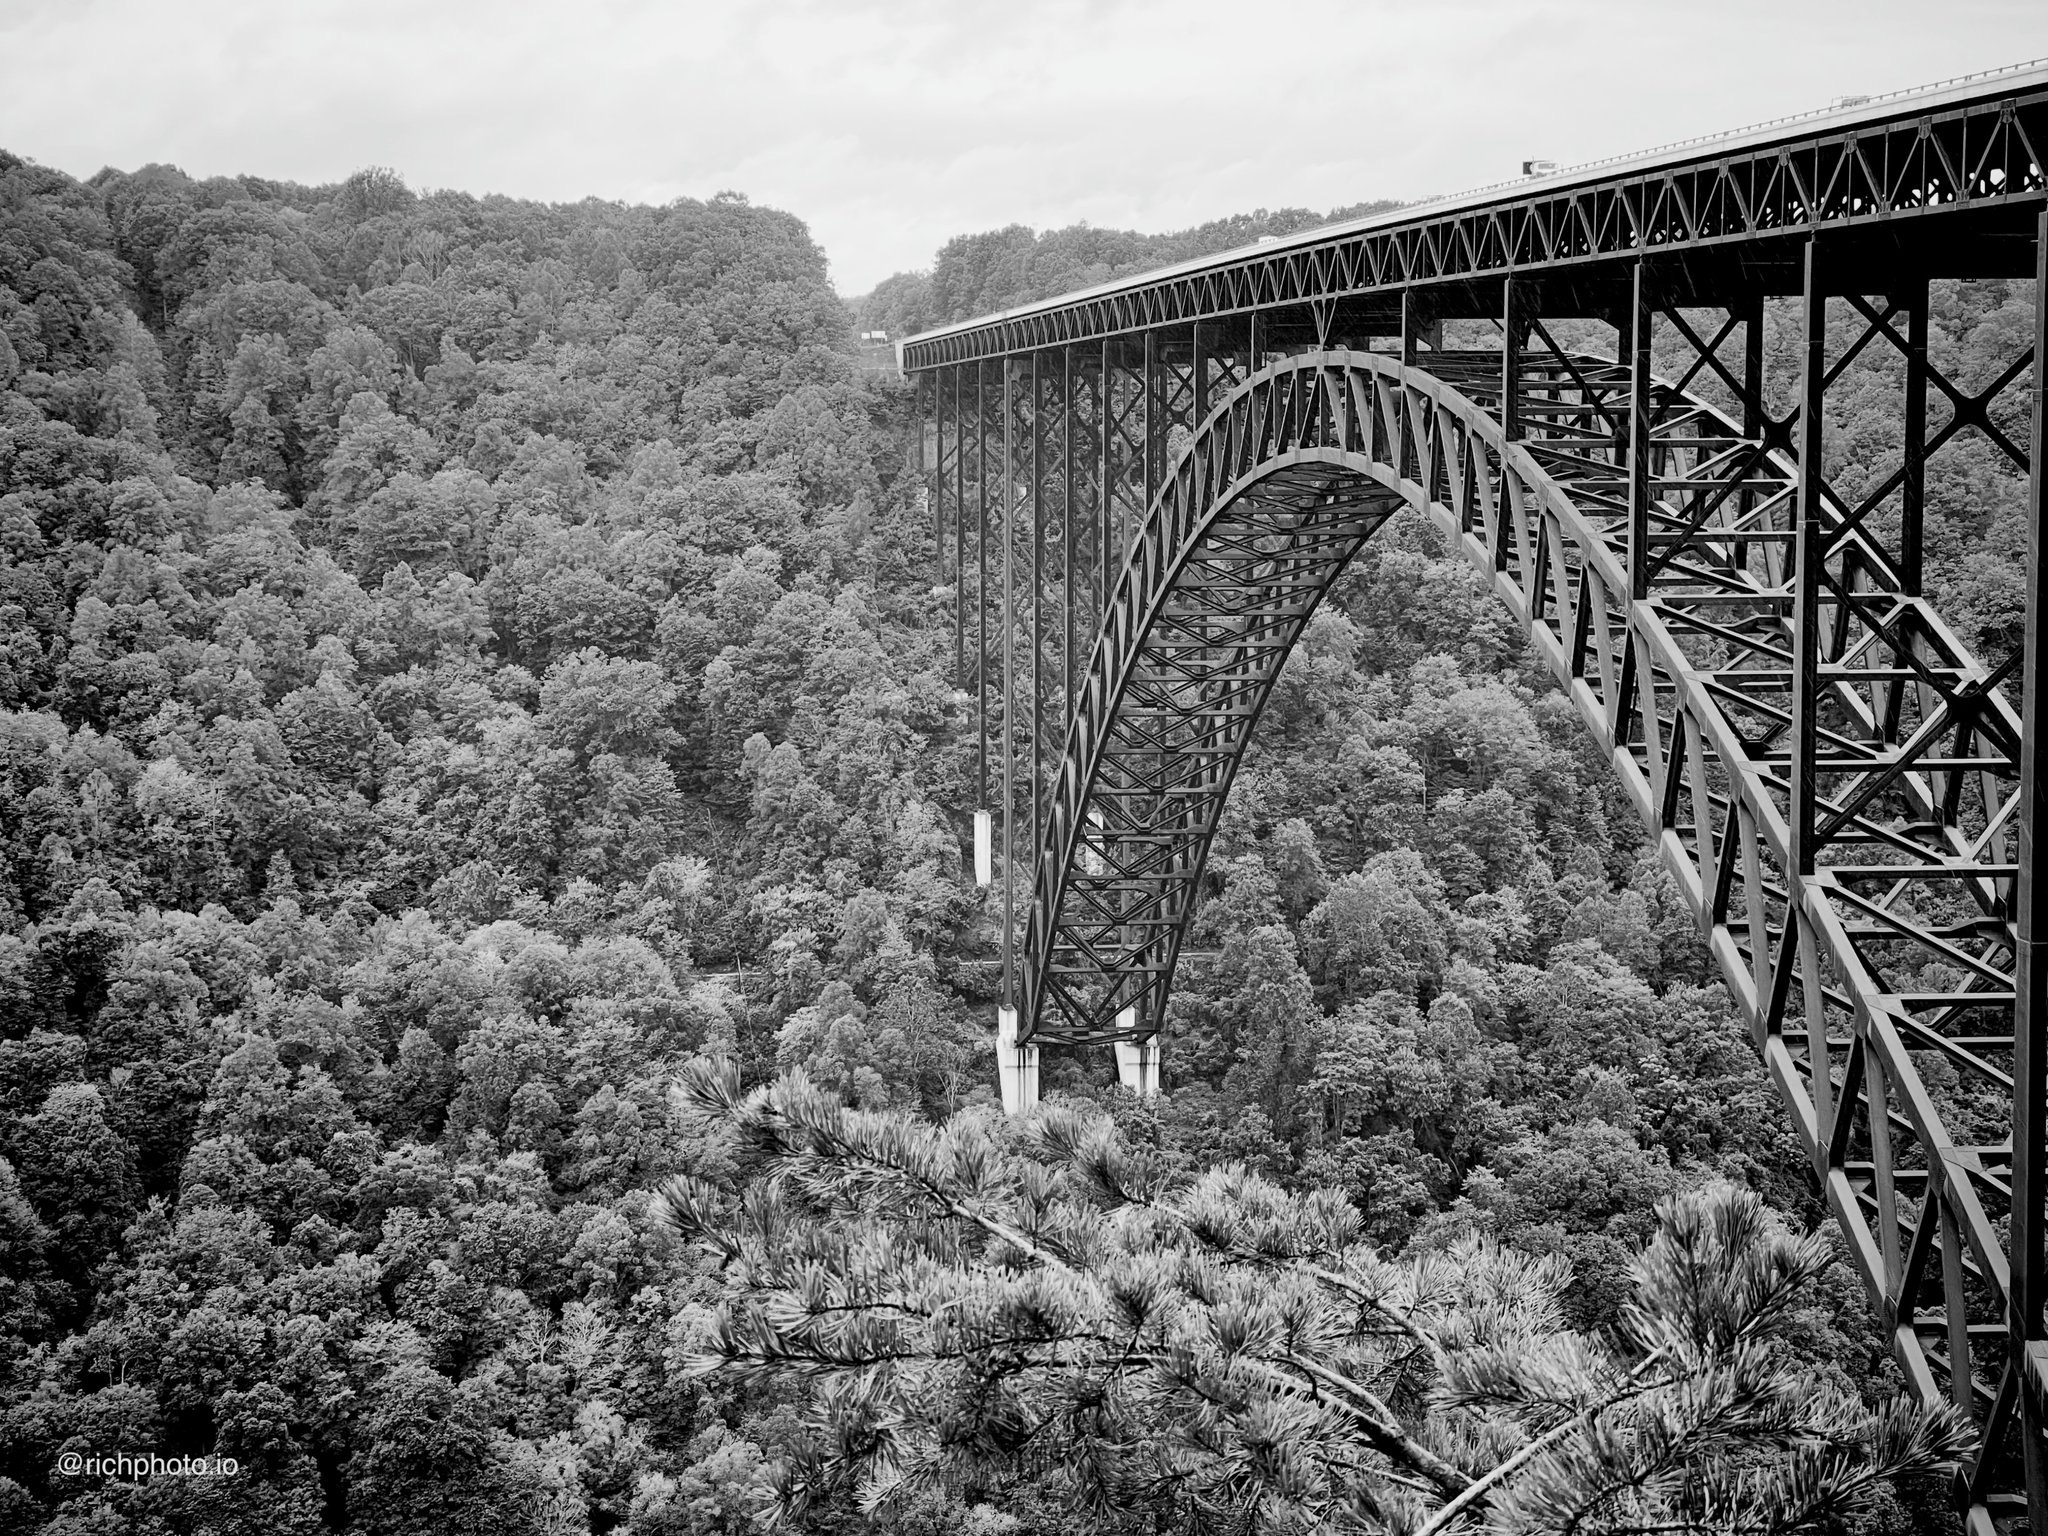
You will eventually want tools the built-in editor does not have. Selective adjustments, more precise color grading, and layered work live in other apps. For beginners, though, the limitation is actually helpful. It forces you to make clear choices with the basics instead of hiding behind complexity. Once those basics feel comfortable, moving to something more powerful becomes much easier.
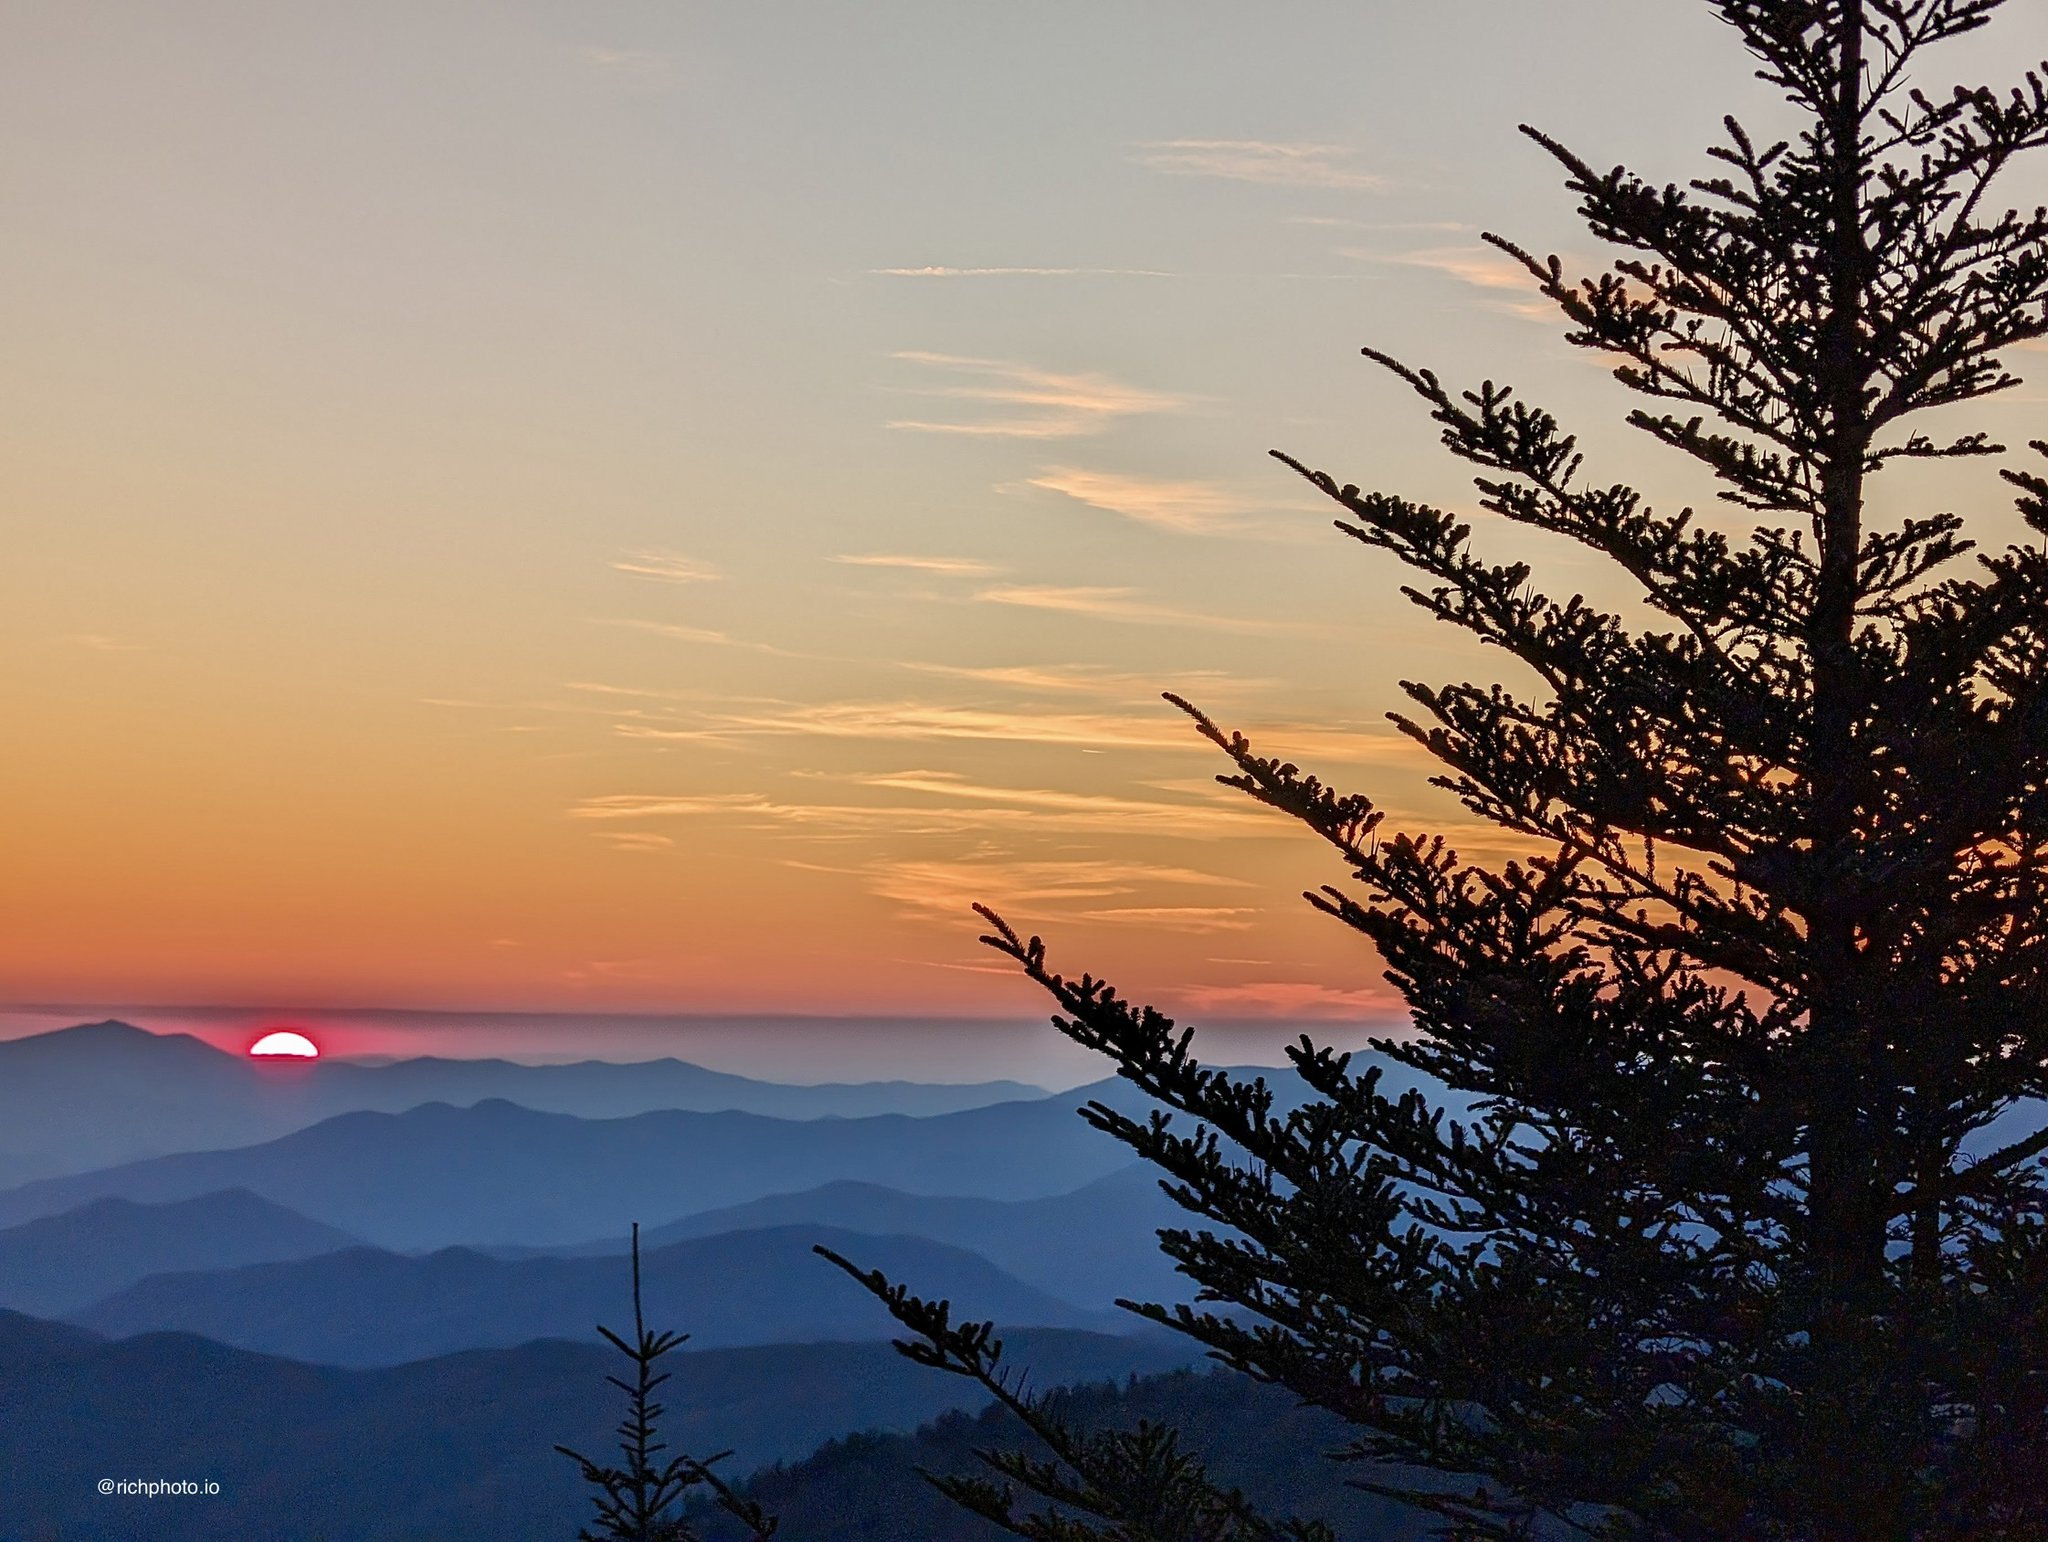
I still edit most of my everyday photos right inside Apple Photos. The tools are honest, the process is quick, and the results stay true to the original capture when you treat them with a light hand. Sometimes the easiest path is the best path.
-Rich | richphoto.io
Rich Photography · Lexington, Kentucky